How to Replace a Garage Door Jamb with PVC: Complete DIY Guide
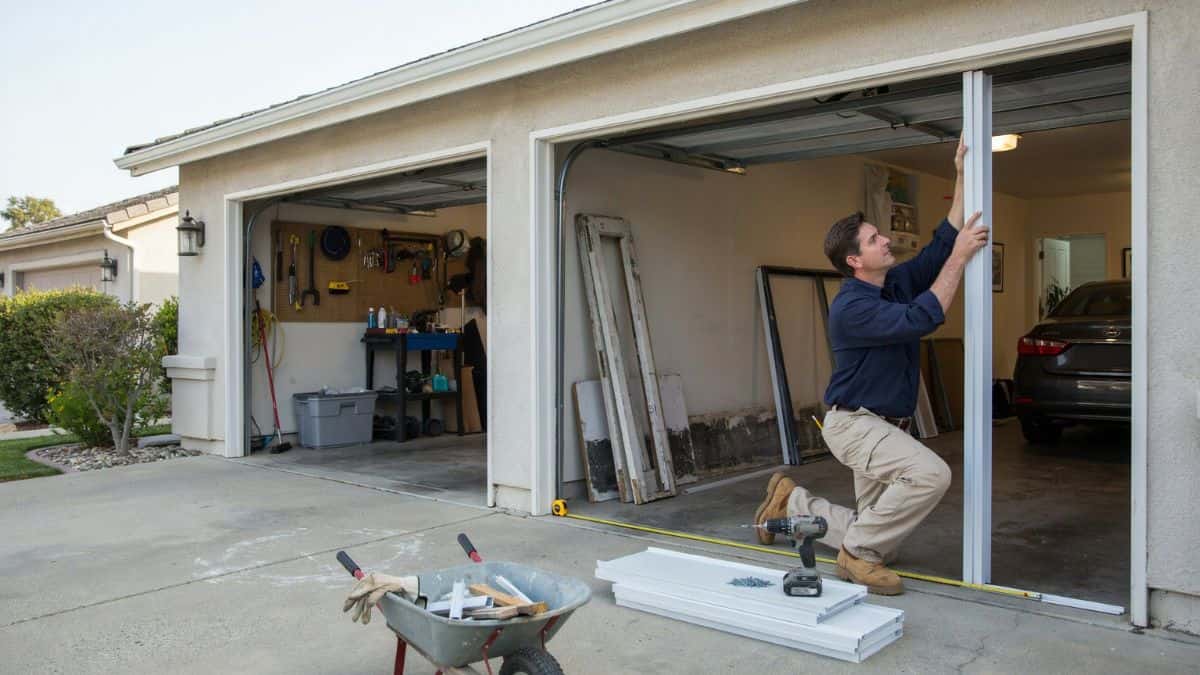
Why PVC Replaces Rotted Wood Garage Door Jambs
Wood garage door jambs typically last 10–15 years before moisture causes rot, and replacing garage door jamb with PVC extends that lifespan to 30+ years with virtually zero maintenance.
Once wood jambs start rotting, they compromise the door seal, invite pests, and can warp the entire door frame — repairs that compound quickly in cost and difficulty.
This guide gives you a clear material comparison and the honest trade-offs so you can decide with confidence before buying a single board.
Structural Jamb vs. Trim Layer: What You’re Actually Replacing
Most homeowners ordering materials for a garage door surround repair don’t realize they’re dealing with two separate components. Confusing them leads to buying the wrong profiles and doing more demolition than necessary.
The Structural Jamb
The structural jamb is the load-bearing assembly — typically two 2×6 or 2×8 framing members that run vertically inside the rough opening and support the door’s weight, hardware, and weatherstripping channel. This is what keeps your door plumb and operating correctly. If this layer is compromised, the door itself will bind, gap unevenly, or refuse to seal at the bottom.
The Trim Layer
The trim layer — sometimes called brick mold, door surround, or exterior door jamb molding — is the decorative board nailed over the structural jamb facing outward. This is purely cosmetic and protective. It takes the most weather exposure, which is exactly why it rots first. Most garage door jamb replacement projects only involve this outer trim layer, not the framing behind it.
How to Tell Which One Is Failing
Press a screwdriver firmly into the wood at several points along the jamb:
- Soft or spongy resistance in the trim layer only means surface rot — replace the trim, leave the framing.
- Softness extending 1.5 inches or deeper suggests the structural jamb is involved.
- Door alignment problems — binding, visible gaps, or a door that won’t latch — almost always indicate structural compromise.
Replacing rotted wood jamb trim with a moisture resistant vinyl jamb profile or cellular PVC trim board solves most cases without touching the framing.
Step-by-Step PVC Installation Process
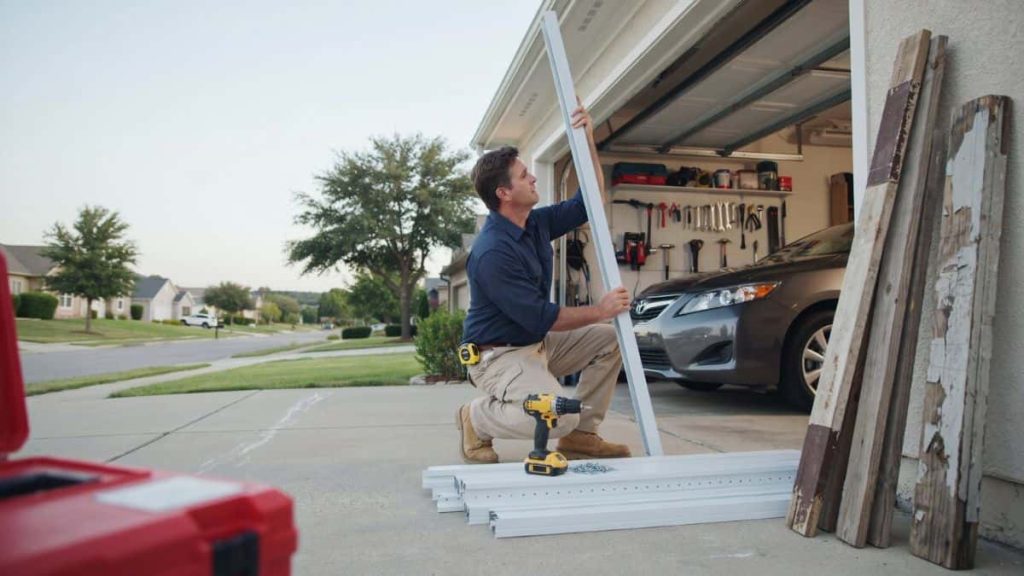
Tools and Materials Needed
Gather everything before starting — mid-job supply runs cause misaligned cuts and rushed sealing.
Tools:
- Pry bar and hammer for trim removal
- Circular saw or miter saw with a fine-tooth blade (80-tooth recommended for clean PVC cuts)
- Measuring tape, speed square, and pencil
- Caulk gun and utility knife
Materials:
- Cellular PVC jamb profiles or vinyl jamb profile boards (commonly 5/4 x 4 or 5/4 x 6 stock from brands like Azek or Versatex)
- Stainless steel ring-shank nails or exterior-grade screws (galvanized fasteners will stain PVC over time)
- Exterior-grade paintable caulk (Sashco or similar)
- PVC cement for any mitered corner joints
- Wood shims for leveling
Removing the Old Jamb and Prep
Score the paint line between the existing trim and siding with a utility knife first — skipping this tears the siding face. Work the pry bar behind the brick mold gradually, not in one aggressive pull. Once the trim is off, probe the structural jamb thoroughly. Any soft spots deeper than the trim layer need repair before the new PVC goes on. Clean the nailing surface of old caulk, staples, and debris.
Measuring, Cutting, and Assembly
Measure each jamb leg individually — openings are rarely perfectly square. Cut PVC profiles 1/8 inch short of contact points to allow for temperature expansion; PVC expands roughly 3/8 inch per 10 feet in summer heat. Fasten every 16 inches along the jamb face using stainless steel fasteners driven flush, never countersunk deeply, which cracks cellular PVC.
Sealing and Weather Protection
Caulk every transition where PVC meets siding — this is the single most critical moisture barrier in the entire installation. Leave a 1/8-inch expansion gap at corners and fill it with flexible caulk, not rigid PVC cement. Cellular PVC accepts standard exterior latex paint; no primer is required on most profiles, but check the manufacturer spec sheet for your specific product.
PVC Material Behavior and Installation Mistakes to Avoid
PVC trim is not wood — it moves, and ignoring that fact causes joints to open, boards to buckle, and caulk to fail within a single seasonal cycle.
Thermal Expansion Rates
Cellular PVC expands and contracts at roughly 3.6 times the rate of wood. A 10-foot jamb board can shift up to 1/2 inch between a cold January morning and a hot August afternoon. Install during moderate temperatures (50–80°F) when the board is at mid-range expansion. Installing in extreme cold locks in a contracted state, and summer heat will buckle the board against fixed contact points.
Adhesive and Fastener Selection
Here’s where most DIY garage door surround repairs fail. PVC cement creates a permanent, rigid bond — use it only on mitered corners where two PVC faces meet directly. Never use PVC cement at transitions to wood, masonry, or siding; those joints need flexible caulk to absorb movement. Construction adhesive like Loctite PL Premium works for bonding PVC to a wood structural jamb as a secondary hold, but mechanical fasteners always carry the primary load.
Common Failure Points
- Insufficient fastener spacing: Anything beyond 16-inch intervals allows the board to wave between attachment points
- Skipping expansion gaps: Butting boards tight at corners causes visible buckling by midsummer
- Using interior caulk outdoors: It shrinks, cracks, and admits moisture within one freeze-thaw cycle
Regional Climate Considerations
In freeze-thaw zones like the Midwest and Northeast, use 1/8-inch expansion gaps minimum at every joint. In high-humidity coastal climates, prioritize fully sealed end cuts — exposed cellular PVC end grain absorbs moisture slower than wood but is not immune, particularly at ground-level jamb bases.
Material Alternatives and Product Selection
Not every rot-proof material performs equally, and the right choice depends on your climate, budget, and how closely you need to match existing trim.
Cellular PVC vs. Vinyl Jamb Profiles
Cellular PVC boards — sold under brand names like Azek, Versatex, and Kleer — are rigid, paintable, and mill-able with standard woodworking tools. They look and work like wood trim. Vinyl jamb profiles, by contrast, come pre-formed in fixed shapes and colors, require no painting, but cannot be ripped or shaped on site. For a custom garage door surround repair, cellular PVC wins on flexibility. For a straightforward dimensional replacement where the profile matches exactly, a pre-formed vinyl jamb profile saves installation time.
Brick Mold and Profile Styles
Brick mold is the most common exterior door jamb molding profile — a stepped rabbeted shape that creates a visual transition between the door frame and siding. Standard brick mold runs 2 inches wide with a 3/8-inch rabbet. Azek and Versatex both offer PVC brick mold that matches legacy wood dimensions exactly, which matters when you’re blending new trim into an existing garage door surround without repainting the entire facade.
Color Matching and Finishing
Cellular PVC accepts exterior latex paint without adhesion primer on most products. For a seamless match, use a color-matched caulk at all transition joints — off-white caulk against bright white trim reads immediately as a patch job.
Alternative Materials
| Material | Rot Resistance | Paintable | Cost vs. PVC | Best For |
|---|---|---|---|---|
| Pressure-treated wood | Moderate | Yes | Lower | Structural jamb only |
| Aluminum trim coil | High | Limited | Similar | Wrap over existing jamb |
| Composite jamb | High | Yes | Higher | High-end finish work |
Pressure-treated wood resists rot but still requires repainting every 3–5 years. Aluminum wrapping works well as a protective layer over a sound structural jamb but lacks the clean profile of cellular PVC for visible trim replacement.
Frequently Asked Questions
Can you replace just the trim layer with PVC without replacing the structural jamb boards?
Yes, if the structural jamb passes the screwdriver probe test — firm resistance at 1.5 inches or deeper means the framing is sound. Remove only the exterior brick mold or door surround trim, inspect the nailing surface, and install your PVC trim layer directly over the existing structural jamb.
What is the lifespan of PVC garage door jambs compared to wood?
Cellular PVC jambs last 30–50 years with minimal maintenance, compared to 10–15 years for untreated wood in a typical climate. PVC does not rot, warp, or require repainting, which eliminates the recurring maintenance costs that shorten wood’s effective service life.
How do you handle PVC expansion and contraction during installation?
Install during moderate temperatures between 50–80°F, leave 1/8-inch expansion gaps at all butt joints and corners, and fill those gaps with flexible exterior caulk rather than rigid PVC cement. This allows the board to move seasonally without buckling or opening visible gaps at transitions.
Ready to Start Your PVC Garage Door Jamb Project
The single decision that determines whether this project lasts 10 years or 40 is choosing cellular PVC trim over wood and leaving proper expansion gaps at every joint. Start today by probing your existing jamb with a screwdriver to confirm whether you need trim-only replacement or full structural repair — that result tells you exactly which materials to pull at Home Depot or your local lumber yard.