LiftMaster 827LM Light Not Working: 5-Step Diagnostic Guide
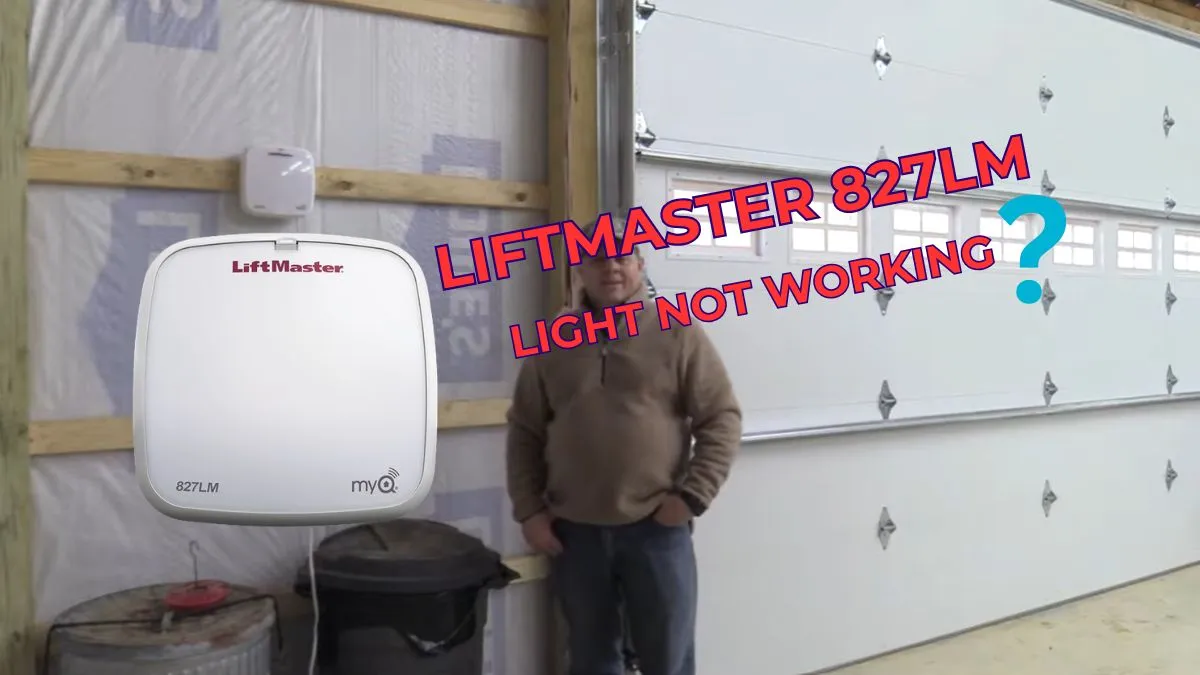
The LiftMaster 827LM light not working is one of the most frequently reported issues in Chamberlain Group’s official support documentation — and in most cases, the fix costs less than $15 and takes under 15 minutes.
The frustrating part is not knowing whether the problem is a dead bulb, a failed control board, a faulty sensor, or a power issue — because each one looks identical from the outside.
Work through this 5-step diagnostic guide and you will know the exact root cause of your 827LM light failure, what part needs replacing, and whether the repair is a safe DIY fix or requires a licensed technician.
Safety First: Before You Begin
Two safety steps take 30 seconds and prevent electrical shock or a crushing injury. Do not skip them.
Disconnect Power Before Opening the Unit
Unplug the 827LM’s power cord from the ceiling outlet before removing any cover panels or touching internal components. The control board carries live voltage even when the opener appears idle. If your outlet is hardwired or difficult to reach, trip the dedicated circuit breaker at your electrical panel instead.
Once unplugged, manually lock the door in the closed position using the red emergency release cord. A door under cable tension — the stored mechanical force in the torsion spring system — can move suddenly if disturbed. Keep it down and stable for the entire diagnostic process.
When to Stop and Call a Professional
Some symptoms put this repair outside safe DIY territory. Stop and call a licensed electrician or a certified garage door technician if you notice any of the following:
- Burning smell or scorch marks near the control board or wiring harness
- Visible melted plastic, blackened terminals, or frayed wiring inside the unit
- The 827LM light blinks in a rapid error-code pattern (more than 5 consecutive flashes) that does not match standard unattended closure or motion sensor malfunction indicators in the owner’s manual
- Repeated circuit breaker trips when the opener is plugged in
Cosmetic issues like a burned-out LED bulb or a loose MyQ remote pairing are safe to diagnose yourself. Anything involving the internal wiring or a suspected control board failure warrants professional assessment first.
Step 1: Power Cycle and Outlet Verification
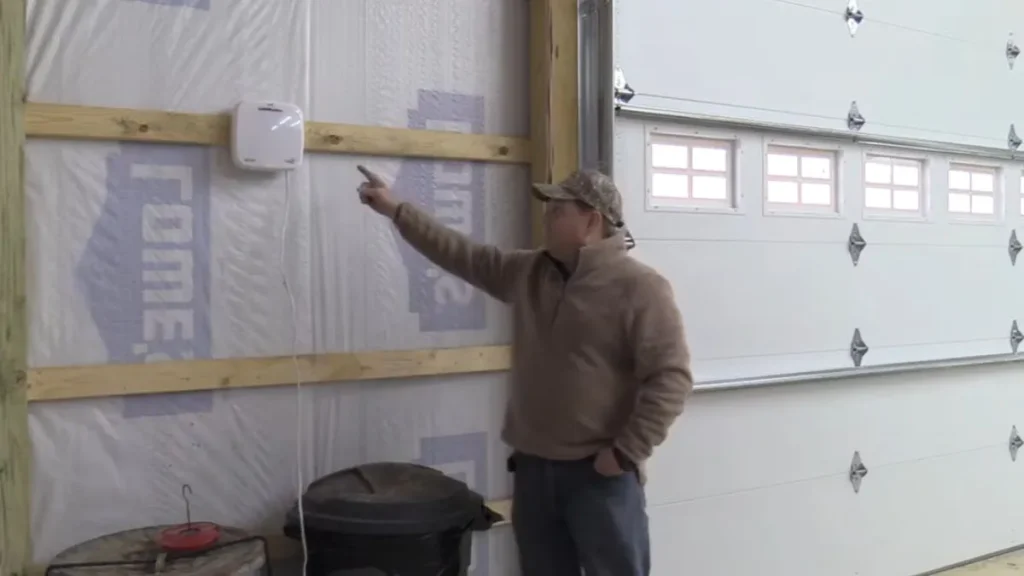
A power cycle clears temporary firmware glitches that can cause the 827LM light won’t turn on symptom — and it costs nothing to try first.
How to Perform the 30-Second Reset
Unplug the opener’s power cord from the ceiling outlet. Wait a full 30 seconds — not 5, not 10. This duration allows the control board’s capacitors to fully discharge, clearing any stored error state. Plug the unit back in and watch the light panel immediately.
A normal response is the light turning on briefly, then switching to its programmed behavior. If the light flashes in a repeating pattern after reconnection, note the exact number of blinks — garage door opener light blinking error codes in the 827LM manual correspond to specific faults, and that count is diagnostic data you will need in later steps.
Confirming the Outlet Has Power
If the light shows no response at all after the reset, test the outlet before assuming the opener is at fault. Use a non-contact voltage tester — the Klein Tools NCVT-1 is a reliable, widely available option under $20 — to confirm the outlet is live. Alternatively, plug in a lamp or phone charger to verify power delivery.
Also inspect the full length of the power cord for kinks, cuts, or melted insulation. A damaged cord can deliver inconsistent voltage, which mimics control board failure symptoms. If the outlet is dead, check your breaker panel before proceeding to the next diagnostic step.
Step 2: LED Bulb Condition and Compatibility Check
A burned-out or incompatible bulb is the most common cause of the 827LM light won’t turn on symptom — and the most commonly misdiagnosed one.
How to Remove and Inspect the Bulb
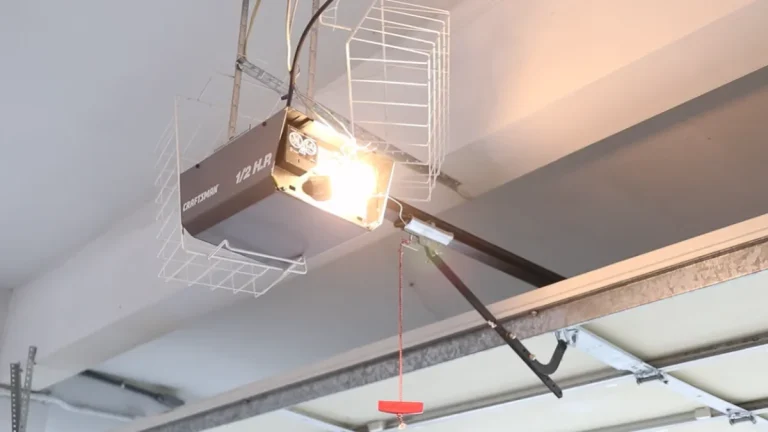
With the unit unplugged, locate the light cover on the underside of the 827LM housing. Press the two release tabs inward and pull the cover straight down. The bulb will be visible and accessible without any tools.
Inspect the bulb for these specific signs of failure:
- Dark gray or black discoloration at the base or tip
- Visible crack in the housing or lens
- Loose fit in the socket — a partially seated bulb causes intermittent light behavior that mimics sensor malfunction or control board faults
If the bulb looks intact, remove it, wait 10 seconds, and reseat it firmly. This LED bulb reset cycle clears poor contact issues that develop from vibration over time.
Why Standard LED Bulbs Will Not Work
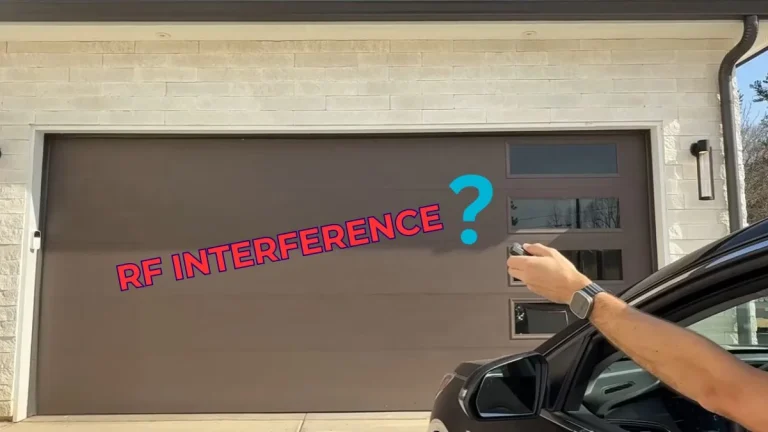
LED bulb compatibility for the 827LM is a hard requirement, not a suggestion. Standard household LED bulbs emit radio frequency interference that disrupts the MyQ signal and remote control pairing range — in some cases cutting the remote’s effective range to under 5 feet.
LiftMaster’s approved replacement is the A19 LED bulb model 41A5034, designed specifically to suppress that interference. It costs approximately $8–$12 and is available through LiftMaster’s official parts portal, Amazon, and most Home Depot locations. Do not substitute a generic LED bulb and expect reliable performance.
Step 3: Remote and Wall Switch Control Testing
If the bulb and power supply check out, the next variable is whether the control board is receiving signals at all — and the remote and wall switch are your two fastest diagnostic tools.
Testing the Remote at Multiple Distances
Stand 5 feet from the opener and press the light button on your remote. Then test again at 20 feet, then from outside the garage. A working remote triggers the light consistently at all three distances. If the light responds at 5 feet but not at 20, the issue is signal interference or a weakening remote battery — not a control board failure.
Replace the battery first. Most LiftMaster remotes use a 3V CR2032 coin cell or a standard 9V battery. After replacing, if MyQ LED remote light troubleshooting still shows inconsistent range, a nearby LED bulb emitting radio frequency interference is the likely cause — which circles back to the compatibility check in Step 2.
Using the Wall Switch to Isolate the Control Board
Press the wall switch light button with the door fully closed. If the light activates from the wall switch but not the remote, the control board is functional — the remote is the problem. If neither the wall switch nor the remote triggers the light, the control board is the likely fault point.
Re-Pairing the Remote
Press and hold the LEARN button on the 827LM for 6 seconds until the LED indicator flashes. Within 30 seconds, press the remote button twice. A single flash from the opener confirms successful remote control pairing. Test the light function immediately after.
Step 4: Diagnostic Decision Tree
At this point you have confirmed or ruled out power, bulb, and remote as causes. Use the findings from Steps 1–3 to identify your exact fault category before spending money on parts.
Symptom-to-Cause Matching Table
| Symptom Observed | Most Likely Cause | Next Action |
|---|---|---|
| No light, no door movement | Power failure or dead control board | Recheck outlet, inspect board for burn marks |
| Light works from wall switch only | Remote battery dead or pairing lost | Replace battery, re-pair remote |
| Light flickers or works intermittently | Incompatible LED bulb or loose socket | Replace with LiftMaster 41A5034 bulb |
| Light on, door won’t move | Sensor malfunction or cable tension error | Check safety sensors, inspect cables |
| Rapid blinking after power-on | Garage door opener light blinking error code active | Count blinks, match to manual |
Reading the Blink Code Pattern
The 827LM communicates faults through its light panel in specific sequences. A single blink repeated at intervals signals an unattended closure light blink — the opener is confirming a timed auto-close event, which is normal behavior. Five consecutive blinks indicate a cable tension monitor error, meaning the opener has detected abnormal resistance in the door’s cable system. This is a mechanical fault, not an electrical one, and requires a garage door technician rather than a control board replacement.
When All Three Variables Check Out
Here’s the problem. If power is confirmed, the correct LED bulb is installed, and the remote is freshly paired but the 827LM light still won’t turn on, the control board is the remaining variable. Proceed directly to Step 5.
Step 5: Control Board Replacement vs. Repair
A failed control board is the most expensive DIY fix on this diagnostic path — but it is still significantly cheaper than a full opener replacement or an unnecessary service call.
Testing the Control Board Output
With the unit plugged in and the light cover removed, use a multimeter set to AC voltage — the Fluke 115 is a reliable choice for this test. Probe the light socket terminals directly. A functioning board delivers 120V AC to the socket when the light function is active. A reading of 0V with the light commanded on confirms the board has stopped sending power to the light circuit.
Also inspect the board visually for bulging capacitors, blackened solder points, or melted component housings. Any of those signs confirm board failure without needing a meter.
OEM Replacement Part Numbers and Cost
The correct LiftMaster control board replacement for the 827LM is part number 041A5021-1. It retails between $55 and $85 depending on the supplier. Purchase only from LiftMaster’s official parts portal, an authorized dealer, or established retailers like Repair Clinic — counterfeit boards are common on third-party marketplaces and often fail within weeks.
DIY Replacement Difficulty and When to Call a Professional
Board replacement on the 827LM is a moderate DIY task. It requires disconnecting 6–8 wire harness connectors, removing 4 mounting screws, and reversing the process with the new board. The job takes most homeowners 30–45 minutes.
Call a certified technician if the wiring harness shows heat damage, if multiple components appear burned, or if the replacement board does not resolve the fault — those scenarios indicate a deeper electrical fault beyond the board itself.
When Repair Becomes Replacement
The 827LM has been discontinued by the Chamberlain Group, which means OEM parts like the control board and proprietary LED bulb will become increasingly difficult to source as existing inventory sells through.
Understanding the Discontinuation Impact
Discontinued status does not mean the unit stops working today — it means replacement parts have a finite supply window. If you are already sourcing a LiftMaster control board replacement and finding limited availability, that is an early signal the repair-versus-replace calculation is shifting. A unit that needs a $75 control board today may need an unavailable sensor or logic component in 18 months.
Upgrade Path: 837LM and 837LMMC
LiftMaster’s current direct successors to the 827LM are the 837LM and the 837LMMC. Here is how they compare:
| Feature | 827LM (Discontinued) | 837LM | 837LMMC |
|---|---|---|---|
| MyQ Connectivity | Yes | Yes | Yes |
| Built-in Camera | No | No | Yes |
| Motion-Activated Light | Yes | Yes | Yes |
| Battery Backup | No | No | Yes |
| Retail Price | N/A | ~$180 | ~$280 |
The 837LMMC adds a built-in HD camera and battery backup — meaningful upgrades if security and power-outage access matter to you.
The Repair Cost Threshold
The logic is straightforward. If your total repair cost — bulb, board, and labor if applicable — exceeds $100 on a discontinued unit, a new 837LM at $180 delivers a current-generation opener with full parts availability and a fresh warranty. Anything under $40 in parts is worth repairing without hesitation.
Frequently Asked Questions
Why does my 827LM light blink but not stay on?
A blinking light that won’t stay on typically indicates an active error code or an incompatible LED bulb causing a reset cycle. Count the exact number of blinks, match the sequence to the fault table in your 827LM owner’s manual, and check that the installed bulb is LiftMaster’s approved 41A5034 model.
Can I use a regular LED bulb in my 827LM opener?
No. Standard LED bulbs emit radio frequency interference that disrupts MyQ connectivity and shrinks remote control pairing range to under 5 feet. Use only LiftMaster’s A19 LED bulb model 41A5034, which is specifically shielded to prevent that interference.
What does the 5-blink error code mean?
Five consecutive blinks on the 827LM indicate a cable tension monitor error — the opener has detected abnormal resistance in the door’s cable or spring system. This is a mechanical fault, not an electrical one, and requires a licensed garage door technician rather than a DIY control board fix.
How much does it cost to repair a 827LM light fault?
Repair costs range from $8 for a replacement LED bulb to $85 for an OEM control board replacement. If total parts and labor exceed $100 on this discontinued unit, upgrading to the current 837LM at approximately $180 is the more cost-effective long-term decision.
Get Your Garage Door Light Working Again
Most 827LM light failures trace back to three causes — an incompatible bulb, a lost remote pairing, or a failed control board — and all three are diagnosable in under 15 minutes without professional help. Start with the power cycle in Step 1 and work forward through the diagnostic sequence before ordering any parts or booking a technician.
If your total repair cost approaches $100 on this discontinued unit, price out the 837LM as a replacement before committing to the fix.