Garage Door Binding When Closing: 5 Causes & Quick Fixes
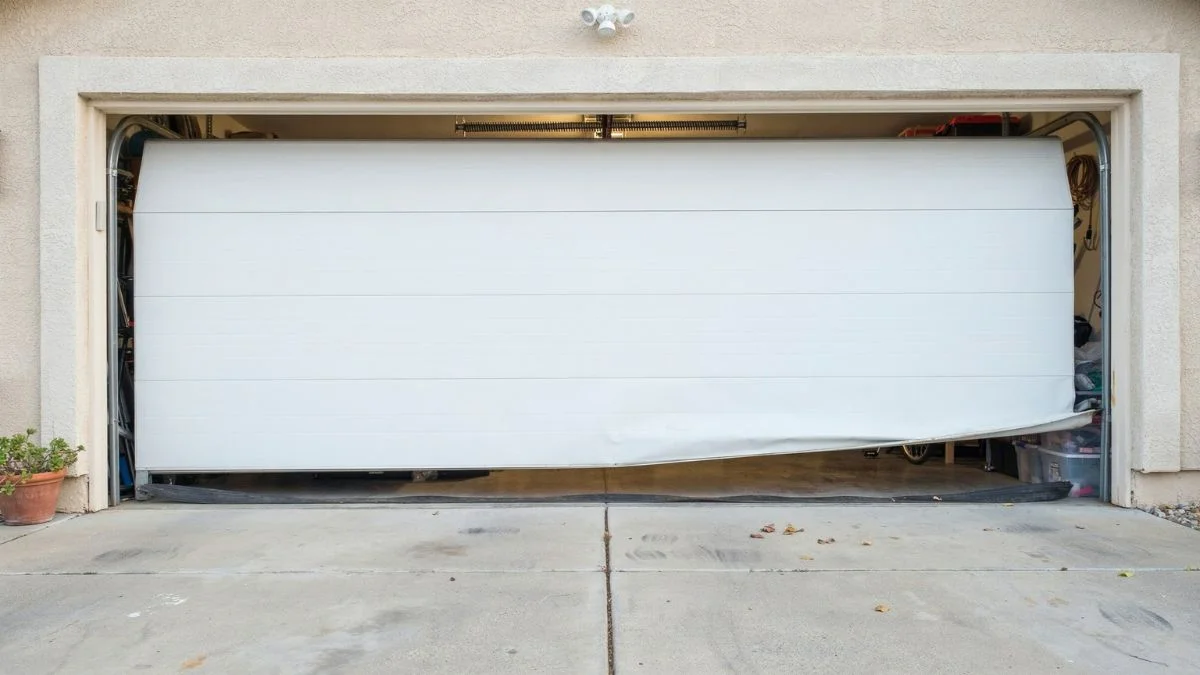
Garage door binding when closing is a friction-based resistance that differs from jamming (a full mechanical stop) and stalling (motor strain without movement) — and it is the earliest warning sign that something is mechanically wrong.
Closing is the most dangerous phase because the door’s full weight combines with gravity and track friction simultaneously, which multiplies stress on every component, including the opener motor, rollers, panels, and torsion spring system.
By the end of this article, you will know exactly which of the 5 mechanical causes is triggering your binding and which fixes you can do yourself today without calling a technician.
The 5 Root Causes: Diagnostic Checklist
1. Misaligned or Bent Tracks
Garage door track misalignment is the most common cause of binding during closing. Stand at the side of the door and watch the rollers travel — if a top roller is floating on top of the horizontal track instead of sitting centered in the groove, the track is the problem.
Tracks shift gradually from vibration over years of use, or suddenly after a minor vehicle impact with the door frame. Look for a visible gap or angle deviation between the track and the door panel edge. Loosening the track mounting bolts slightly, tapping the track back into position with a rubber mallet, and retightening resolves most cases.
2. Weather Stripping Installed Too Tight
Weather stripping causing binding is easy to overlook because the seal looks correct from the outside. The problem is over-compression — when the rubber seal presses too hard against the panel edges, friction resistance increases enough to strain the opener motor and distort the seal itself over time.
Check the side seals along the door frame. If you see the rubber visibly flattening or the door hesitates at the same height every close cycle, the stripping needs trimming or repositioning.
3. Over-Tensioned Springs or Opener Strain
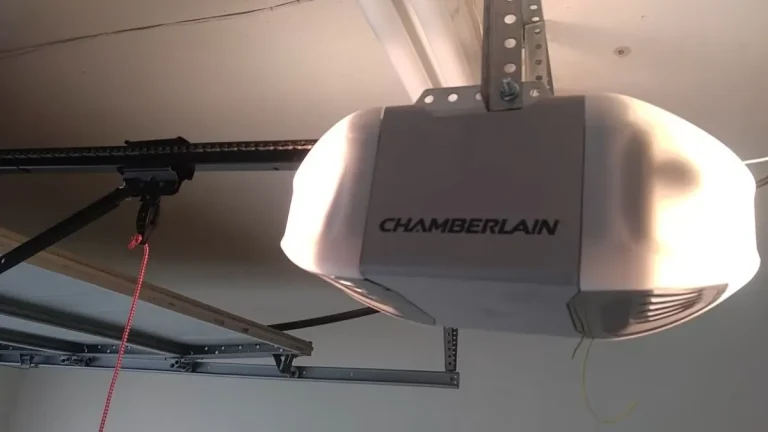
Spring tension that is set too tight counteracts gravity instead of working with it during closing, forcing the opener motor to work against both the spring and the door weight. Chamberlain and LiftMaster openers have torque limits built into their motor specs, and chronic over-tension will trigger the force-limit safety cutoff repeatedly.
Do not adjust torsion springs yourself — this is a high-injury-risk repair that requires a licensed technician.
4. Worn or Floating Rollers
Rollers that have lost their round shape create mechanical resistance against the track walls instead of rolling smoothly. Roller stem slack compounds this by allowing vertical shift mid-travel, which causes door panel flex and uneven load distribution across the door’s width.
Inspect each roller visually. Nylon rollers typically last 10,000 cycles; steel rollers last longer but corrode faster. A roller that wobbles by hand needs immediate replacement.
5. Trim Board, Frame, or Sensor Interference
A trim board installed too close to the door panel edge will catch the panel during travel — this produces a binding sensation that mimics track misalignment but is localized to one consistent point in the closing arc.
Separately, misaligned garage door safety sensors produce a closing mechanism malfunction that looks like binding but is actually the opener reversing on a false obstruction signal. Check that both sensor lights are solid (not blinking) and that the sensor brackets are parallel. A blinking sensor light is a definitive sign of beam misalignment, not a mechanical binding issue.
Step-by-Step Diagnostic Walkthrough
Work through these checks in order. Each one takes under five minutes and requires no special tools beyond a tape measure, string, and a smartphone.
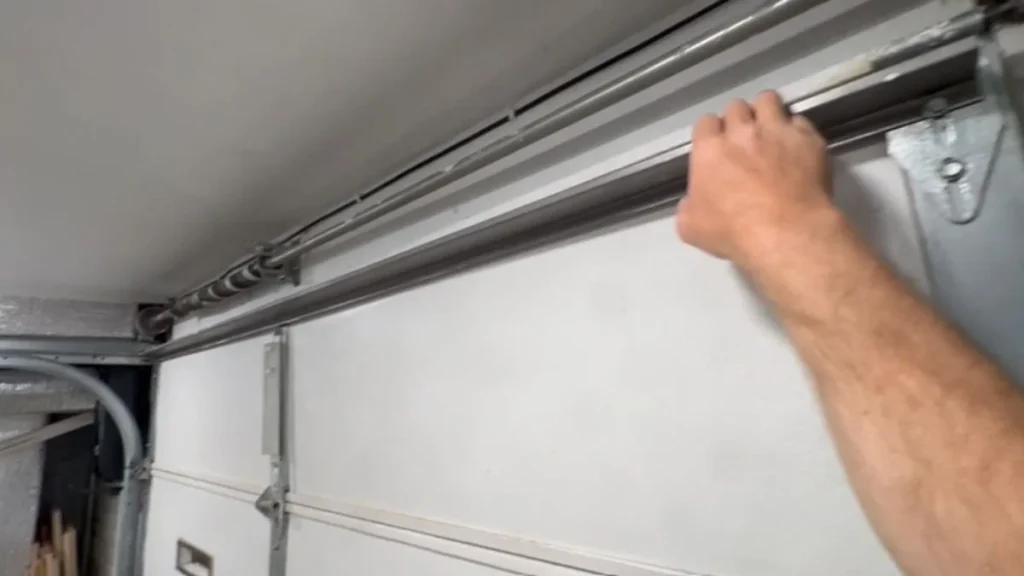
Visual Inspection and String Alignment Test
Start with a full visual scan of both tracks from floor to ceiling. Look for visible dents, inward bends, or sections where the track pulls away from the wall bracket. Even a 1/4-inch deviation is enough to cause garage door track misalignment and consistent binding during closing.
Here’s the most reliable low-tech method for confirming alignment. Tape a length of string along the inside centerline of one track from the floor anchor to the horizontal curve at the top. Measure the gap between the string and the track wall at three points — bottom, midpoint, and curve. All three measurements should match within 1/8 inch. A discrepancy means the track has shifted and the mounting bolts need loosening and repositioning before retightening.
Take photos before and after any adjustment. This gives you a reference point if the binding returns.
Roller Position, Weather Stripping, and Sensor Beam Check
Inspect every roller by hand — spin each one and feel for flat spots, roughness, or lateral wobble. A roller with a flat spot creates a repeating thump and friction resistance at the same point every cycle. Cracked or missing rubber on nylon rollers is a clear replacement indicator.
Test the weather stripping compression by pressing the door closed manually with the opener disconnected. The seal should offer noticeable resistance without fully stopping hand pressure. If it stops your hand, it is too tight.
For sensors, shine your smartphone flashlight directly into each sensor eye while the door is open. Both receiving eyes should glow solid. A blinking or dim light confirms garage door safety sensors are misaligned — adjust the brackets until both lights stabilize before assuming any mechanical binding issue is present.
DIY Fixes and When Professional Help Is Non-Negotiable
Some binding causes are genuinely homeowner-fixable in under an hour. Others carry serious injury risk if attempted without professional training. Knowing the difference saves both money and trips to the emergency room.
Accessible Repairs: Track Adjustment, Lubrication, and Stripping
To correct minor track misalignment, loosen the track mounting bolts no more than 1/8 turn at a time using a socket wrench. Tap the track gently with a rubber mallet to shift it toward correct position, then test the door manually before retightening. Repeat in small increments — over-correcting is as problematic as the original deviation.
Lubrication eliminates friction resistance on rollers, hinges, and track curves. Use a lithium-based spray lubricant or a product specifically formulated for garage doors, such as WD-40 Specialist Garage Door Lubricant. Apply it every 6 months. Avoid standard WD-40 or grease — both attract dirt and accelerate wear. Never lubricate the track interior, only the rollers and hinges.
For weather stripping causing binding, remove the side seal entirely, reposition it so the rubber lip makes light contact with the door panel, and refasten. The correct compression allows the seal to flex without creating operational obstruction.
Professional-Only Territory
Torsion spring adjustment is the clearest line between DIY and professional work. A torsion spring under full tension stores enough energy to cause severe injury or death if it releases unexpectedly — this is not a hyperbole, it is a documented hazard across the garage door service industry.
Leave these repairs to licensed technicians:
- Spring tension adjustment or full spring replacement
- Opener motor torque recalibration on LiftMaster, Chamberlain, or Genie units
- Bent track section replacement requiring bracket realignment
- Structural door panel damage causing door panel flex or frame distortion
Cost comparison matters here. A DIY track adjustment costs nothing beyond 30 minutes of time. Roller replacement runs $5–$15 per roller in parts. A professional service call for spring replacement typically costs $150–$350 depending on spring type and region — but attempting it yourself risks costs that are far higher.
Quick Wins: Get Your Door Closing Smoothly Again
Most garage door binding when closing traces back to track misalignment or roller wear — both of which are visible, testable, and fixable before a technician ever needs to arrive. Start today by running the string alignment test on both tracks and spinning each roller by hand to check for flat spots or wobble.
If those two checks come back clean, move to the sensor beam and weather stripping compression tests before assuming the problem requires a service call.