How to Seal a Garage Door to Make a Room
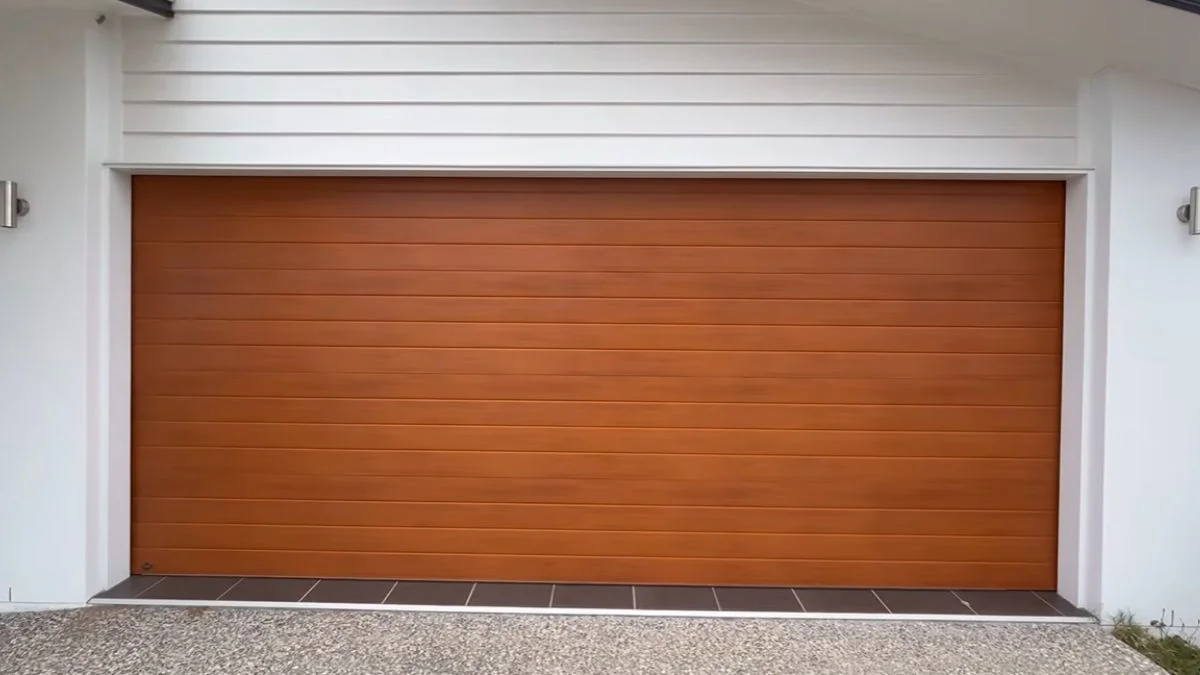
Most garage conversions fail not because of poor framing or insulation, but because the door opening was never properly sealed — leaving gaps that drain heat, invite moisture, and make the space unusable as a room.
The real frustration is knowing something is wrong — drafts, noise, condensation — but having no clear answer on whether you need weatherstripping, spray foam like Great Stuff, a full door panel replacement, or a combination of all three.
This guide walks you through every sealing method ranked by durability and cost, so you leave knowing exactly what materials to buy, where to apply them, and which approach fits your budget and conversion goals.
Sealing Methods Ranked by Durability and Cost
Weatherstripping the Panels, Sides, and Top
Weatherstripping is the lowest-cost entry point for any garage conversion — adhesive-backed or screw-mount rubber gaskets applied along the door’s sides and top seal the most common air gaps. Expect a 3–5 year lifespan before the material compresses and loses effectiveness. This method works well for renters or budget conversions where removing the door permanently is not an option. One critical limitation: weatherstripping alone does not block rodents or insects. For pest-proofing, you need a rigid door sweep or threshold seal in addition.
Bottom Threshold Seals
The gap between the garage door’s bottom edge and the floor is the single most overlooked thermal bridge in any garage-to-room conversion. A rubber or vinyl threshold seal — pressed against the floor and bonded with adhesive — closes this gap and prevents water infiltration and cold air from entering. Quality threshold seals from brands like Pemko or M-D Building Products last 5–7 years and cost under $40 for a standard 9-foot door width.
Spray Foam for Perimeter Air Gap Closure
Great Stuff Gaps and Cracks spray foam fills the irregular spaces between the door frame and surrounding wall structure. It is not a standalone weatherproofing solution — it works best paired with weatherstripping to create a comprehensive air seal. Apply only when temperatures are between 40–100°F, and allow 8 hours of full cure time before painting or covering.
Building a Wall Behind the Door
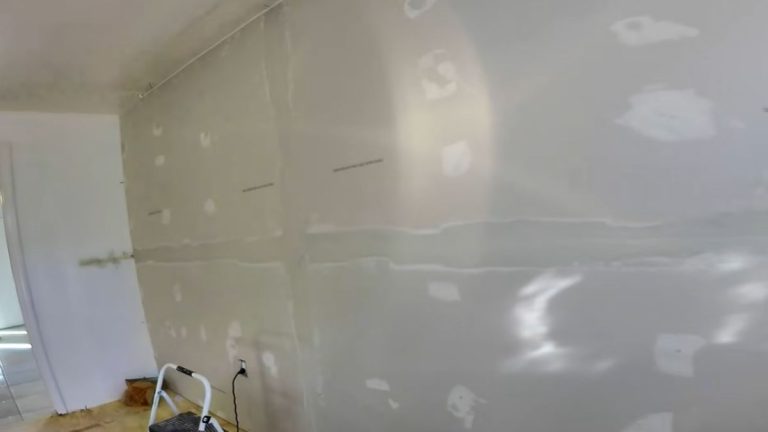
Framing a stud wall directly behind a sealed garage door, then adding batt insulation and drywall, delivers the highest thermal performance of any method. This approach permanently closes off the opening, integrates with your home’s existing insulation system, and eliminates panel gaps entirely. It costs the most — typically $500–$1,500 in materials for a standard two-car door opening — but it is the only method that truly converts the space into a livable room by building code standards in most jurisdictions.
Step-by-Step Installation Process
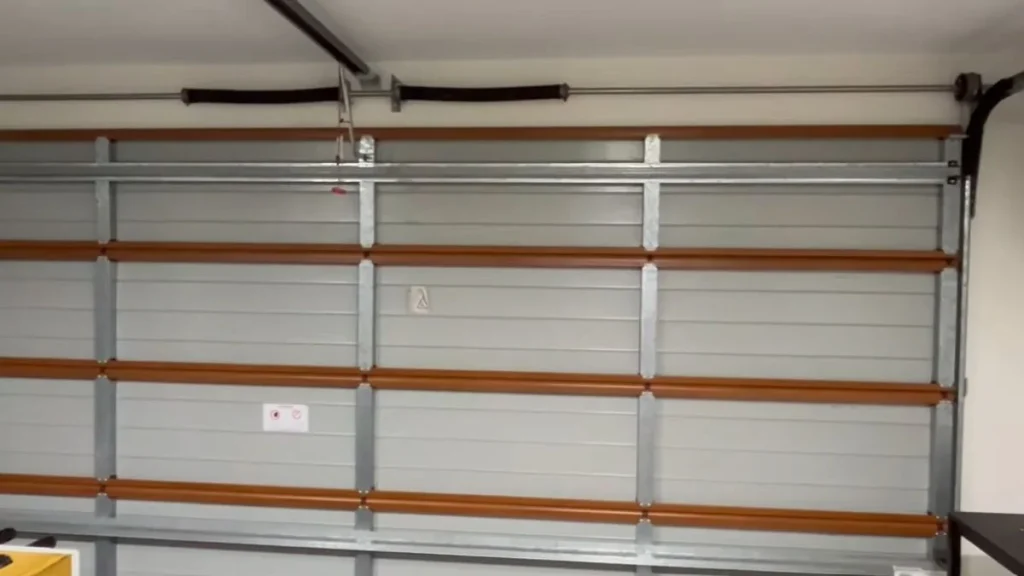
Preparation Phase
Start by closing the garage door completely and measuring every gap — sides typically run 0.25–0.5 inches, while the top gap varies based on frame settling. Use a flashlight inside a darkened garage to spot light bleeding through; any visible light means air, moisture, and pests can enter too. Clean all frame edges thoroughly with a degreaser like Simple Green to remove dust, grease, and old sealant debris. Adhesive weatherstripping and spray foam both fail on contaminated surfaces. Confirm the surface temperature is above 50°F before applying any adhesive product or foam, then mark your seal placement with chalk or painter’s tape as a guide.
Installing Weatherstripping
Cut each strip to the exact length of its corresponding side, top, or panel edge — never stretch the material to fit. Peel the adhesive backing and press firmly for 30 seconds per section to ensure full contact. After installation, operate the door several times. It should meet slight resistance at the seal but never bind or stick. Pay close attention to corners and seams, where overlapping strips can bunch and leave gaps.
Applying Spray Foam and Threshold Seals
Apply Great Stuff or an equivalent expanding foam in short bursts — the foam expands 2–3 times its initial volume and overfilling causes door binding. Allow 8–24 hours of cure time before trimming excess with a utility knife. For the threshold seal, follow the manufacturer’s guide precisely, using either fasteners or adhesive depending on the product and floor material.
Final Verification
Close the door and run the flashlight test again — zero light should pass through any seam. Operate the door 10 or more times to confirm smooth, binding-free movement. Inspect top corners specifically, as they are the most common location for missed gaps in garage door weather sealing projects.
Weatherproofing vs. Pest-Proofing: Critical Difference
Most DIYers treat these as the same problem. They are not.
Weatherstripping and spray foam seal against air infiltration, water intrusion, and dust — they handle the thermal insulation and weather sealing side of a garage conversion effectively. What they do not stop is rodents and insects. A mouse can compress its body through any gap larger than 0.25 inches. Standard rubber weatherstripping offers zero resistance to gnawing, and cured spray foam, while rigid, can be chewed through by persistent rodents within days.
What Rodent-Proof Sealing Actually Requires
Closing gaps to 0.125 inches or smaller is the threshold for effective rodent-proofing. That means rigid materials, not just rubber or foam. The practical solution is steel wool or 1/4-inch hardware cloth (galvanized steel mesh) packed into any gap larger than 1/8 inch before applying spray foam or weatherstripping over the top. The foam seals air; the mesh blocks entry. Products like Xcluder Fill Fabric — a commercial-grade stainless steel and poly fiber blend — are specifically rated for rodent exclusion and work well around door frame perimeters.
Why This Matters for Habitable Room Conversions
A garage-to-bedroom or garage-to-living-space conversion triggers different standards than simple weatherproofing. Pest intrusion in a habitable room is a health and habitability issue, not just an inconvenience. Adding steel mesh reinforcement behind threshold seals and at side frame gaps adds roughly $20–$50 in materials but is non-negotiable for any space where people will sleep or spend extended time. Treat pest-proofing and weather sealing as two separate checklists that must both be completed.
This is usually one step in a larger project — see the full guide to converting a garage into a master suite.
FAQ
Can you seal a garage door instead of removing it during conversion?
Yes. Combining weatherstripping along the perimeter, a threshold seal at the bottom, and a framed insulated wall built directly behind the closed door creates a livable, weatherproof barrier without permanent door removal — though removing the door entirely is still the most thermally efficient option.
What is the best material to seal a garage door for a room conversion?
No single material completes the job. The most durable approach combines rubber or vinyl weatherstripping for panel and frame gaps, Great Stuff spray foam for irregular perimeter air gaps, and batt insulation behind a framed drywall wall — this combination meets most local building code standards for habitable space.
How long do garage door seals last before needing replacement?
Weatherstripping typically lasts 3–5 years before compression reduces its effectiveness, while rubber or vinyl threshold seals hold up for 5–7 years under normal conditions. UV exposure, extreme temperature swings, and high foot traffic near the door bottom all accelerate wear and shorten replacement intervals.
Does sealing a garage door help with soundproofing?
Sealing gaps reduces sound transmission noticeably but does not eliminate it. For meaningful noise reduction in a garage-to-bedroom conversion, mass-loaded vinyl (MLV) added behind the door panel combined with a fully framed and insulated wall delivers the most significant acoustic improvement.
Ready to Convert Your Garage
The material you choose matters far less than how well you measure gaps and prepare surfaces before applying anything. Start today by closing your garage door, darkening the space, and running a flashlight along every seam — mark every point where light passes through, then use that map to build your materials list before buying a single roll of weatherstripping or can of Great Stuff.