How to Change WiFi Password on myQ: Step-by-Step Guide
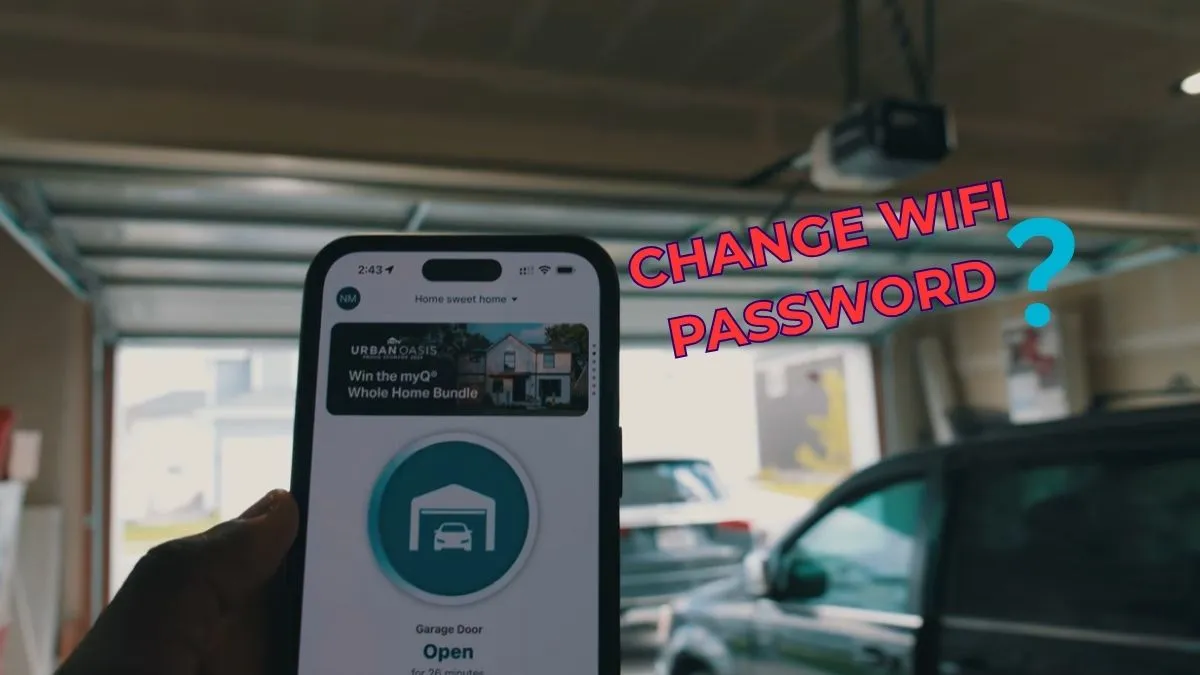
Changing your myQ garage door opener’s WiFi credentials takes under five minutes — yet it’s one of the most searched troubleshooting tasks for Chamberlain Group’s myQ platform, largely because button locations and app menus vary across hub models, wall-mounted units, and ceiling-mounted openers.
The real frustration hits after a router upgrade or ISP switch, when the myQ app goes offline and it’s unclear whether you need a simple network update or a full factory reset.
This guide gives you the exact steps, model-specific button differences, and the most common failure points — so your opener is back online without guesswork.
What Do the Buttons and LED Lights on Your myQ Device Actually Mean?
Before touching any settings, you need to identify which physical components your specific myQ device has — because the Learn button location and LED behavior differ across models.
Where Is the Learn Button?
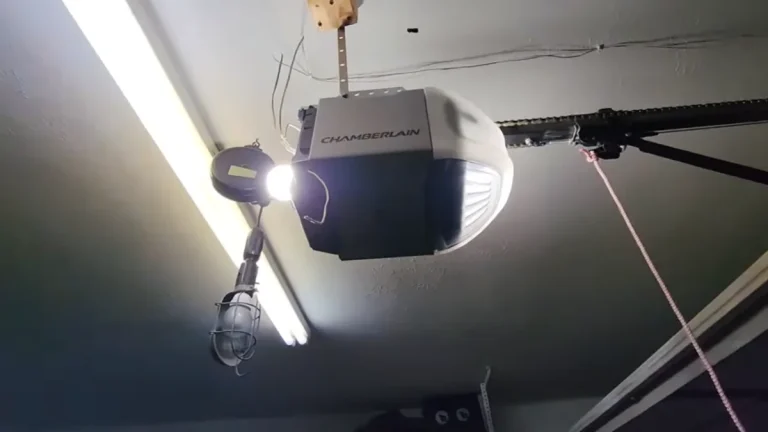
On ceiling-mounted Chamberlain and LiftMaster openers, the Learn button sits on the motor head unit — usually near the antenna wire, on the back or side panel. On wall-mounted openers like the Chamberlain B2405, it’s on the front face of the unit. The myQ Smart Garage Hub (model MYQ-G0401) has no Learn button at all; WiFi reconfiguration happens entirely through the myQ app Settings menu.
What the LED Colors Tell You
The LED indicator is your real-time status readout during any WiFi reconnection or device pairing process:
- Solid blue: Device is connected to WiFi and communicating normally
- Blinking blue: Device is in setup mode, broadcasting the temporary myQ-XXX network for initial connection
- Solid yellow/amber: Device is powered but not connected to your home network
- Blinking yellow: Device is attempting network authentication or searching for a signal
During myQ hub WiFi reconnection, you want to see blinking blue before proceeding — that confirms setup mode is active.
Hub vs. Opener: Which Device Manages the WiFi?
This distinction matters for WiFi reconfiguration. The myQ Smart Garage Hub is the standalone IoT device that handles wireless connectivity independently. Built-in WiFi openers — like the Chamberlain B4643T — manage the connection directly through the opener’s onboard hardware. In both cases, the myQ app serves as the control interface, but the reset sequence differs, which is why generic instructions often fail.
How to Change Your myQ WiFi Password Through the App
This is the core workflow for updating WiFi credentials on a myQ Smart Garage Hub after a router change or password update. Complete these steps in order — skipping the disconnect step is the most common reason the process fails.
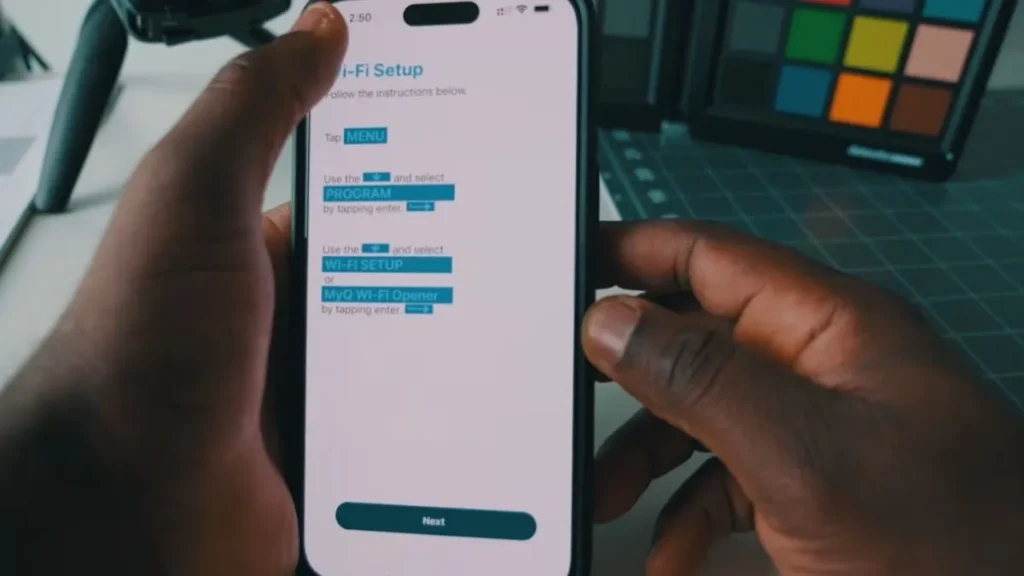
Step 1: Open the myQ App and Navigate to Settings
Open the myQ app on your iOS or Android device. Tap the menu icon (three horizontal lines) in the top-left corner, then select Devices. Locate your hub or opener in the device list and tap the gear icon to open its settings panel.
Step 2: Disconnect the Device from the Current Network
Inside the device settings, tap WiFi Network or Change WiFi Network — the exact label depends on your app version. The app will prompt you to confirm disconnection from the existing network. Confirm it. This clears the stored network authentication credentials and puts the device into setup mode, triggering the blinking blue LED.
Step 3: Connect to the myQ-XXX Temporary Network
Your phone’s WiFi settings will need to connect to the temporary myQ-XXX network the hub broadcasts during smart home hub initialization. Go to your phone’s WiFi settings, select the myQ-XXX network, then return to the myQ app.
Step 4: Enter Your New WiFi Credentials
The app will display a network selection screen. Choose your home network SSID (network name) from the list and enter the new password. Double-check for capitalization errors — network authentication failures at this step are almost always a password typo.
Step 5: Confirm the Connection
A successful myQ hub WiFi reconnection produces a solid blue LED within 30-60 seconds. The app will also display a “Connected” status under the device name. If the LED stays yellow, repeat from Step 2.
WiFi Reset Procedures by Device Type
The reset sequence for myQ WiFi settings is not universal — the correct method depends on whether you have a standalone hub, a ceiling-mounted opener, or a wall-mounted unit. Using the wrong procedure wastes time and can leave the device in an unresponsive state.
myQ Smart Garage Hub (Model MYQ-G0401)
Press and hold the Settings button (gear icon) on the side of the hub for 6 seconds until you hear 3 beeps and the LED begins blinking blue. This clears the stored WiFi credentials without performing a full factory reset. The device immediately enters smart home hub initialization mode and broadcasts the myQ-XXX network, ready for WiFi reconfiguration through the app.
Ceiling-Mounted Openers (Chamberlain and LiftMaster)
On built-in WiFi models like the Chamberlain B4643T or LiftMaster 87504-267, the WiFi reset is triggered through the myQ app Settings menu rather than a physical button. The Learn button on these units handles device pairing for remotes and keypads — not WiFi. Pressing the Learn button during a WiFi reconnection attempt is the most common error in Chamberlain myQ WiFi troubleshooting.
Wall-Mounted Openers
The Chamberlain B2405 and similar wall-mounted models use the same app-based WiFi reconfiguration workflow as ceiling units. However, physical access to the motor unit is easier, so manually verifying the gear button LED indicator during the process is more straightforward.
LiftMaster vs. Chamberlain: Key Differences
Both brands run on the same myQ platform and use identical app-based device control. The difference is firmware labeling — LiftMaster units are sold through professional dealers and may show slightly different menu labels in the app, but the core IoT device management steps are identical.
How to Connect Through the Temporary myQ-XXX Network
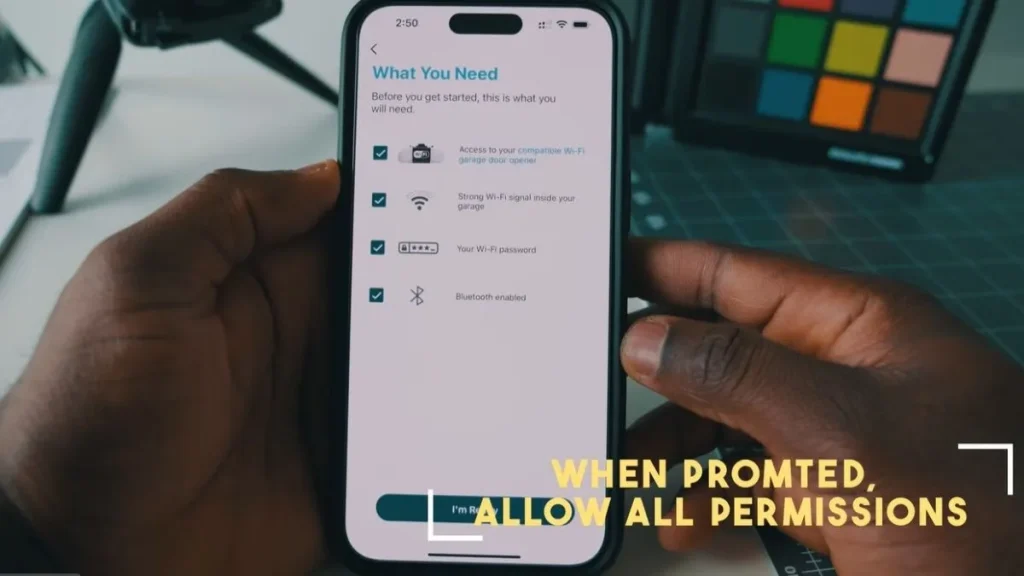
The myQ-XXX network is a short-lived access point your myQ device creates during setup mode — it exists solely to establish a direct, local connection between your phone and the device so the myQ app can push new WiFi credentials to it. Without connecting to this temporary network first, the app cannot communicate with the device to complete WiFi reconfiguration.
Why the myQ-XXX Network Appears
During smart home hub initialization or any WiFi reset sequence, the myQ device temporarily acts as its own wireless access point. This is standard IoT device management practice — the device needs a communication channel before it has valid network authentication credentials for your home router. The blinking blue LED confirms this mode is active.
Finding the myQ-XXX Network on Your Phone
Open your phone’s WiFi settings while standing within 10 feet of the myQ device. Look for a network named myQ- followed by a string of letters and numbers — for example, myQ-A3F7B2. It typically appears within 60 seconds of the device entering setup mode. If it doesn’t appear, repeat the 6-second button hold on the hub to re-trigger initialization.
Switching to the Temporary Network
Tap the myQ-XXX network name and connect. Your phone will likely display a “No internet connection” warning — this is expected and normal. Do not tap “Switch to mobile data” or allow your phone to auto-reconnect to your home network, as either action will break the local connection and interrupt the reconfiguration process.
Returning to the myQ App
Once connected to the myQ-XXX network, switch back to the myQ app immediately — do not open other apps or browse the web. The app detects the local connection automatically and advances to the credential entry screen, where you select your home network SSID and enter the updated password to complete the myQ hub WiFi reconnection.
Troubleshooting myQ WiFi Connection Failures
Most myQ WiFi reconfiguration failures trace back to 4 specific causes — a wrong password, a phone setting interrupting the temporary connection, a stale app state, or a router compatibility issue. Work through these in order before assuming the device is faulty.
Device Won’t Connect After Password Change
If the LED stays yellow after entering new credentials, the most likely cause is a password entry error. Re-enter the password with your home network’s exact capitalization and special characters. Also confirm the device is connecting to a 2.4GHz network — myQ devices do not support 5GHz bands, and many modern routers broadcast both frequencies under the same SSID, which causes silent network authentication failures.
“Device Offline” Error After Router Change
A myQ device offline after router change error usually means the device still holds the old network credentials. Return to the myQ app Settings menu, force-disconnect the device from the previous network, and run the full WiFi reset sequence again from Step 1. Simply changing your router password without re-pairing the device will always produce this error.
iPhone Private Relay Blocking the Connection
Apple’s iCloud Private Relay, available on iOS 15 and later, routes traffic through Apple’s servers and can block the direct local connection required during myQ-XXX network communication. To fix this, go to Settings > Apple ID > iCloud > Private Relay and toggle it off temporarily during WiFi reconfiguration. Re-enable it once the device shows a solid blue LED and “Connected” status in the app.
App Not Recognizing Device After Network Switch
If the myQ app shows the device as unresponsive after a successful network change, force-close the app and reopen it. If the device still doesn’t appear, navigate to Devices in the app menu, tap the gear icon for the affected unit, and select Remove Device. Then run a fresh device pairing sequence — the opener or hub retains its physical configuration, so re-pairing does not affect programmed remotes or access schedules.
WiFi Security and Smart Home Integration After Reconnection
Completing the WiFi reconfiguration is not the final step — you also need to verify that your network security settings are compatible with myQ and that any smart home integrations survived the network change.
Encryption Standards: What myQ Supports
The myQ platform requires WPA2 or WPA3 network authentication to establish a stable wireless connectivity. WEP and open (unsecured) networks are not supported. According to Chamberlain Group’s support documentation, myQ devices also require a 2.4GHz band connection — if your router uses WPA3-only mode on the 2.4GHz band and the device fails to connect, switch the router to WPA2/WPA3 mixed mode, which maintains security while restoring router compatibility.
Re-Syncing Alexa and Google Home After WiFi Reconnection
Smart home integrations through Amazon Alexa and Google Home connect to your myQ account, not directly to the device’s wireless connection. In most cases, these integrations remain active after a myQ hub WiFi reconnection because the account-level link stays intact. However, if Alexa or Google Home reports the garage door as unresponsive after the network change, open the respective app and run device discovery:
- Alexa: Say “Alexa, discover devices” or go to Devices > Add Device in the Alexa app
- Google Home: Open the app, tap the device tile, and select Settings > Unlink > Relink
Verifying All Integrations Are Active
After reconnection, test every integration individually. Trigger the opener through Alexa, Google Home, and the myQ app separately. Check that any scheduled access routines or activity alerts in the myQ app Settings menu are still firing correctly — network changes occasionally reset notification preferences on older app versions.
Get Back in Control
The myQ WiFi reconfiguration process follows the same core sequence across every Chamberlain and LiftMaster model — app disconnect, myQ-XXX temporary network connection, new credential entry, solid blue LED confirmation. Open the myQ app now, navigate to your device’s gear icon settings, and run through the five steps in Section 3 — most homeowners complete the full reconnection in under four minutes.