How to Caulk Around a Garage Door: Complete Guide

A single unsealed gap along your garage door frame can add up to 10% to your annual heating and cooling bill.
Most homeowners face the same problem: visible gaps or cold drafts around the garage door frame but no clear guidance on which caulk to buy, which surfaces to prep, or how to apply it without a mess.
This guide walks you through every step — from choosing the right sealant for wood or metal frames to applying a clean, weatherproof bead — so you can seal your garage door properly in a single afternoon without hiring a contractor.
Caulk Types: Choosing the Right Material for Your Garage Door

The caulk you choose determines how long the seal lasts — pick the wrong type and you’ll be resealing within a single season.
Latex Caulk
Latex caulk cleans up with water, accepts paint, and costs under $5 per tube. The problem is durability. It cracks and shrinks in temperature extremes, making it a poor choice for exterior garage door frame sealing where surfaces expand and contract year-round. Use it only for interior trim gaps where weather exposure is minimal.
Silicone Caulk
Silicone caulk is the professional standard for exterior applications. It stays flexible from -65°F to 400°F, bonds to metal and glass, and resists water intrusion and UV degradation. GE Sealants Advanced Silicone 2 is a widely recommended product for garage door frames. The trade-off: standard silicone is non-paintable and requires mineral spirits for cleanup.
Synthetic Rubber Caulk
Products like Quad Max and Solar Seal 900 use synthetic rubber formulas that outperform both latex and silicone on adhesion and lifespan — often lasting 20+ years on wood and metal frames. These are the best choice when draft prevention and pest prevention are the primary goals.
Paintable Silicone-Latex Hybrids
Hybrids combine silicone flexibility with latex paintability. Loctite PL Polyurethane Sealant is one reliable option for composite or wood frames where matching trim color matters.
Material Selection by Frame Type
| Frame Type | Best Caulk Choice |
|---|---|
| Wood | Synthetic rubber or paintable hybrid |
| Metal | 100% silicone |
| Composite | Paintable silicone-latex hybrid |
Preparing Your Garage Door Frame for Caulking
Proper prep is what separates a seal that lasts 10 years from one that peels off in 10 months. Skipping this step is the most common DIY mistake.
Identifying Problem Areas
Walk the full perimeter of the garage door frame in daylight with the door closed. Look for 4 specific signs:
- Cracked, shrinking, or discolored old caulk
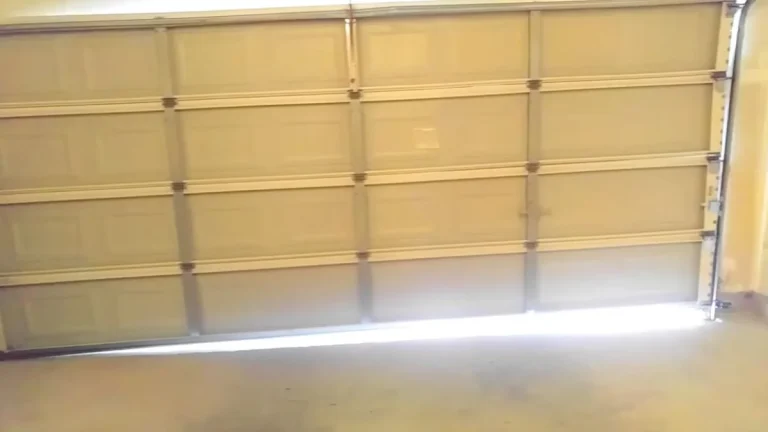
- Visible daylight through gaps between the frame and siding
- Soft or spongy wood indicating water intrusion damage
- Insect trails or debris packed into gaps, signaling pest prevention failure
Gaps wider than 1/4 inch may require a backer rod — a foam rope inserted into the gap before caulking — to give the sealant proper support and prevent it from sinking.
Removing Old Caulk
Cut along both edges of the old caulk bead using a utility knife. Use a plastic scraper or a dedicated caulk removal tool like the Husky 6-in-1 to lift and pull the old material free. For stubborn silicone residue on metal frames, apply Goo Gone Caulk Remover, let it sit 2-3 minutes, then scrape clean.
Cleaning and Priming the Surface
Wipe the entire frame with a damp cloth, then let it dry completely — at least 1 hour in direct sun or 2-3 hours in shade. Adhesion fails on dusty or damp surfaces regardless of caulk quality.
On bare or porous wood, apply a thin coat of DAP Weldwood Contact Primer before caulking. Primer creates a chemical bond that dramatically improves adhesion for both synthetic rubber and silicone caulk on wood garage door frames.
When to Call a Professional
Soft, rotted wood or widespread moisture staining behind the frame signals structural damage. Caulking over rot traps moisture and accelerates deterioration. Address the underlying damage first.
Applying and Finishing Caulk Like a Professional
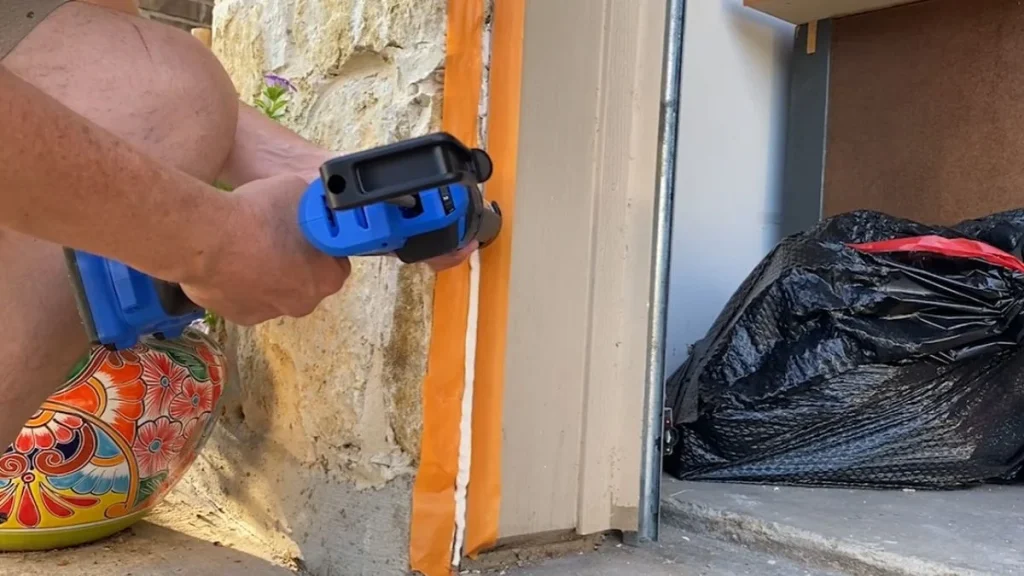
Good caulking gun technique accounts for at least half the quality of the finished seal. A smooth, consistent bead is not just cosmetic — gaps and air pockets in the bead are direct pathways for water intrusion and drafts.
Cutting the Tube Correctly
Cut the nozzle tip at a 45-degree angle using a utility knife. The opening size determines bead width — cut closer to the tip for a 1/4-inch bead, further back for a wider gap. For most garage door frame sealing work, a 1/4-inch opening is the right starting point. Puncture the inner foil seal with the built-in rod on your caulking gun before loading.
Maintaining a Consistent Bead
Hold the gun at a 45-degree angle to the surface and pull — never push — the gun along the joint. Apply steady, even trigger pressure throughout. Slow down through corners rather than stopping; stopping mid-bead creates air pockets that compromise the weather seal. A smooth-rod caulking gun like the Newborn 930-GTD gives better pressure control than a ratchet-style gun for long runs.
Smoothing the Bead
Smooth the bead within 60 seconds of application before a skin forms. For silicone caulk, dip a finger in dish soap and water to prevent sticking. For latex or paintable hybrids, a damp sponge works cleanly. The Anvil Caulk Finishing Tool shapes a concave profile that improves adhesion by pressing the sealant firmly into the joint edges.
Drying Time by Material
| Caulk Type | Skin Time | Full Cure |
|---|---|---|
| Latex | 30 minutes | 24 hours |
| Silicone | 30-60 minutes | 24-48 hours |
| Synthetic rubber | 1-2 hours | 7 days |
Do not paint over any caulk before it reaches full skin time. In high humidity or temperatures below 40°F, add 50% to every cure estimate.
Caulk vs. Weather Stripping: Which Sealing Method to Use
Caulk and weather stripping solve different problems — using one where you need the other is why drafts persist even after a fresh seal.
When Caulk Is the Right Choice
Caulk belongs on any stationary joint where two surfaces meet and don’t move. On a garage door frame, that means the seam between the door casing and the exterior siding, gaps where the frame meets brick or stucco, and any fixed corner joints. Silicone caulk and synthetic rubber sealants bond permanently to these surfaces, creating an airtight barrier against water intrusion, drafts, and pest entry. Trying to caulk a moving part — like the bottom edge of the door itself — will crack the bead within weeks.
When Weather Stripping Is the Right Choice
Weather stripping handles the dynamic gaps created by a door in motion. The bottom seal, side compression seals, and top seal all compress and release every time the door operates. Products like M-D Building Products Vinyl Bulb Threshold Seal and Frost King Garage Door Bottom Seal handle this mechanical flex without cracking. These are the correct weather stripping alternatives for any gap that opens and closes with door movement.
Layering Both for Maximum Performance
The most effective garage door weather sealing strategy uses both methods together. Apply exterior caulk for garage doors along all fixed frame-to-siding joints first. Then install weather stripping on all four door edges. According to the U.S. Department of Energy, properly air-sealing and insulating garage spaces can reduce household energy loss by up to 30%, and layering both sealing methods covers every gap type in a single project.
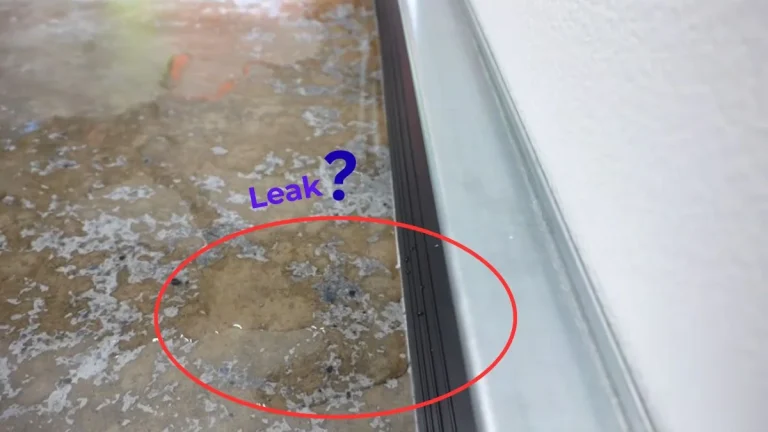
Caulking helps, but if water is still getting in at the bottom, you may need this fix instead.
Frequently Asked Questions
What’s the single best caulk for garage doors?
Quad Max by OSI is the strongest all-around choice for most garage door frames — it bonds to wood, metal, and composite without primer, stays flexible across extreme temperatures, and carries a lifetime warranty. For metal frames specifically, GE Sealants Advanced Silicone 2 is the professional standard.
Do I need to prime before caulking my garage door frame?
Priming is only necessary on bare, porous, or previously painted wood frames where adhesion is a concern. Apply DAP Weldwood Contact Primer to raw wood surfaces and let it dry fully before caulking — this step is optional on metal or composite frames where silicone bonds directly without a primer coat.
How long does caulk need to dry before exposure to weather?
Latex caulk needs at least 24 hours before rain exposure, silicone caulk needs 24-48 hours, and synthetic rubber products like Quad Max require up to 7 days to fully cure. All of these timelines extend by 50% or more in cold temperatures below 40°F or high humidity conditions above 80% relative humidity.
Seal Your Garage Door and Stop the Drafts
Choosing the right caulk for your frame type — silicone for metal, synthetic rubber for wood — matters more than any single application technique. This weekend, walk the perimeter of your garage door frame, identify every stationary gap where the casing meets the siding, and apply a tube of Quad Max or GE Advanced Silicone 2 to seal them permanently.
Add weather stripping to the four door edges and you’ve covered every air and water entry point in a single afternoon.