LiftMaster Garage Door Opener Not Working with Remotes? Fix Guide
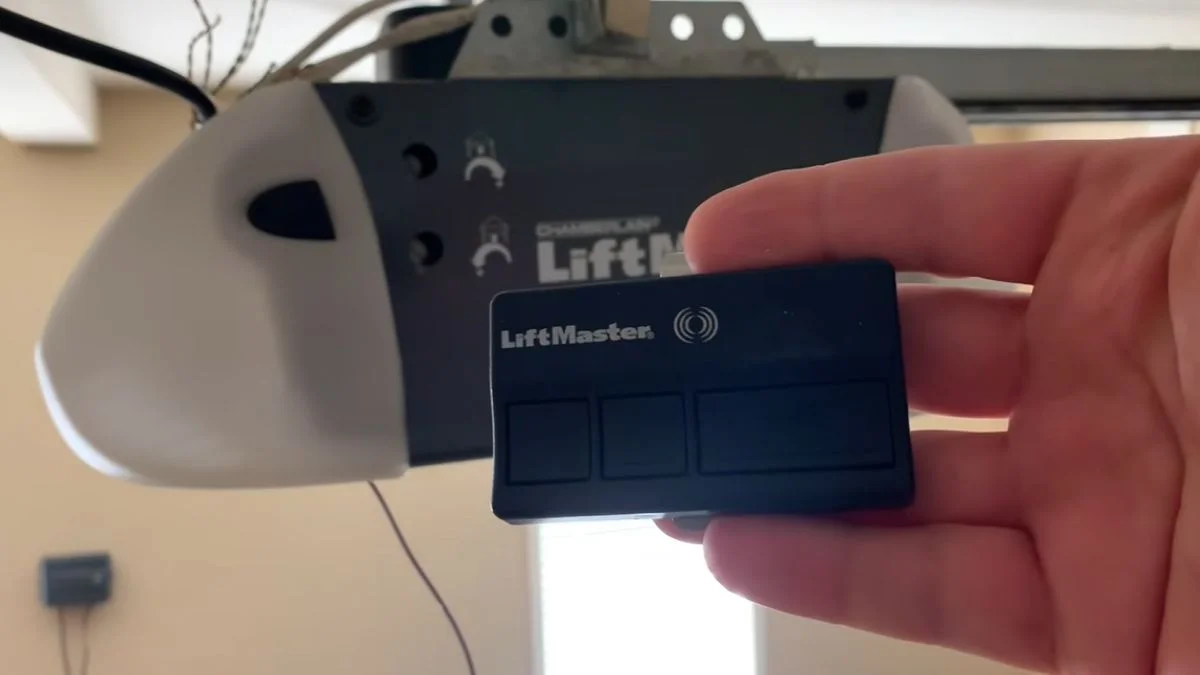
A LiftMaster garage door opener not working with remotes is one of the most common homeowner complaints — and according to Chamberlain Group’s official support documentation, the majority of remote failures trace back to just 3 fixable causes: dead batteries, lost programming, or a tripped receiver.
The real frustration is not knowing where to start — most people replace the remote entirely when a 30-second fix would have solved it.
This guide walks you through a clear diagnostic path, from a basic battery check through receiver reset, so you can identify and fix the exact problem without guessing or calling a technician.
Battery Issues and Replacement
How to Check and Replace Batteries Correctly
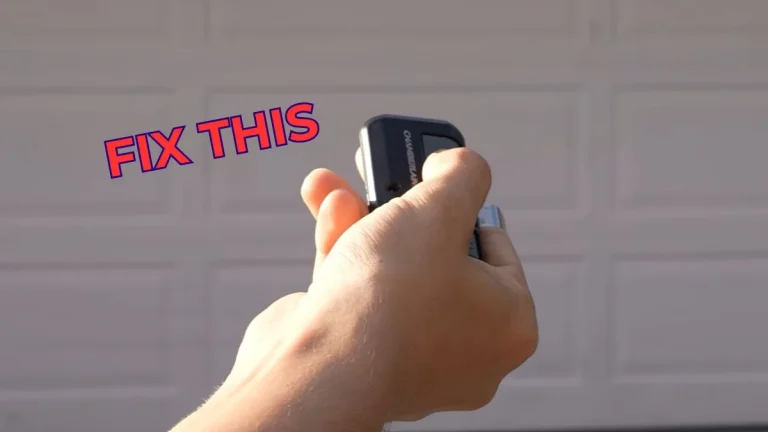
Press any button on your remote and watch the LED indicator. If the light does not turn on at all, the battery is dead or critically low — this single test eliminates every other variable before you touch the opener itself.
Most LiftMaster remotes use a 3V CR2032 lithium coin cell or a 12V A23 alkaline battery, depending on the model. Check the inside of the battery compartment — LiftMaster prints the required battery type directly on the housing. Inserting the wrong voltage will produce weak or no signal even with a brand-new battery.
When replacing, match the polarity markings exactly. A reversed battery will show no LED response and is frequently misdiagnosed as a receiver synchronization failure. After installing a fresh battery, test the remote within 5 feet of the opener before assuming a signal or pairing issue.
Signs of Battery Failure vs. Receiver Problem
Battery failure and a receiver problem can look identical from the outside. Here is how to tell them apart:
- Intermittent response — remote works sometimes but not consistently — points to a weak battery or marginal RF signal, not a failed receiver.
- Complete nonresponsiveness with a lit LED — the remote is transmitting, but the LiftMaster receiver is not responding. This is a receiver or programming issue.
- Multiple remotes failing at the same time — if two or more remotes stop working simultaneously, the receiver is almost certainly the problem. Fresh batteries will not fix this.
Start with one confirmed working remote after a battery swap. If that remote still fails, move to remote pairing protocol and Learn button diagnostics.
Remote Reprogramming and Syncing
Step-by-Step Learn Button Programming
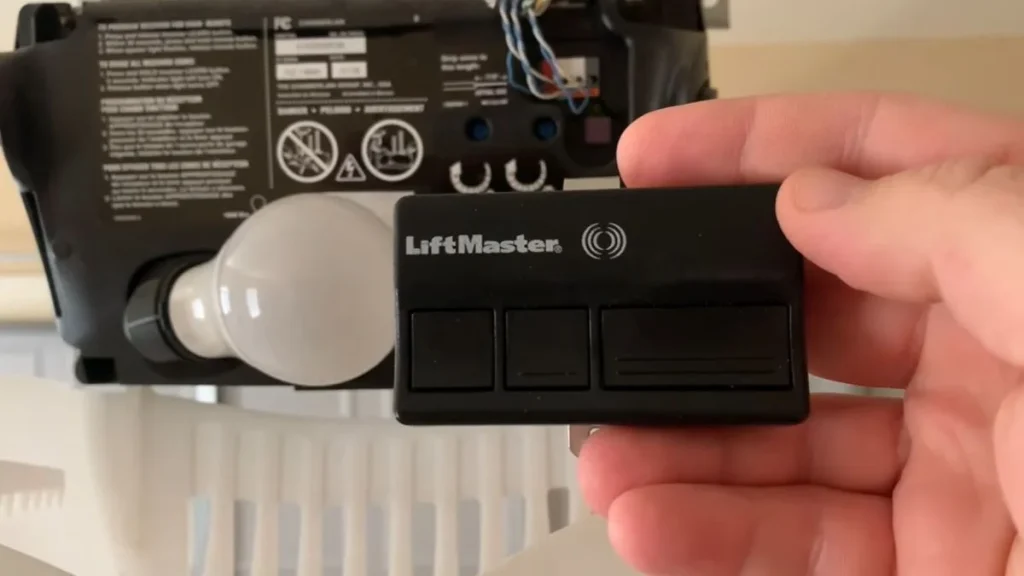
The Learn button is the control center for receiver synchronization on every LiftMaster opener. Find it on the back or side of the motor unit — it is a small, square button next to an LED indicator. The button color varies by model: yellow on older 315 MHz units, purple on 390 MHz models, and orange or green on newer MyQ-compatible openers. The color matters because it tells you which remote pairing protocol and RF frequency your opener uses.
Follow these steps exactly:
- Press and release the Learn button. The LED next to it will light up for 30 seconds — this is your programming window.
- Within those 30 seconds, press the button on your remote 3 times. Press firmly and fully each time.
- Watch the opener’s lights. A single bulb flash or two clicking sounds from the motor unit confirms successful receiver synchronization.
- Test immediately by pressing the remote from your normal operating distance.
Common Programming Failures and Fixes
If the Learn button LED does not light at all, the motor unit may have lost power or tripped an internal fault — check the outlet and reset the opener by unplugging it for 30 seconds.
If the remote was successfully programmed but remains unresponsive, RF signal interference is the likely cause. LED light bulbs in the opener housing are a documented source of interference with LiftMaster’s 315 MHz and 390 MHz signals — swap them for incandescent or interference-free bulbs rated for garage door openers.
If multiple remotes stop working after reprogramming one, you may have accidentally cleared all stored remotes. Pressing and holding the Learn button for 6 seconds performs a full receiver reset, erasing every paired remote. Reprogram each one individually after that reset.
Vacation Mode and Hidden Locks
Identifying Unintentional Safety Blocks
Vacation mode is one of the most overlooked causes of a LiftMaster receiver not responding to remotes — and it requires zero tools to fix once you know where to look.
LiftMaster’s vacation mode, also called the remote lock feature, disables all RF signal input from paired remotes while keeping the wall control functional. It exists specifically to prevent unauthorized remote access while you are away. The problem is that household members sometimes activate it accidentally by holding the lock button on the wall control panel for 2 seconds. When active, the wall control displays a lock icon, and the opener’s LED may flash a distinct pattern rather than responding to remote button presses.
Here is what to check, in order:
- Wall control lock button — press and hold for 2 seconds to toggle vacation mode off. The lock icon should disappear from the display.
- Wall control diagnostics — if the wall panel is unresponsive or shows error codes, the control panel itself may be faulty, which blocks all remote functions as a secondary effect.
- Smart home integration conflicts — if your opener is connected to a MyQ hub or a third-party smart home platform like Google Home or Amazon Alexa, a misconfigured automation rule can override manual remote commands. Check the MyQ app for any active scheduling or access restrictions.
- Antenna position on motor unit — a bent or tucked antenna wire reduces garage door remote range and signal reception significantly. It should hang straight down from the motor housing.
Resolving a vacation mode lock takes under 60 seconds and restores full remote function without any reprogramming or Learn button reset.
Intermittent vs. Complete Remote Failure
Diagnosing Sporadic Function Patterns
Intermittent failure is actually harder to diagnose than complete nonresponsiveness — because the remote works just often enough to make you doubt the diagnosis. The pattern of failure is the clue.
Distance and obstruction are the first variables to test. LiftMaster remotes transmit at 315 MHz or 390 MHz RF frequencies, both of which lose signal strength through dense materials. A concrete block wall, a metal-clad garage door, or even a vehicle parked between the remote and the antenna can reduce effective range from 50 feet down to under 10. Test by walking directly up to the motor unit and pressing the remote within 3 feet. If it works at close range but not from the driveway, the issue is garage door remote range and signal, not programming.
RF signal interference is the second major cause of sporadic function. Common sources include:
- LED bulbs installed in the opener’s light socket (documented interference on 315 MHz and 390 MHz bands)
- Nearby Wi-Fi routers operating on the 2.4 GHz band
- Baby monitors, wireless security cameras, and cordless phones
- Power lines or electrical panels mounted on the same wall as the opener
Receiver sensitivity degradation affects openers older than 10-15 years. The receiver’s internal components wear over time, reducing their ability to detect weak RF signals. If your opener is a pre-2010 LiftMaster model and no other fix resolves the issue, an external receiver module — available from Chamberlain Group directly — can restore full function without replacing the entire unit.
Temperature and moisture also affect performance. Extreme cold below 20°F reduces battery output by up to 50%, causing remotes to transmit at insufficient power. A remote that fails in winter mornings but works by midday is almost always a battery output problem, not a receiver synchronization failure.
Since LiftMaster openers often run on the MyQ app, resetting it can solve most remote-pairing issues too.
When to Replace vs. Troubleshoot
Deciding Between Repair and Replacement
Not every remote problem is worth solving through troubleshooting. At a certain point, replacement is faster, cheaper, and more reliable than chasing an intermittent fault.
Start with your model number. The LiftMaster model number is printed on a label on the back or side of the motor unit. Use that number on Chamberlain Group’s official accessories page (accessories.liftmaster.com) to pull the exact remote compatibility matrix for your opener. This tells you which remotes are confirmed compatible, which frequencies they use, and whether your unit supports MyQ smart features. Using an incompatible remote — even one that looks identical — will never achieve receiver synchronization regardless of how many times you attempt the Learn button reset.
Compare costs before deciding:
| Solution | Approximate Cost | Best When |
|---|---|---|
| Replacement remote (OEM) | $25–$45 | Remote is damaged or lost |
| Universal remote (Chamberlain KLIK1U) | $20–$35 | Budget replacement, confirmed compatible |
| External receiver module | $30–$55 | Receiver failing, opener otherwise functional |
| Full opener replacement | $150–$500+ installed | Unit is 15+ years old, multiple failures |
Age is a deciding factor. LiftMaster openers manufactured before 2011 use the older 315 MHz fixed-code or rolling-code protocol. Replacement remotes for these units are increasingly scarce, and receiver components are no longer covered under Chamberlain Group’s standard warranty. If your opener predates 2011 and has required multiple repairs, full replacement delivers better long-term value than continued remote pairing protocol troubleshooting.
Physical damage to the remote — cracked housing, stuck buttons, or a corroded battery compartment — is never worth repairing. A direct OEM replacement from LiftMaster runs $25–$45 and comes pre-configured for your frequency band.
FAQ
Is there a reset button on LiftMaster garage door openers?
LiftMaster does not have a dedicated reset button, but the Learn button serves that function. Pressing and holding the Learn button for 6 seconds until the LED goes out erases all paired remotes and returns the receiver to factory default, after which you reprogram each remote individually.
How do I reprogram my LiftMaster remote using the Learn button?
Press and release the Learn button on the motor unit — the LED will light for 30 seconds. Within that window, press your remote button 3 times. A light flash or two clicks from the opener confirms successful synchronization.
Why does my LiftMaster remote work sometimes but not other times?
Intermittent function almost always points to one of 3 causes: a weak battery reducing transmission power, RF signal interference from LED bulbs or nearby Wi-Fi equipment, or physical obstructions cutting effective range. Replace the battery first, then check for LED bulbs in the opener’s light socket and swap them for incandescent or interference-rated alternatives.
Get Your Remote Working Again
The large majority of LiftMaster remote failures resolve through one of three fixes — battery replacement, a Learn button reprogram, or disabling an active vacation mode lock — none of which require tools or technical experience. Start with the battery test right now: press your remote and check whether the LED lights up, then work through the steps in this guide from that result.
If the opener shows no power, the Learn button LED never activates, or the door behaves erratically during testing, contact a licensed garage door technician before continuing.