Chamberlain Garage Door Opener Lights Not Working: 5-Step Fix Guide
Chamberlain is the world’s largest manufacturer of garage door openers, yet even their most reliable units frequently develop light failures that leave homeowners fumbling in the dark — and the fix is almost always something you can handle yourself.
When your Chamberlain garage door opener lights not working situation strikes, the real frustration is not knowing whether you are facing a dead bulb, a tripped socket, a wiring fault, or a failed logic board.
This guide walks you through 5 systematic steps to diagnose and restore your opener’s lights without an unnecessary service call.
Step 1: Replace the Light Bulb
A failed bulb is the cause of Chamberlain garage door opener lights not working in the majority of cases — and it takes under five minutes to rule out.
Correct Bulb Types for Chamberlain Models
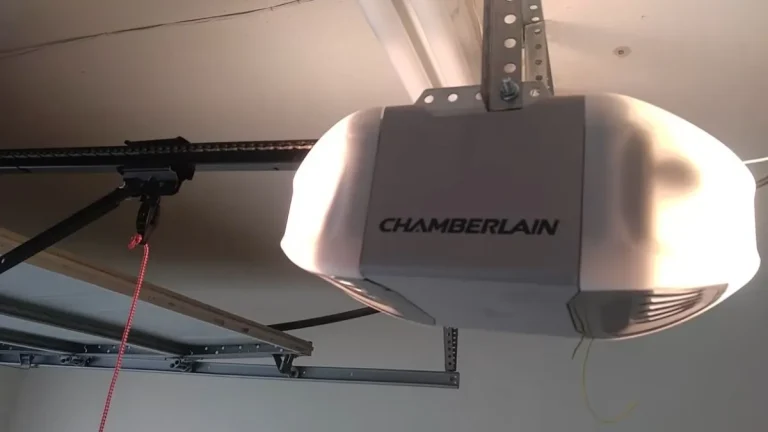
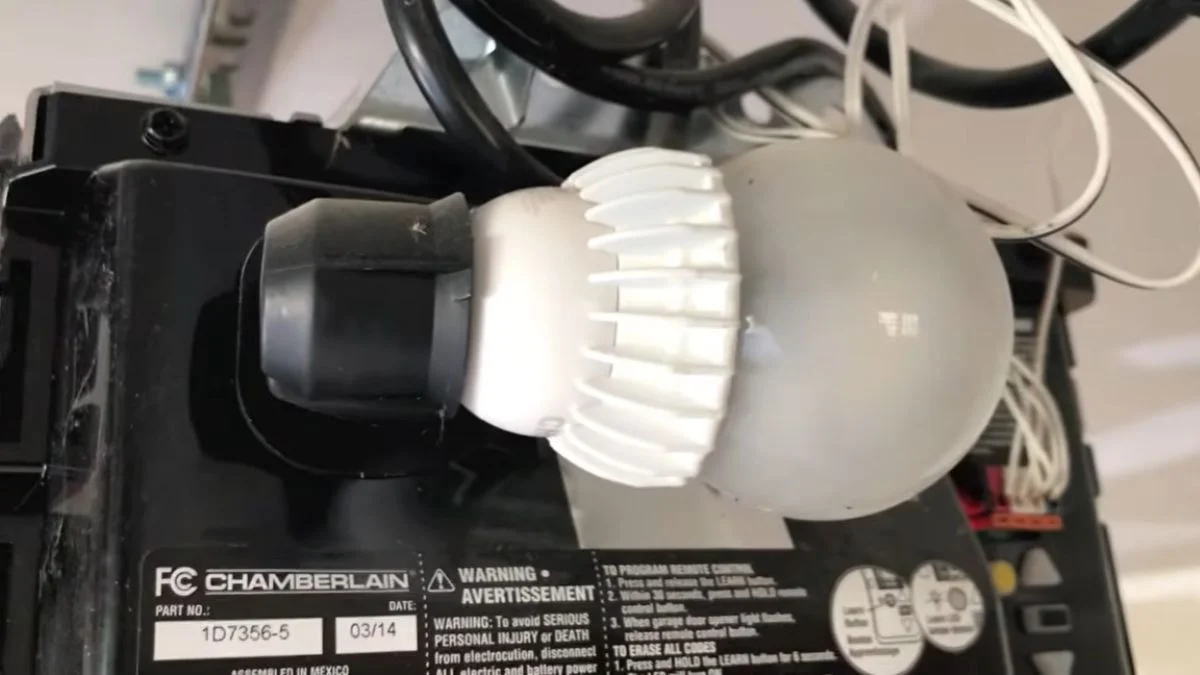
Chamberlain specifies a maximum of 100 watts for incandescent bulbs in most standard models, but the more common recommendation across their current lineup is a 40W or 60W A19 medium-base bulb. Candelabra-base sockets appear in select compact models like the C2405, so check your owner’s manual before buying a replacement.
LED conversion is possible but requires caution. Chamberlain’s own support documentation warns that certain LED and CFL bulbs emit radio frequency interference that disrupts the opener’s signal. Chamberlain-branded LED bulbs (model CLED1) are specifically engineered to avoid this interference — using a generic LED risks triggering the motion sensor erratically or causing the light to flash on and off without input.
Safe Removal and Socket Inspection
Always disconnect power before touching the socket. Unplug the opener from the ceiling outlet or trip the dedicated circuit breaker — do not rely on the wall switch alone.
With the unit de-energized, remove the light cover and extract the bulb. Inspect the socket for three things:
- Corrosion or green discoloration on the contacts
- Burn marks or melted plastic indicating a past overload
- Debris or insect nests blocking the contacts
Insert a known-good household bulb of the correct wattage. Restore power and test. If the light works, bulb type compatibility was the entire problem. If it stays dark, move to Step 2.
Step 2: Clean the Socket and Check Wiring
If a known-good bulb still produces no light, the problem has shifted from the bulb itself to the socket or the wiring connection feeding it.
Socket Corrosion and Contact Issues
Garage environments are humid and temperature-variable, which accelerates oxidation on metal contacts. The most common visual sign is white or greenish buildup on the brass socket contacts — this is Chamberlain light socket corrosion, and it breaks the electrical circuit even when a bulb is fully seated.
Here’s what to check and fix:
- White oxidation on contacts: Dampen a non-abrasive cloth with isopropyl rubbing alcohol (70% or higher) and scrub the contacts firmly. Let them dry completely before reinserting a bulb.
- Center contact pin: This small tab at the base of the socket must make firm contact with the bulb’s bottom. If it is flattened or pushed down, gently pry it up 1-2mm with a wooden toothpick — never a metal tool while power is connected.
- Damaged threads: Stripped or cracked socket threads prevent a secure bulb seat. A socket in this condition needs replacement, not cleaning.
Loose Wire Connections
With power fully disconnected, locate the two wires running to the light socket — typically held by terminal screws or push-in connectors inside the motor head housing.
Check for:
- Wires that pull free with light finger pressure (reseat and tighten firmly)
- Dark discoloration or brittleness on the wire insulation near the terminal
Do not attempt to splice or extend wiring yourself. If the wire insulation is cracked, melted, or the terminal screw is visibly corroded beyond cleaning, stop and contact a licensed electrician or Chamberlain-authorized technician. Damaged wiring is a fire risk, and DIY repairs in this area can void your warranty.
Step 3: Verify Timer Settings and Feature Activation
Many homeowners skip this step entirely — and it turns out their light was never broken, just programmed off. Chamberlain garage door light timer settings can be configured to disable the light completely, which looks identical to a hardware failure.
Default Light Settings Often Disabled
On keypad-equipped models like the B6765 and B2405, the light function is controlled through the Learn/Settings button sequence on the motor head unit. The exact steps vary by model, but the general procedure for most current Chamberlain openers is:
- Press the Light button on the wall control panel if one is present.
- Hold the button for 3 seconds to toggle the light feature on or off.
- If no dedicated light button exists, consult your model’s manual for the Settings menu sequence.
Timer activation sets how long the light stays on after the door operates. The typical adjustment range across Chamberlain models runs from 1.5 minutes to 15 minutes. A timer set to the minimum can make the light appear to malfunction — it turns on briefly then goes dark before you notice.
MyQ App Light Toggle for Connected Models
Chamberlain’s MyQ-enabled openers (including the B4505, B6765, and B4613) expose a dedicated light toggle inside the MyQ smartphone app. If you own one of these models, open the MyQ app, select your device, and confirm the light is switched on at the software level before assuming any hardware fault.
The app also logs light activity, which helps distinguish between a light that never activates versus one that activates and shuts off too quickly due to garage door light timer settings. Reset the timer duration to 4-5 minutes as a baseline, then test the light through a full door cycle.
Step 4: Power Cycle and Reset Procedures
A full power cycle clears temporary firmware faults that cause Chamberlain opener lights to stay off even when the bulb, socket, and settings are all correct. This is the electronic equivalent of restarting a frozen computer.
How to Power Cycle Correctly
Unplugging from the ceiling outlet is not always sufficient. The correct procedure is:
- Trip the dedicated circuit breaker for the garage — this cuts power completely to the motor head unit.
- Wait a minimum of 60 seconds. Shorter waits do not fully discharge the capacitors inside the unit, which can preserve the fault state.
- Restore power at the breaker, then plug the unit back in if you unplugged it.
- Test the light immediately by pressing the wall control panel button.
How to Reset Garage Door Opener Lights via Factory Reset
If the power cycle alone does not restore function, a factory reset procedure clears all stored settings including any corrupted light configuration. On most current Chamberlain models, the reset steps are:
- Locate the Learn button on the motor head — it is typically yellow, purple, or orange depending on the model generation.
- Press and hold the Learn button for 6-10 seconds until the indicator LED beside it goes out.
- Release the button. The unit will reset to factory defaults.
Note that a factory reset erases all paired remotes and keypads. You will need to reprogram every remote after completing this procedure.
Reading the Light Sensor Green Lights
After any reset, watch the indicator LEDs on the motor head. On Chamberlain units, a solid green light sensor signal confirms normal operation. A blinking or absent green light after reset points to a logic board issue — move to Step 5.
If the lights are out and the door won’t respond at all, start with this broader troubleshooting guide.
Step 5: Know When Professional Help Is Required
If you have completed all four preceding steps and the light still does not work, the fault is almost certainly inside the motor head unit itself — beyond safe DIY reach.
Signs That Point to Internal Failure
Three specific conditions indicate hardware damage that requires a certified technician:
- No light sensor green lights after factory reset: A missing or erratic green indicator LED after a full reset points to a failed logic board. The light circuit on Chamberlain units runs through the logic board, so a board failure kills the light regardless of bulb or socket condition.
- Burning smell or visible scorch marks: Any discoloration inside the motor housing or a persistent electrical smell means wiring insulation has degraded. Continued operation is a fire hazard.
- Repeated socket failure: If a replacement socket corrodes or fails within weeks of installation, the underlying wiring connection is delivering unstable voltage — a problem that originates upstream of the socket itself.
Warranty and Authorized Service Considerations
Chamberlain offers a limited lifetime warranty on motor and drive components for many residential models, with a 1-year warranty on electrical parts including the light socket. According to Chamberlain’s official support documentation, repairs performed by non-authorized technicians can void coverage on electrical components entirely.
Before calling any technician, locate your model number (printed on the motor head label) and check your warranty status at support.chamberlaingroup.com. Chamberlain’s dealer locator on the same page connects you to factory-authorized service providers who use genuine replacement parts and preserve your warranty coverage.
DIY troubleshooting up to Step 4 does not void your warranty. Opening the motor head housing and attempting internal repairs does.
Frequently Asked Questions
What type of bulb does my Chamberlain opener use?
Most Chamberlain openers use a standard A19 medium-base bulb rated at 40W to 100W, depending on the model. Candelabra-base sockets appear in select compact units — check the label inside your light cover or your model’s manual to confirm the correct type before purchasing a replacement.
Can I use LED bulbs in my Chamberlain garage door opener?
LED bulbs are compatible only if they are specifically labeled as garage door opener-safe or if you use Chamberlain’s own CLED1 model. Generic LEDs frequently emit radio frequency interference that disrupts the opener’s remote signal and can cause erratic motion sensor behavior.
Why won’t the lights turn on when the door opens?
The most common causes are a burned-out bulb, a light feature toggled off in the settings menu, or a timer set to its minimum duration. Work through bulb replacement and timer activation checks first — these resolve the issue in the majority of cases without any further troubleshooting.
What does a red or flashing sensor light mean?
A red or flashing indicator on the safety sensors means the two sensor units at the base of the door tracks are misaligned or obstructed. This is a separate issue from the overhead light circuit — realign the sensors until both show a solid green light, then retest the overhead light.