How to Open Your Garage Door When Power Goes Out: 5 Steps
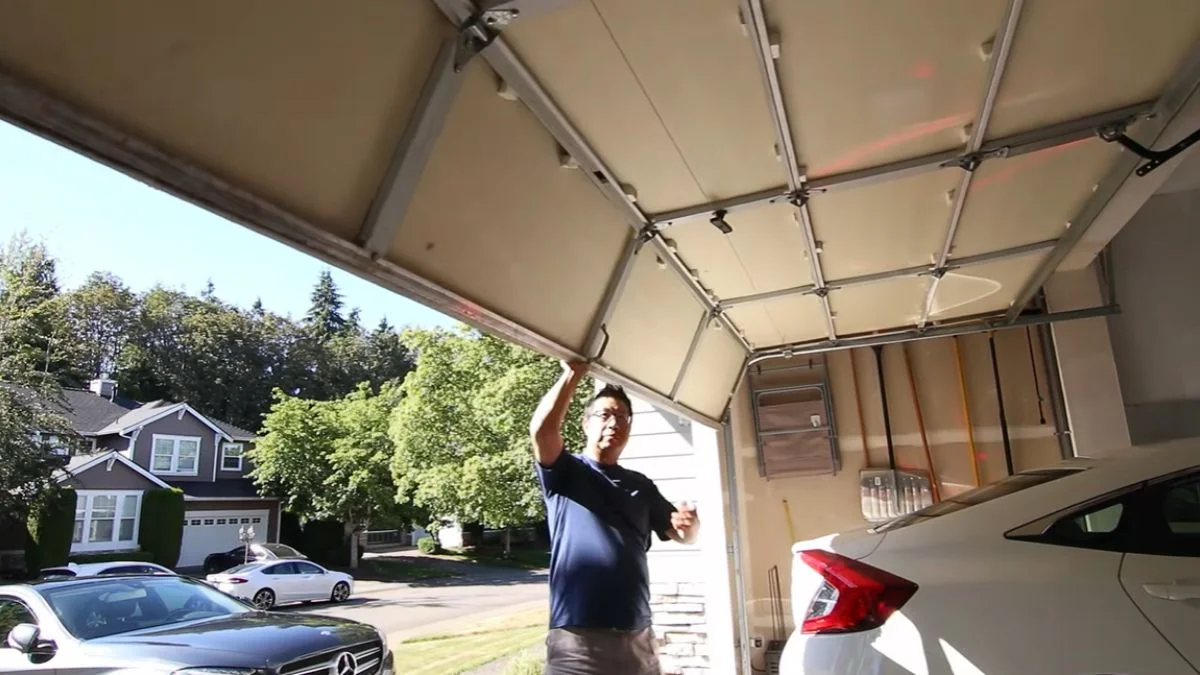
The U.S. experiences over 3,000 power outages every year, and if one hits while your car is stuck behind a closed electric garage door, knowing how to manually open a garage door when power is out could be the difference between making it to work or being stranded at home.
Most homeowners have never touched the red emergency release cord hanging from their garage door opener — and during a blackout with no phone signal and a dead opener, that unfamiliarity turns a minor inconvenience into a genuine emergency.
Follow the 5 steps below and you will safely disengage your opener, lift the door by hand, and restore access to your garage in under five minutes — no tools required.
Why Your Garage Door Still Works Without Power
Your garage door operates independently of electricity. The opener motor only controls movement — it does not hold the door up or provide structural support.
The Door Supports Its Own Weight
Every residential garage door uses a counterbalance system — either torsion springs above the door or extension springs running along the tracks on each side. These springs carry the full weight of the door, which typically ranges from 130 to 350 pounds depending on material and size. When you lift the door by hand, the springs do the heavy lifting. The opener motor just guides the direction.
This means manually operating your garage door without power is safe and manageable for most adults, as long as the springs are in good working condition.
The Emergency Release Is a Universal Standard
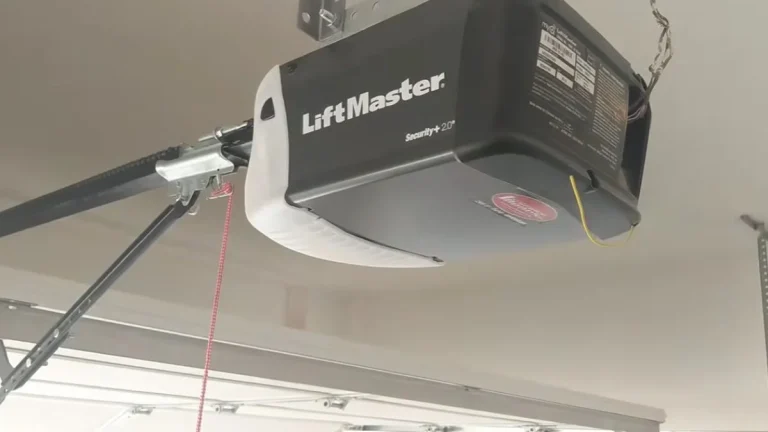
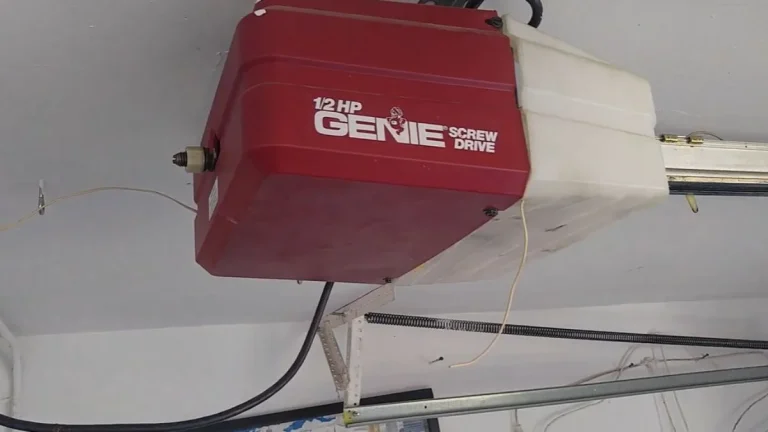
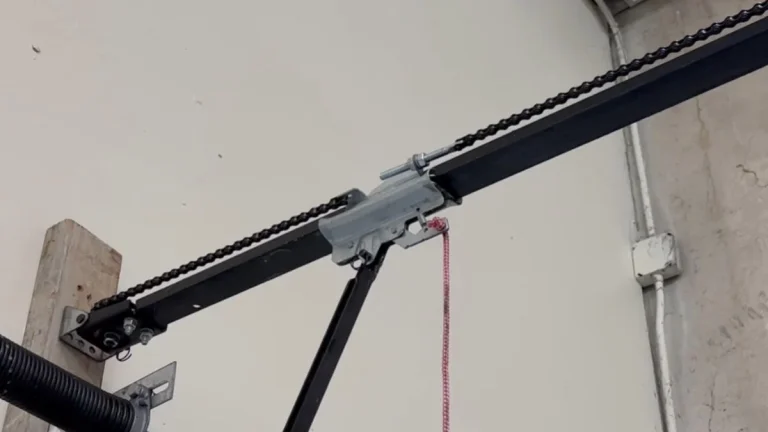
Every residential garage door opener sold in the United States includes a built-in emergency manual release — a legal safety requirement, not a brand-specific feature. Chamberlain, Genie, LiftMaster, and Craftsman all use the same core design: a red cord with a handle that hangs down from the trolley (the sliding carriage that moves along the overhead rail). Pulling this cord triggers the garage door disconnect mechanism, separating the door from the opener so you can lift it by hand.
The emergency release handle location is almost always within arm’s reach of the opener unit — typically 2 to 6 feet from the motor head, hanging near the center of the rail.
What the Opener Actually Does
Think of the opener as a remote-controlled push-pull device attached to your door via a trolley and drive system. The garage door opener bypass activated by the red cord simply unhooks the trolley from the drive mechanism. Once disconnected, the door moves freely on its own tracks, independent of any power source.
Locating and Using the Emergency Release Cord
Finding the emergency release cord takes about 10 seconds once you know what you are looking for. Here is exactly where to find it and how to use it correctly.
Where the Red Cord Lives
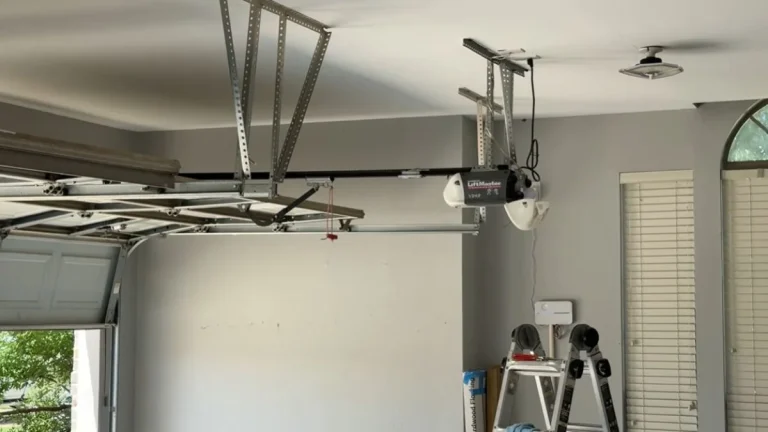
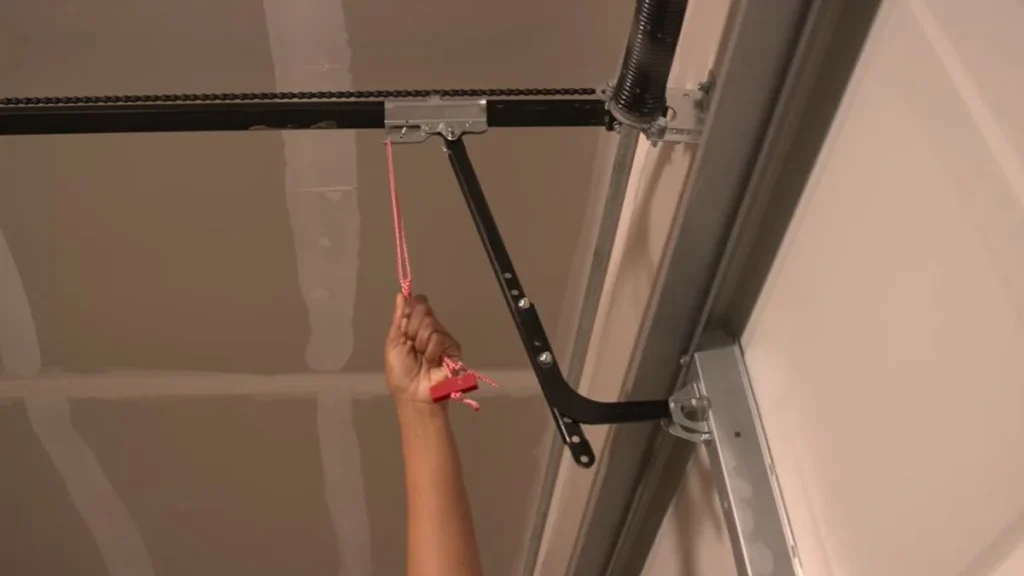
Stand inside your garage and look up at the ceiling track — the horizontal metal rail running from the motor head toward the door. The emergency release cord hangs down from the trolley carriage, which is the moving component that slides along that rail. On standard ceiling-mounted openers from brands like Chamberlain and LiftMaster, the cord hangs roughly in the center of the garage, about 3 to 6 feet back from the door itself.
Wall-mounted openers, such as the LiftMaster 8500 series, use a different mechanism since they mount beside the door rather than overhead. Consult your owner’s manual for the specific garage door release handle location on wall-mounted units.
Identifying the Correct Component
The emergency release cord is always red. It typically has a red plastic handle or teardrop-shaped knob at the end for a firm grip. Do not confuse it with any gray or black adjustment cables near the springs — those are part of the counterbalance system and should never be pulled or adjusted.
Pulling the Cord Correctly
Pull the red cord firmly and steadily downward at a slight angle toward the door. One smooth pull is all it takes — no yanking required. You will feel the trolley disconnection happen as resistance drops, and many openers produce an audible click confirming the garage door disconnect mechanism has engaged. The door now moves freely, completely bypassing the motor system.
Manual Lifting: Technique and Safety
Once the emergency release cord is pulled and the trolley disconnection is complete, the door is ready to lift by hand. How easy that lift feels tells you a lot about the health of your door’s spring system.
What to Expect When Lifting
A properly balanced garage door should rise smoothly with moderate hand pressure — roughly the effort of lifting a full laundry basket. Steel single-car doors weigh around 130 to 150 pounds, while double-car steel doors range from 200 to 280 pounds. Wood doors can exceed 300 pounds. The counterbalance springs absorb most of that weight, so what you actually feel lifting should be a fraction of the door’s total mass. If the door feels extremely heavy, drops suddenly, or refuses to stay open at waist height, the springs are likely worn or broken — stop immediately and call a professional.
Lifting Without Injury
Place both hands on the door handle or along the bottom panel’s lower edge, spacing them evenly. Bend your knees, keep your back straight, and drive the lift through your legs — not your lower back. Raise the door in one steady motion until it stops in the fully open position overhead. Never force a door that binds, jerks, or moves unevenly along the tracks. Misaligned panels or a bent track can cause the door to drop without warning.
When to Call a Professional
Stop and call a licensed garage door technician if you notice any of the following:
- The door will not budge despite correct technique and a confirmed trolley disconnection
- Visible cable fraying, a snapped torsion spring, or rust on critical hardware
- Bent or cracked panels that prevent smooth movement along the tracks
- The door rises but will not stay open on its own, indicating a broken spring
Attempting to force a mechanically compromised door creates a serious safety risk. Power outage preparedness means knowing when a job exceeds basic home maintenance skills.
Opening From Outside During Power Loss
If you are locked outside your garage during a power outage, you cannot reach the red emergency release cord — but most modern garage doors include an exterior manual release designed exactly for this situation.
The Exterior Emergency Release Lock
Look for a small keyhole on the outside of your garage door, typically centered at the top of the door near the upper panel, or mounted on the exterior wall near the opener unit. This lock connects via a cable directly to the emergency release mechanism inside. Inserting your garage door key and turning it pulls that cable, triggering the same trolley disconnection that the red cord activates from inside.
Chamberlain and LiftMaster refer to this feature as the Emergency Release Kit, and Genie includes a comparable exterior release on most of their residential models. The key for this lock is separate from your house key — it typically comes with your opener documentation when the unit is installed.
Brand-Specific Variations to Know
Not every opener model includes an exterior keyhole as a standard feature. Older units from the 1990s and early 2000s frequently lack this mechanism entirely. Check your opener’s model number against the manufacturer’s documentation to confirm whether your unit has one.
If your model does not include an exterior release, your options during a lockout are:
- Enter through an interior door connecting the house to the garage
- Contact a licensed garage door technician for emergency access
- Use a garage door opener bypass method only if you have prior knowledge of your specific unit’s design
Never attempt to pry open the door from outside — this damages the panels, bends the tracks, and can void your warranty.
Reconnecting After Power Returns
Pulling the emergency release cord disconnects your door from the opener permanently until you manually re-engage it. Power returning to your home does not automatically reconnect the trolley — you need to do that yourself.
Re-Engaging the Trolley
Start with the door in the fully closed position. This is critical — attempting to reconnect with the door open or halfway up can cause misalignment. Once the door is closed, pull the emergency release cord again, but this time pull it back toward the opener motor rather than straight down. This repositions the trolley carriage to accept re-engagement. On most Chamberlain, LiftMaster, and Genie models, you will hear or feel a click when the trolley locks back into the drive carriage.
Alternatively, many modern openers re-engage automatically. Simply press your wall button or remote — the opener activates, the trolley slides forward, and it snaps back onto the door carriage on its own. Check your owner’s manual to confirm which method your specific model uses.
Testing Before You Trust It
Once reconnected, run the door through a full open-and-close cycle using the remote before relying on it. Watch for smooth, even movement along the tracks with no grinding or hesitation.
Then verify the safety features are functioning correctly:
- Auto-reverse test: Place a 2×4 flat on the ground in the door’s path and close it — the door must reverse on contact
- Photo-eye sensor test: Wave your hand through the sensor beam while closing — the door must stop and reverse immediately
A door that fails either test needs professional adjustment before regular use.
Prepare Now, Act Confidently Later
Every residential garage door in the United States has a built-in emergency release system that works without power — the only thing standing between you and access is knowing where the red cord is and how to use it.
This week, before any outage occurs, go into your garage, locate the red emergency release cord, and do a single practice pull with the door closed so the motion is familiar when it counts. Keep your exterior emergency release key on your regular keychain so you are never locked out from either side.