Why Your LiftMaster Closes Then Opens (+ 3 Quick Fixes)
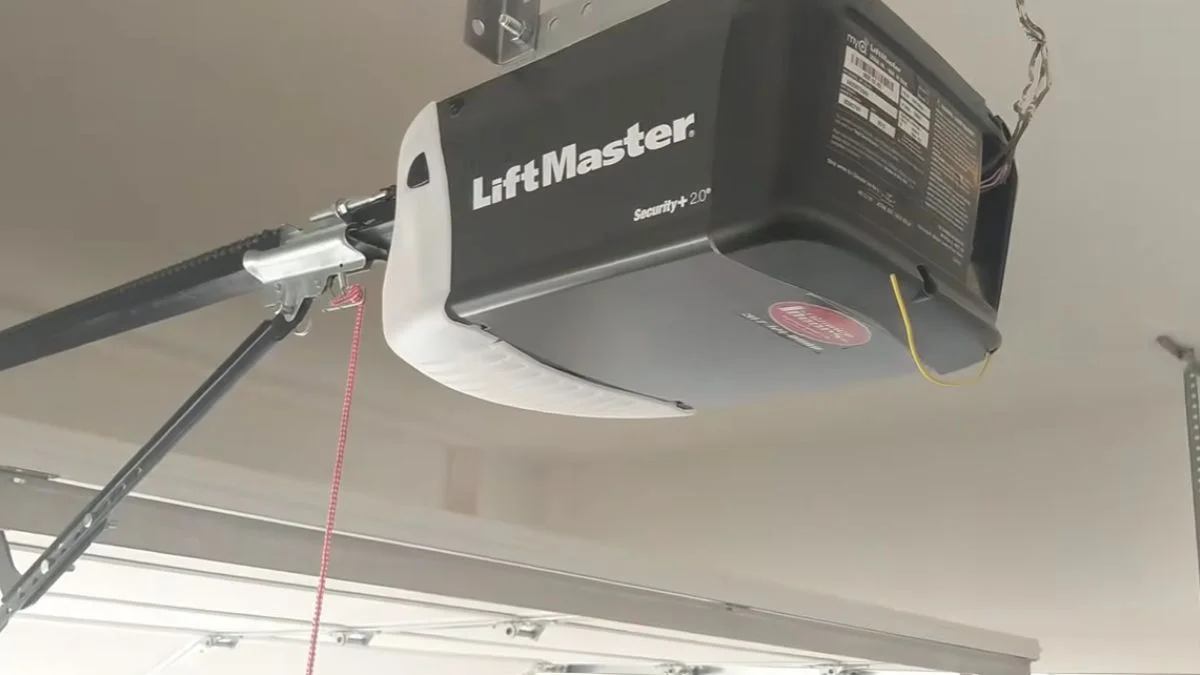
A LiftMaster garage door that closes then immediately reverses is one of the most common — and fixable — malfunctions homeowners report to the Chamberlain Group support line.
The frustrating part is not knowing whether it is a $0 fix or a sign that something critical has failed, and most people cannot tell the difference without guidance.
This article walks you through the 3 most likely causes and tells you exactly when to stop and call a professional.
Four Root Causes — Which One Is Yours?
The reversal pattern tells you almost everything. A door that reverses within one second of closing points to a sensor problem. A door that travels most of the way down before reversing, typically after 2-3 seconds, points to a travel limit issue.
Safety Sensors Are Misaligned or Dirty
This is the most common cause by a wide margin. LiftMaster photo eye sensors sit roughly 4-6 inches above the ground on each side of the door frame. They send an invisible infrared beam across the opening. If that beam is broken — by dirt on the lens, a spider web, or slight physical misalignment — the opener reads it as an obstruction and reverses immediately.
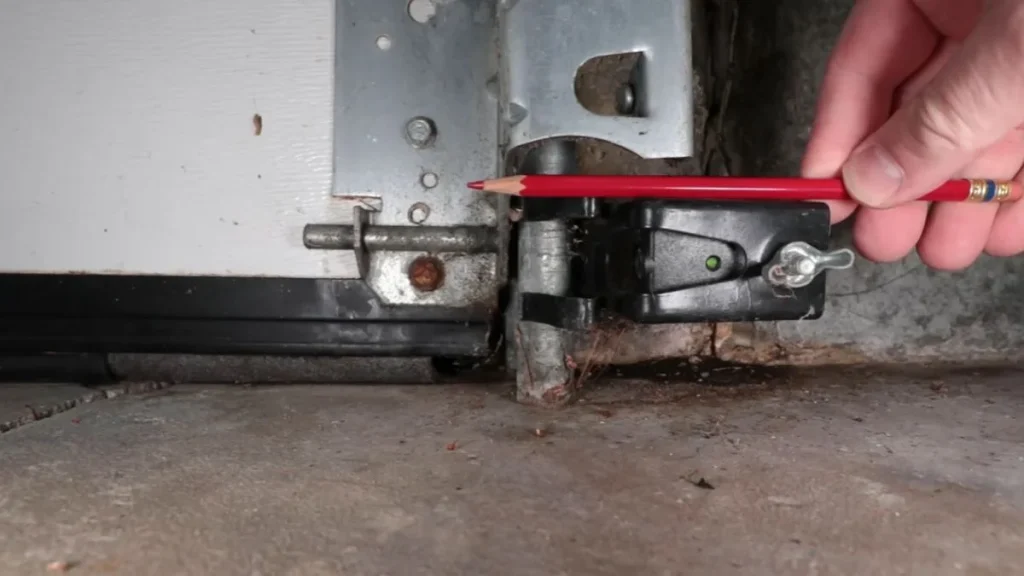
The sending sensor has a steady amber light. The receiving sensor should show a steady green light. A blinking or absent green light confirms misalignment or blockage.
Travel Limits Are Set Too Low
Travel limits tell the opener how far the door should travel before stopping. When the limit is set too short, the door hits the ground before the opener expects it to, the opener interprets that resistance as an obstacle, and the door reverses. This typically produces a delayed reversal 2-3 seconds into the close cycle.
Obstruction Detection Is Triggered
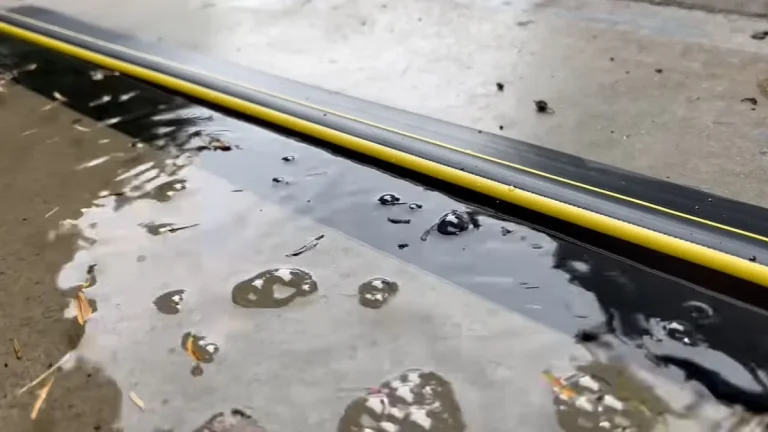
A small object — a pebble, a garden tool handle, even a pet — sitting in the door’s path activates the mechanical obstruction detection system. Check the full length of the floor seal line before diagnosing anything else.
RPM Sensor or Limit Module Has Failed
This is the least common cause and requires parts replacement. The RPM sensor monitors motor speed to detect resistance. When it fails, it sends false reversal signals regardless of actual conditions. Garage door cycling on and off repeatedly, with no visible obstruction or sensor fault, often points here.
Fixing Misaligned or Dirty Sensors (The #1 Quick Win)
If your LiftMaster garage door reverses immediately after closing — within one second of hitting the ground — start here. Sensor issues resolve the problem more than 60% of the time and cost nothing to fix.
Locate Both Photo Eye Sensors
Each sensor mounts to the door frame bracket, one on each side, 4-6 inches above the floor. One sensor sends the infrared beam; the other receives it. Both must face each other directly. Even a few degrees of rotation kills the signal.
Clean the Lenses First
Wipe each lens gently with a dry microfiber cloth. Do not use paper towels — they scratch the plastic cover and scatter the beam. Spider webs, dust, and condensation are the most common blockers. A dirty lens can mimic misalignment perfectly, so always clean before adjusting.
Check and Correct Alignment
Look at the indicator lights. The sending sensor shows a steady amber light when powered. The receiving sensor should show a steady green light when properly aligned. A blinking green light means the beam is partially blocked or the sensor is angled off. Loosen the wing nut on the bracket, rotate the sensor slowly until the green light goes solid, then retighten.
Test Before Moving On
Press the close button and watch the door complete a full cycle without reversal. If the door still reverses one second after closing despite clean, aligned sensors, the problem is not the photo eyes. Move to travel limit adjustment next.
Resetting Travel Limits (Second Most Common Fix)
Travel limit adjustment fixes the delayed reversal — the pattern where the door travels most of the way down, pauses, then reverses 2-3 seconds after closing. This is a mechanical setting on the opener itself, not a sensor problem.
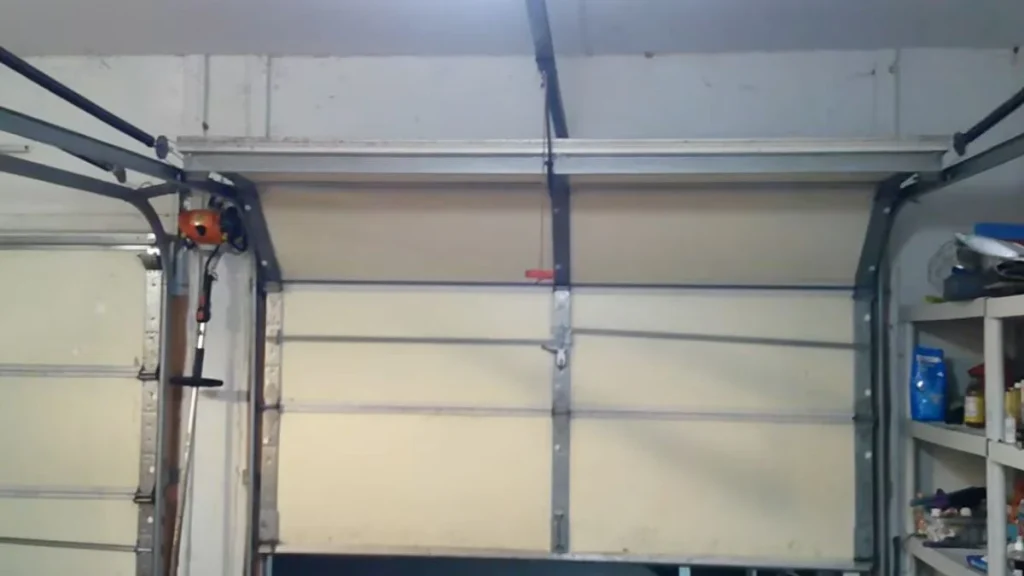
Find the Adjustment Screws
On most LiftMaster wall-mount and chain-drive models, two small adjustment screws sit on the side or back panel of the opener housing. They are labeled “UP” and “DOWN” — sometimes with arrows. The DOWN screw controls how far the door travels before the motor stops. A standard flathead screwdriver is all you need.
Make Small Adjustments Only
Turn the DOWN screw clockwise in small increments — no more than one full turn at a time. Each full turn typically changes door travel by approximately 2 inches. Large adjustments create new problems, including a door that slams the floor or reverses from over-travel in the opposite direction.
Test After Every Adjustment
Close the door after each adjustment and watch where it stops. The correct stopping position is the door’s bottom seal sitting flush against the floor with no gap and no visible compression of the seal. If the seal compresses or buckles, you have gone too far — turn the DOWN screw counterclockwise by half a turn.
Confirm the Fix
Run 3 complete open-and-close cycles to confirm the door stops consistently in the same position. Inconsistent stopping — where the door lands in a slightly different spot each cycle — points to a worn limit switch or RPM sensor rather than a simple adjustment issue.
When Professional Service Is Necessary
Some causes of door reversal are not safe to fix yourself. Knowing where the DIY boundary sits prevents injury and avoids voiding your LiftMaster warranty.
Spring Damage or Tension Problems
A broken or improperly tensioned torsion spring can cause the door to feel heavy to the opener, triggering false obstruction detection and reversal. Torsion springs sit above the door under extreme tension — enough to cause serious injury if handled without specialized tools and training. If you hear a loud bang before the reversal problem started, or if the door feels unusually heavy when lifted manually, stop all DIY work and call a licensed technician.
RPM Sensor or Logic Board Failure
Garage door cycling on and off repeatedly with no identifiable sensor or travel limit cause usually means the RPM sensor or main logic board has failed. Replacing an RPM sensor requires opening the motor housing and handling internal components. This work risks damaging the opener and voids the Chamberlain Group warranty on units still under coverage.
Warranty and Cost Considerations
LiftMaster openers carry warranties ranging from 1 year to a limited lifetime depending on the model. DIY repairs to internal components typically void that coverage. A standard technician service call runs $75-$150, with parts added on top. For an opener still under warranty, that service call often costs less than an out-of-pocket parts replacement done incorrectly.
Red Flags That Require a Technician
Call a professional if you experience any of these:
- Grinding or scraping sounds during the close cycle
- Door reversal that returns within days of your adjustment
- Visible damage to cables, springs, or the trolley carriage
- The opener light blinks 10 times, indicating a fault code requiring diagnostic equipment
Keep It Working: Quick Maintenance Checklist
Most LiftMaster reversal problems are preventable. A 10-minute monthly routine eliminates the two most common failure points before they cause an unexpected malfunction.
Monthly: Clean the Photo Eye Sensors
Wipe both sensor lenses with a dry microfiber cloth on the first of every month. Pay attention to the lower 6 inches of the door frame — that zone collects the most dust, leaves, and cobwebs. While cleaning, visually confirm both sensors face each other squarely. A sensor knocked slightly off-axis by a rake handle or a trash can causes the same door reversal as a dirty lens, and it happens gradually enough that most homeowners never notice until the door stops working.
Annual: Inspect the Limit Switch and Adjustment Screws
Once a year, examine the DOWN and UP adjustment screws on the opener housing for corrosion or physical damage. Corroded screws are difficult to turn accurately, which makes precise travel limit adjustment impossible. If the screws show rust or resistance, apply a small amount of electrical contact cleaner before attempting any adjustment.
Annual: Perform the Balance Test
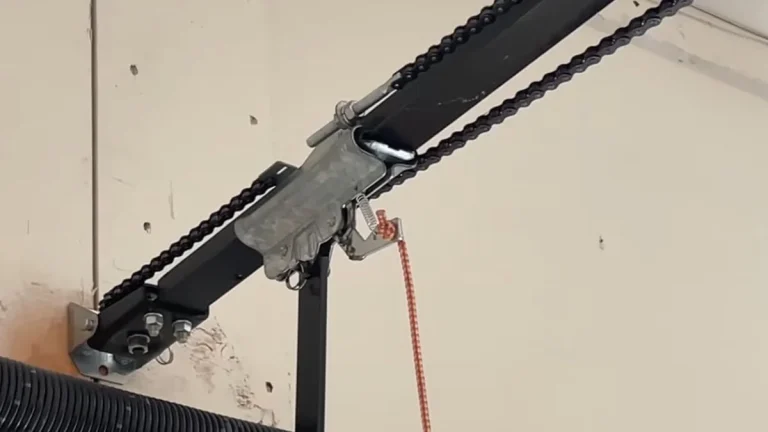
Disconnect the opener by pulling the red emergency release cord. Lift the door manually to waist height — approximately 3-4 feet — and let go. A properly balanced door stays in place. A door that drops to the floor or rises to the ceiling has a spring tension problem that puts excess strain on the opener motor, accelerating RPM sensor wear and triggering false obstruction detection over time.
When to Stop Troubleshooting and Call Help
Sensor cleaning and travel limit adjustment resolve the vast majority of LiftMaster reversal problems at zero cost, but a door that keeps reversing after both fixes points to a mechanical or electrical fault that DIY work will not solve safely. Start with the photo eye sensors today — clean both lenses, confirm the green indicator light is steady, and run a full close cycle before touching anything else.
If the problem persists, call a licensed garage door technician rather than going deeper into the opener’s internal components.