Reset Your Craftsman Garage Door Opener Keypad (Complete)
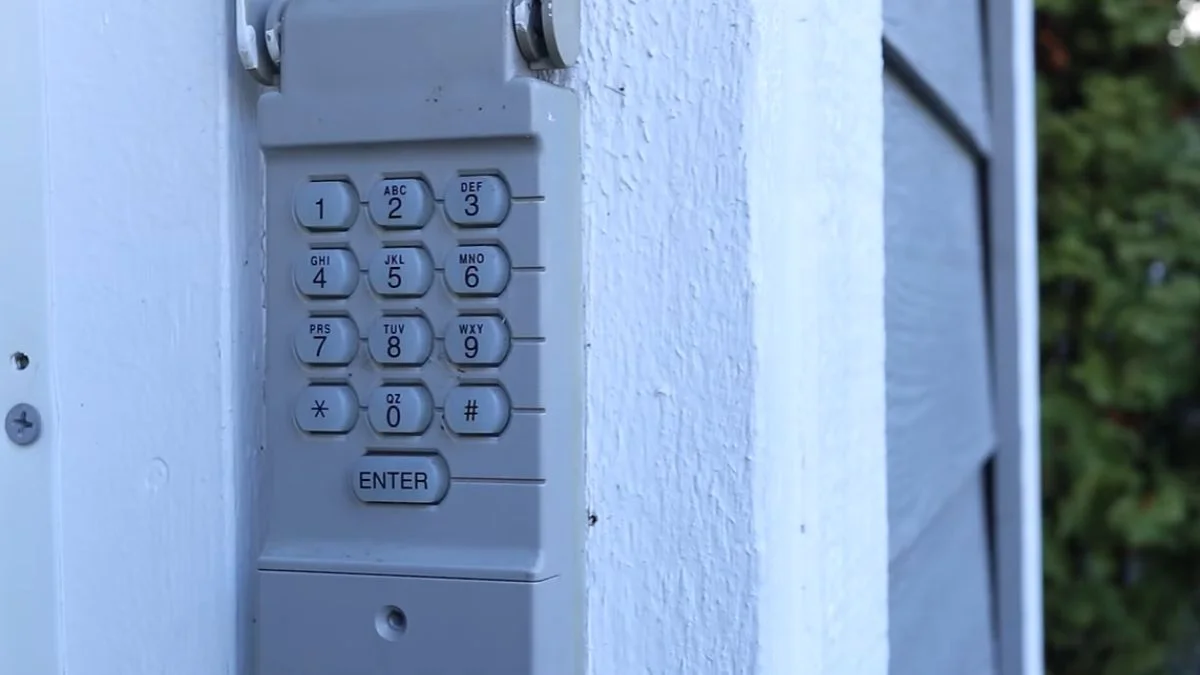
A dead or unresponsive keypad is one of the most common reasons homeowners call a garage door technician — but knowing how to reset a Craftsman garage door opener keypad eliminates that service call entirely in most cases.
The keypad stops working after a battery swap, power surge, or simple code corruption, and the fix is rarely obvious from the manual alone.
This guide walks you through every verified reset method, plus a clear diagnostic path, so you restore access yourself in under 15 minutes.
Three Reset Methods for Craftsman Keypads
Not every Craftsman keypad failure has the same fix. The right method depends on whether you can access the motor unit, what caused the issue, and which Craftsman model you own.
Method 1: Learn Button Reset (Most Common)
This is the standard reprogramming procedure for most Craftsman openers built after 1997 and the first method to try after any battery replacement reset or code corruption.
Steps:
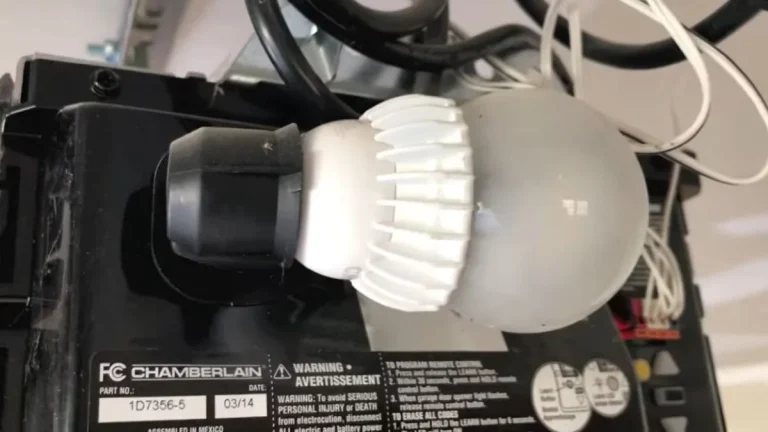
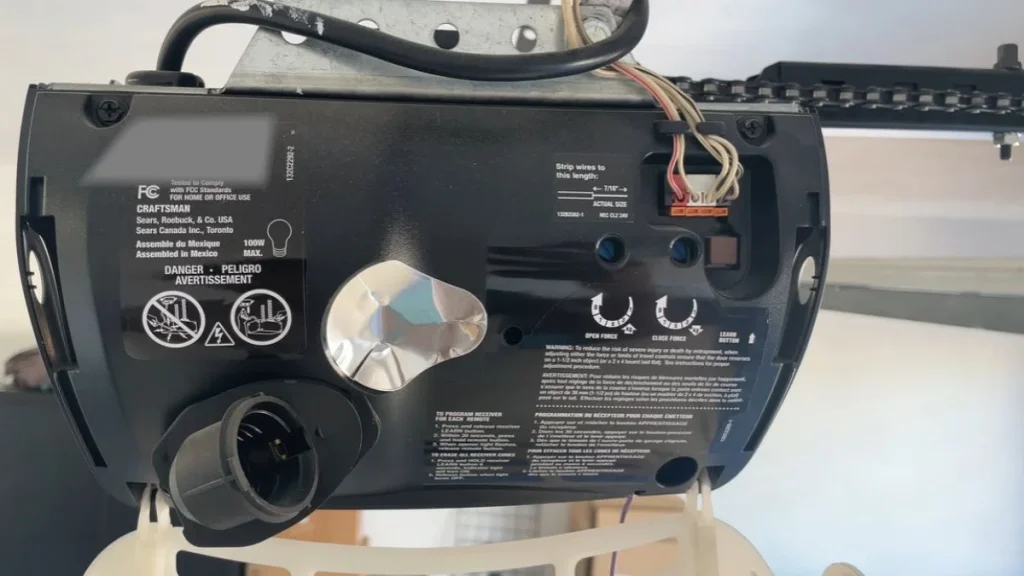
- Locate the Learn button on the motor unit housing — it sits near the antenna wire, usually on the back or side panel.
- Press and hold the Learn button for 6 seconds until the LED indicator light goes out, confirming the keypad memory is cleared.
- Within 30 seconds, enter your new four-digit access code on the wireless keyless entry pad, then press and hold the Enter key until the motor unit light blinks twice.
- Test from the driveway to confirm the keyless entry pad programs correctly.
Method 2: Star and Pound Key Memory Clear
Use this method when motor unit access is difficult — no ladder required.
- Enter your current code on the keypad, then press and hold the star (*) and pound (#) keys simultaneously for 5 seconds.
- Watch for the blinking light indicator on the keypad — three rapid blinks confirm the memory is cleared.
- Immediately program your new four-digit access code using the standard entry sequence.
Method 3: Power Cycle Hard Reset
A power cycle forces a full motor unit reset and clears corrupted startup states.
- Disconnect the opener from the wall outlet or trip the circuit breaker.
- Wait 2 minutes to allow full capacitor discharge.
- Restore power and observe the LED startup sequence — a steady light means the unit is ready.
- Reprogram your code using Method 1’s keyless entry pad programming steps.
Finding and Accessing the Learn Button Safely
The Learn button location changes depending on your Craftsman model, and finding it before you start saves significant frustration mid-procedure.
Learn Button Location by Model
Craftsman openers fall into two broad categories:
- 1/2 HP belt and chain drive models (common in homes built before 2005): Learn button is typically on the rear panel of the motor unit, just above the antenna wire. The button is yellow on most units.
- Full-size 3/4 HP and 1-1/4 HP models: Learn button is usually on the side panel, near the light socket cover. These often use a red or orange button instead.
- Craftsman AssureLink-compatible models (2011 and newer): The button may sit behind a light cover panel that snaps off without tools.
If the button color matters for your reprogramming procedure, yellow buttons typically indicate 315 MHz frequency units, while red or orange buttons indicate 390 MHz units — and these require different remote pairing steps.
Safe Access Procedure
Working near the motor unit carries real risk if the door shifts unexpectedly during the process.
Follow these steps before touching anything on the housing:
- Close the garage door completely and verify it is resting on the floor — not held up by the opener alone.
- Unplug the opener from the wall outlet. Do not rely on the power switch alone.
- Keep both hands clear of the track and torsion spring at all times.
- Use a stable step ladder — never stand on shelving or a vehicle.
The motor unit reset procedure itself takes under two minutes once you have safe access.
Why Your Keypad Stopped Working and What to Check
Jumping straight to a reset without diagnosing first often means repeating the process twice. Spend two minutes on these checks and you will know exactly which fix applies.
Common Culprits
Most keypad failures trace back to one of four causes:
- Battery replacement reset: Swapping batteries in the wireless keyless entry pad wipes the stored four-digit access code on some Craftsman models — this is the single most frequent cause of a non-responsive keypad.
- Lockout from failed entries: Entering the wrong code 5 or more times triggers a memory overflow lockout on newer Craftsman units. The keypad freezes for up to 5 minutes before accepting input again.
- Power surge: An electrical spike corrupts the codes stored in keypad memory and sometimes in the motor unit itself, requiring a full hard reset.
- Wireless interference: Devices operating on the 315 MHz or 390 MHz bands — including some LED bulbs, baby monitors, and older cordless phones — can block the signal between the keyless entry pad and the motor unit.
Pre-Reset Diagnostics
Check these four things before starting any reprogramming procedure:
- Battery level: Replace the keypad battery with a fresh 9V — a low battery mimics a code failure exactly.
- LED behavior: A solid light means the keypad has power. A blinking light indicator suggests a signal or pairing issue. A completely dark display points to a dead battery or broken connection.
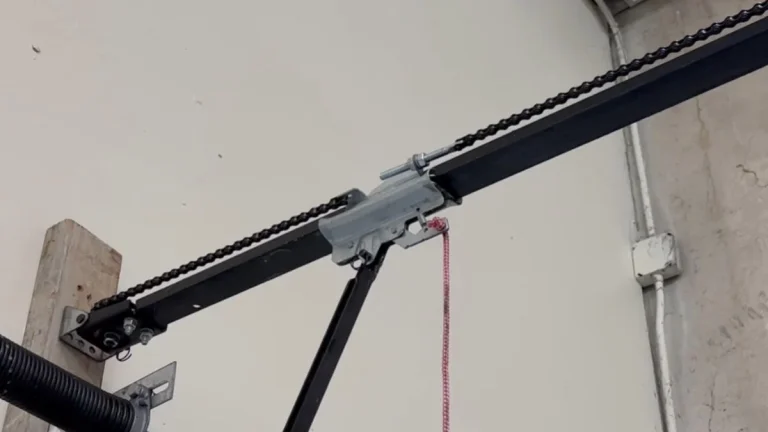
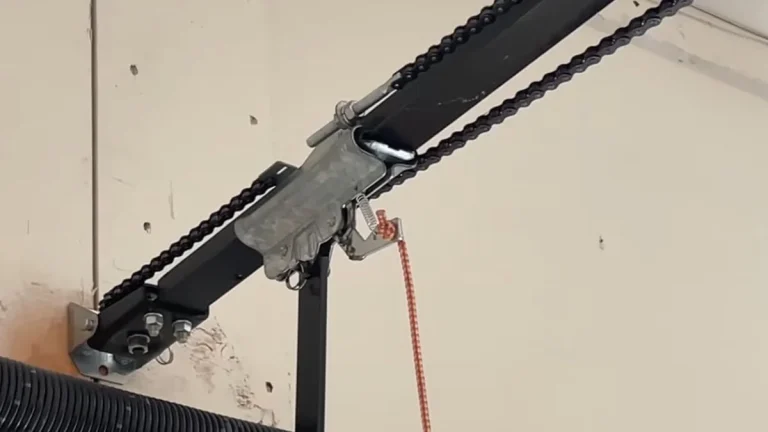
- Breaker status: Confirm the motor unit has power by checking whether the interior light turns on when you pull the manual release cord.
- Interference test: Unplug any LED shop lights or older electronics near the opener, then retest the keypad before attempting a full clear keypad memory reset.
Troubleshooting After Reset Attempt
If the keypad still does not respond after completing all three reset methods, the problem has shifted from programming to hardware. Here is how to confirm that and decide your next step.
Reading the LED Indicators
The blinking light indicator on the motor unit tells you exactly what happened during the reprogramming procedure:
| LED Behavior | What It Means |
|---|---|
| 2 blinks after code entry | Code accepted — pairing successful |
| Solid light, no blink | Motor unit did not receive the signal |
| Rapid continuous blinking | Memory clear failed — repeat Learn button step |
| No light at all | Motor unit has no power or internal fault |
Compare what you see against this pattern before assuming the keyless entry pad itself is faulty.
When the Motor Unit Won’t Accept a New Code
A motor unit that refuses to respond to the Learn button after 3 full attempts likely has internal receiver damage. This happens most often after a direct lightning strike or severe power surge — situations where the hard reset alone cannot restore function.
Here’s the problem: replacing just the wireless keyless entry pad will not fix a damaged receiver board. The fault lives inside the motor unit itself.
When to Call a Professional
Stop DIY attempts and contact a licensed technician if any of these apply:
- The Learn button LED never activates during the clear keypad memory step
- The motor unit light does not respond to the wall button either
- The opener is more than 15 years old and has never been serviced
- You hear clicking or grinding from the motor unit during the reset sequence
According to Craftsman’s official support documentation, internal receiver repairs require factory-authorized service to maintain warranty coverage on units still within their service period.
The Bottom Line
Nine out of ten Craftsman keypad failures resolve with a Learn button reset or a fresh 9V battery — no technician required. Start with Method 1 in this guide, confirm the two-blink confirmation signal from the motor unit, and test your new four-digit code from the driveway. If the motor unit never blinks after three full attempts, call a Craftsman-authorized service technician rather than replacing parts blindly.