Chamberlain Garage Door Light Dim? 5 Quick Fixes
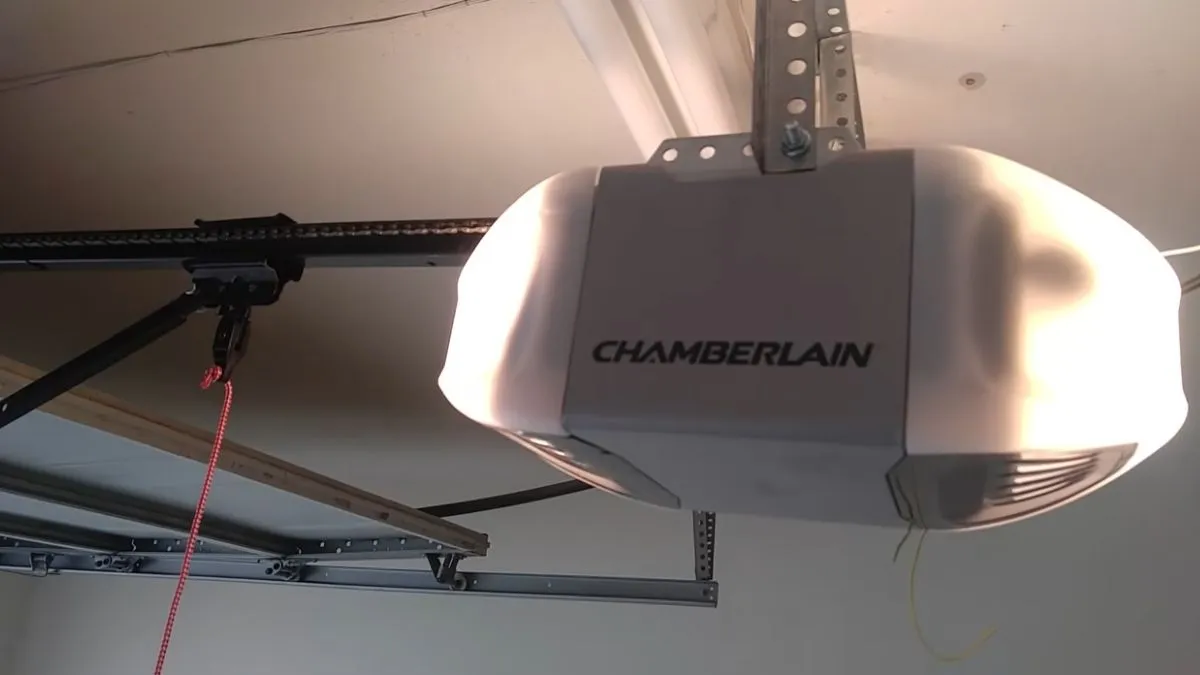
A chamberlain garage door opener light dim enough to leave your garage in shadow is more than an annoyance — it’s a safety hazard every time you park, unload groceries, or enter after dark.
The frustrating part is that dimness rarely has one obvious cause: it could be a failing bulb, a worn capacitor, an incompatible LED, or a wiring issue — and without knowing which, you risk wasting money on the wrong fix.
This guide walks you through 5 targeted repairs, from a 60-second bulb swap to diagnosing electrical faults, so you leave knowing exactly what’s wrong and whether to fix it yourself or call a Chamberlain-certified technician.
Why Your Chamberlain Light Dims: 5 Core Causes
Chamberlain garage door opener troubleshooting starts with identifying which of five components is failing — because each one produces a distinct dimming pattern.
Voltage Drops and Wiring Faults
A voltage dip anywhere in the circuit reduces the power reaching the bulb. Loose wire nuts, corroded terminals at the opener’s light socket, or a failing outlet delivering less than 120V all cause dim garage door light voltage problems. Check the outlet with a multimeter before replacing any parts.
Failing Capacitor
The capacitor stabilizes voltage delivery to the opener’s internal components, including the light circuit. After 10–15 years, capacitor degradation causes erratic or reduced output — the light may flicker before settling into a dim glow. This is especially common in Chamberlain models manufactured before 2015.
LED Connector Plate Loose or Disconnected
Chamberlain LED light connector issues are one of the most reported causes on forums like Reddit’s r/HomeImprovement. The LED connector plate sits inside the opener housing and can work loose over time from vibration. A partial disconnection doesn’t kill the light entirely — it just cuts brightness noticeably.
Control Board Malfunction
The control board regulates voltage to every circuit in the opener, including the light. A burned voltage regulator chip on the board causes persistent dimming that no bulb swap will fix. This is the one failure that almost always requires a professional replacement.
Light Timer or Feature Deactivation
Chamberlain’s default light timer activates for 2.5 minutes after operation. If someone has shortened that window or accidentally disabled the light feature through the multi-function door control, the light may appear dim simply because it’s stepping down before shutting off. A garage door light timer reset through the MyQ app or wall panel restores defaults.
Diagnostic Steps: From Problem to Root Cause
Run these four checks in order — each one either solves the problem or narrows the cause before you move to the next step.
Test Voltage Output at Opener Terminals
Set a multimeter to DC voltage and probe the light terminals inside the opener unit. A healthy Chamberlain system reads approximately 24V DC at those terminals. A significant voltage dip — anything below 20V — points to a wiring failure, a failing transformer, or capacitor degradation upstream.
Safety warning: disconnect power at the breaker before opening the housing. Only restore power briefly to take the live reading, then cut it again immediately.
Inspect the LED Connector Plate
The LED connector plate sits at the rear of the opener housing, secured by a small clip or friction fit. Vibration from thousands of door cycles loosens it gradually. Chamberlain LED light connector issues often resolve with nothing more than firmly pressing the connector back into its seat — no tools required. Look for any bent pins or burn marks, which indicate a deeper electrical fault.
Check Light Timer Settings
A garage door light timer reset takes under 30 seconds. On most Chamberlain models, press and hold the light button on the wall panel for 10 seconds to restore the 2.5-minute default. If your unit uses a multi-function door control, navigate to the light settings menu and confirm the light feature deactivation hasn’t been triggered accidentally. Always cross-reference your specific model number in the official Chamberlain manual.
Isolate the Bulb
Remove the bulb and test it in a standard household lamp. If it shines brightly there, the bulb is fine and the opener has a power delivery problem. If it looks dim in the lamp too, the bulb itself is failing — replace it before diagnosing anything else.
DIY Fixes vs. When to Call a Pro
Not every dimming cause carries the same risk or cost — knowing where the line sits saves you money and keeps you safe.
Fixes You Can Tackle Safely
These four repairs require no electrical expertise and carry minimal risk:
- Reseat the LED connector plate — press it firmly back into the housing until it clicks
- Reset the light timer — hold the wall panel light button for 10 seconds or adjust via the Chamberlain multi-function door control settings menu
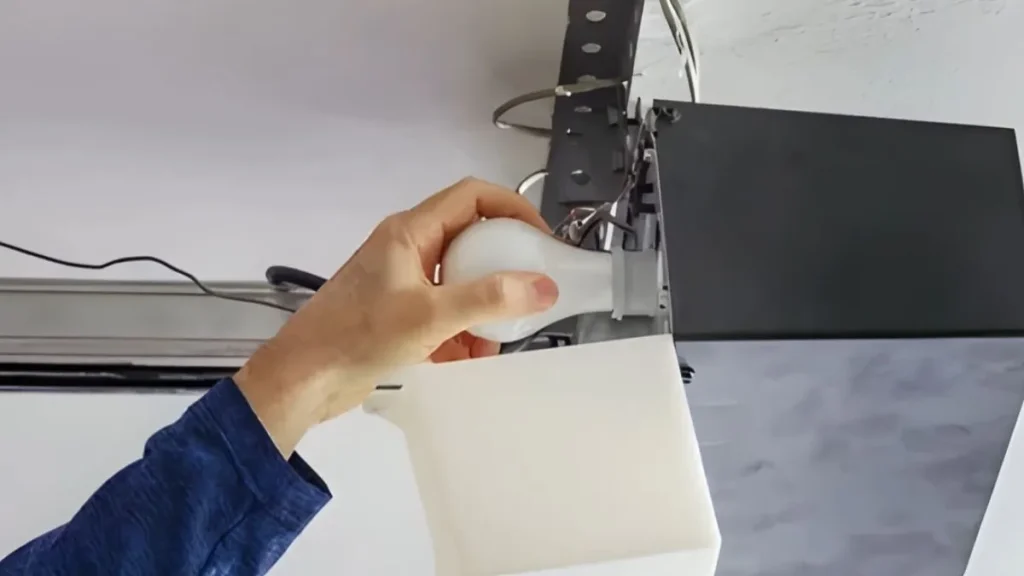
- Replace the bulb — use a Chamberlain-approved LED equivalent, typically an A19 or A21 bulb rated for garage door openers, to avoid radio frequency interference with the opener signal
- Visual wiring inspection — look for obviously corroded terminals or loose wire nuts at the socket; clean corrosion with electrical contact cleaner if accessible
Issues Requiring Professional Service
Some causes of a dim garage door light voltage problem go beyond safe DIY territory:
- Capacitor replacement carries a real electrocution risk — capacitors store charge even after power is disconnected
- Control board malfunction requires sourcing a model-specific board and precise installation
- Transformer faults and voltage regulator failures involve live 120V AC circuits
- Extensive wiring failure or junction box work requires a licensed electrician
Cost Comparison: Repair vs. Replacement
A professional capacitor replacement typically runs $100–$200 in parts and labor. A new control board costs $80–$150 for the part alone. Compare both against a new Chamberlain opener, which retails between $200–$500 depending on the model. If your unit is over 10 years old and showing multiple garage door opener capacitor failure symptoms alongside the dimming, replacement often delivers better long-term value than stacking repairs.
Quick Reset: Light Timer and Settings
A surprising number of “why is my garage door opener light dimming” complaints trace back to a timer setting — not a hardware fault. Before replacing any parts, spend two minutes checking this first.
Chamberlain Light Timer Default Behavior
Chamberlain openers ship with the light set to stay on for 2.5 minutes after the last door operation or wall button press. Users can shorten that window through the multi-function door control settings, sometimes accidentally during other adjustments. When the timer is set to a very short duration — say, 30 seconds — the light appears to dim and fade rather than shut off cleanly, especially if you’re still in the garage when it steps down.
Some newer Chamberlain models also include a light feature deactivation option, which disables the bulb entirely for situations like a bedroom above the garage. If this gets toggled on by mistake, the light may glow faintly from residual current rather than full power — easily mistaken for a hardware dimming problem.
How to Reset the Light Timer to Factory Default
The reset sequence varies by model, but the standard procedure on most Chamberlain multi-function door control panels works like this:
- Locate the light button on the wall control panel
- Press and hold the button for 3–5 seconds until the light blinks once
- Release — the timer resets to the 2.5-minute factory default
For models connected to the MyQ app, open the device settings menu, select “Light,” and confirm the timer value directly. Always verify the exact button sequence in your model-specific Chamberlain documentation, since the 800 and 900 series use slightly different hold durations.
When It’s Time to Replace Instead of Fix
A dim light is sometimes the first visible symptom of an opener that’s reaching the end of its useful life. Knowing when to stop repairing saves you from pouring money into a unit that will fail completely within a year anyway.
4 Clear Signals That Replacement Makes More Sense
The unit is over 15 years old. Capacitor degradation, wiring failure, and control board malfunction all become statistically more likely after the 15-year mark. A dim garage door light on an older unit often signals that multiple systems are degrading simultaneously, not just the light circuit.
Multiple components are failing at once. If your Chamberlain garage door opener troubleshooting has already turned up both capacitor failure symptoms and a control board issue, you’re looking at $200–$350 in repairs minimum. A new Chamberlain B2405 or B6765 opener retails in that same range and carries a full warranty.
Repair costs exceed 50% of replacement cost. This is the standard threshold used by appliance repair professionals. Once parts and labor cross that line, replacement delivers better value in every scenario.
Newer models offer meaningful upgrades. Current Chamberlain openers include built-in LED lighting rated for full brightness without connector plate compatibility issues, MyQ smart connectivity, battery backup, and quieter belt-drive mechanisms. If your existing unit lacks these features, the gap in daily usability makes replacement easier to justify.
Here’s the practical test: get one repair quote, compare it to the current price of a comparable Chamberlain model, and apply the 50% rule. The math usually makes the decision straightforward.
Next Steps: Keep Your Opener Running Bright
Most Chamberlain garage door opener light dimming problems trace back to one of three fixable causes — a loose LED connector plate, a changed timer setting, or an incompatible bulb — all of which cost nothing or under $15 to resolve. Start today by pulling the bulb, testing it in a household lamp, and pressing the connector plate firmly back into its seat before spending a dollar on parts or a minute on the phone with a technician.
If both checks come back clean, use your model number to pull the official Chamberlain documentation and run the timer reset sequence.