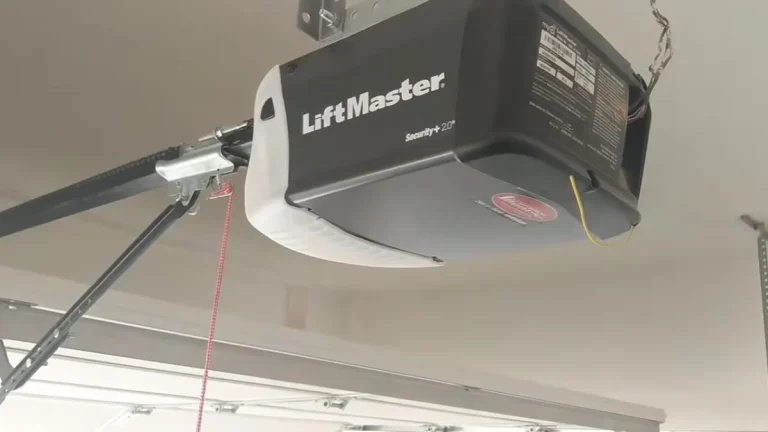
How to Adjust Garage Door Chain Tension: The 1/4-Inch Rule Explained
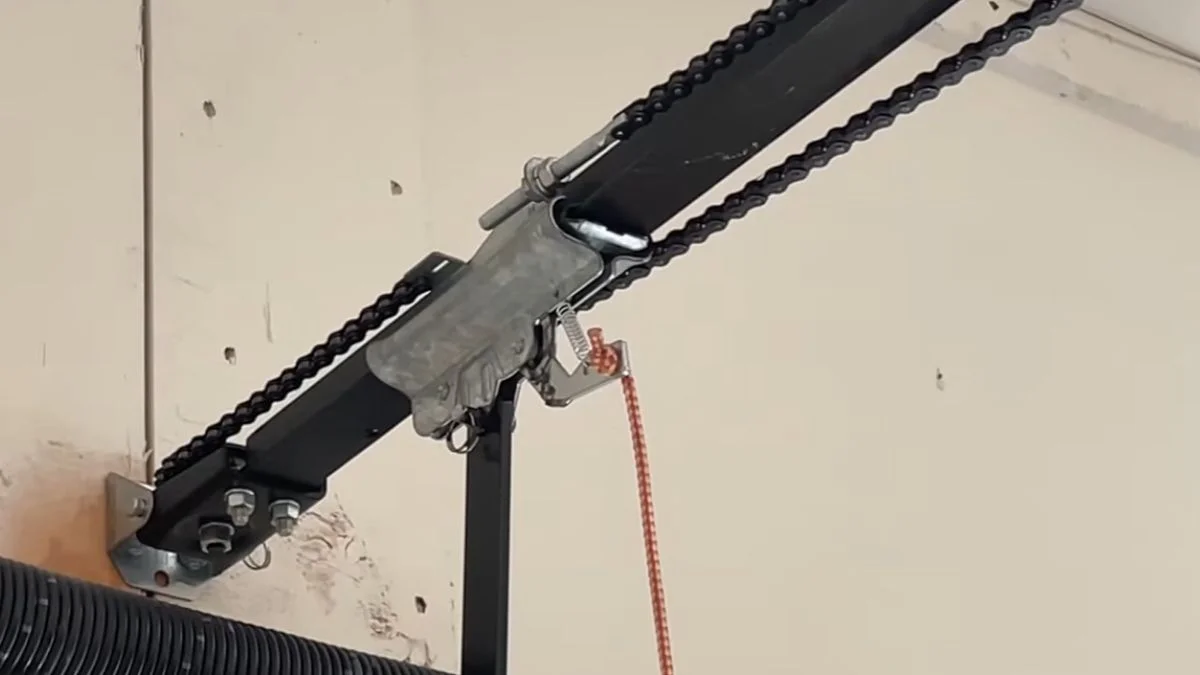
A loose or over-tightened garage door chain tension is one of the most common reasons a perfectly functional opener starts grinding, skipping, or slamming — and it takes less than 30 minutes to fix yourself.
The problem is that most homeowners can hear something is wrong but have no reliable way to measure it, so they either over-tighten the chain and strain the motor or ignore the sag until the chain jumps the sprocket entirely.
This guide gives you a single, precise measurement standard — the 1/4-inch rule used by Chamberlain and LiftMaster in their official support documentation — plus the exact adjustment steps to get your chain running quietly and correctly.
The 1/4-Inch Rule: Why It Matters and What It Actually Means
The 1/4-inch rule means the chain on a chain-drive garage door opener should hang no more than 1/4 inch below the bottom of the rail at its lowest point when measured with the door fully closed and the opener disengaged from manual override.
Why Sprocket Engagement Demands Precise Slack
A chain that’s too tight binds against the drive sprocket — the toothed gear that pulls the chain to move the door. This creates grinding noise, accelerates sprocket wear, and forces the motor to work harder than it was designed to. A chain with too much slack, on the other hand, slaps against the rail during operation, causes jerky or unsynchronized door movement, and can eventually jump the sprocket entirely — a condition called chain derailment that requires a full reset.
The 1/4-inch standard exists because it allows just enough play for the sprocket teeth to engage cleanly without the chain pulling taut under load.
Why Door Position and Opener State Change Your Measurement
Here’s what most guides skip: measuring chain slack with the door open or with the opener still in its powered state gives you a false reading. The chain redistributes tension as the door travels along the rail, and motor engagement keeps slight pressure on the drive mechanism. Always close the door fully and pull the manual release cord before measuring.
How Temperature Affects Chain Tension Over Time
Metal expands in heat and contracts in cold. A chain adjusted perfectly in July can sag noticeably by January as the steel contracts and the links shift. If your garage door chain sagging returns each winter, that’s normal physics — not a failed adjustment. Plan to check tension seasonally, especially in climates with 40°F or greater temperature swings.
Measuring Chain Tension Correctly
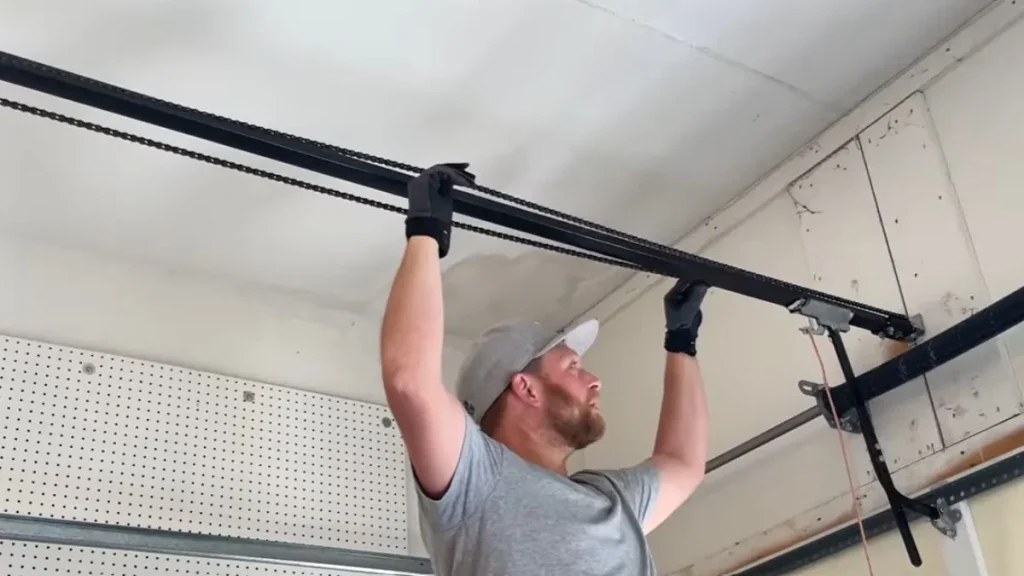
Accurate chain drive tension measurement starts before you touch the adjustment bolt — getting the setup wrong means every adjustment you make is based on bad data.
Where and How to Measure
Measure at the midpoint of the rail, not near the motor head or the door bracket. The chain naturally sags most at the center, and measuring at the endpoints will make tension appear tighter than it actually is.
Use the finger-push test: press the bottom of the chain upward with one finger using light, consistent pressure — roughly the force you’d use to test a ripe peach. Measure the vertical deflection only, straight up from the bottom of the chain to the underside of the rail. That gap is your slack reading.
Before measuring, close the door fully and unplug the opener. Leaving the opener plugged in keeps the brake engaged on the motor, which holds slight tension on the chain and produces a falsely tight reading.
T-Rail vs. Square Rail Standards
Not all garage door openers use the same slack specification. The rail profile determines your target:
- T-rail openers (used on most Chamberlain and LiftMaster models with a triangular rail cross-section): target 1/2 inch of slack at the midpoint
- Square rail openers (used on older Craftsman models and some commercial units with a rectangular rail cross-section): target 1/4 inch of slack
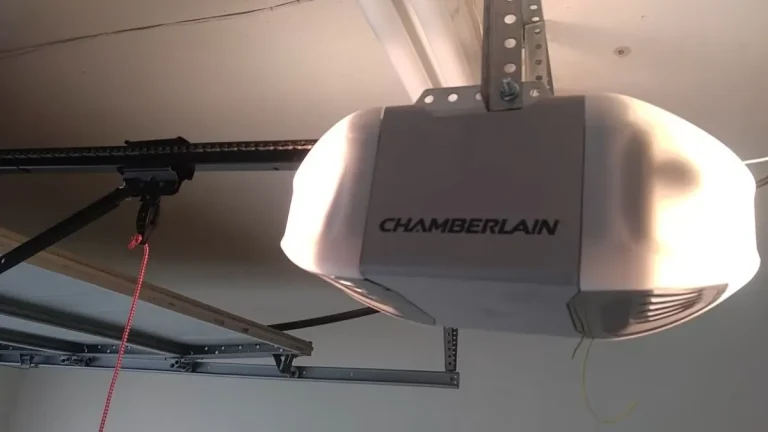
To identify your rail type, look straight up at the rail from below. A T-rail has a visible triangular or inverted-T shape. A square rail looks like a hollow rectangular tube. When in doubt, check your opener’s model number against the manufacturer’s installation manual — Chamberlain publishes these free on their support site.
Loose tension is a common reason the trolley ends up in the wrong position — worth checking both at once.
Step-by-Step Adjustment Process
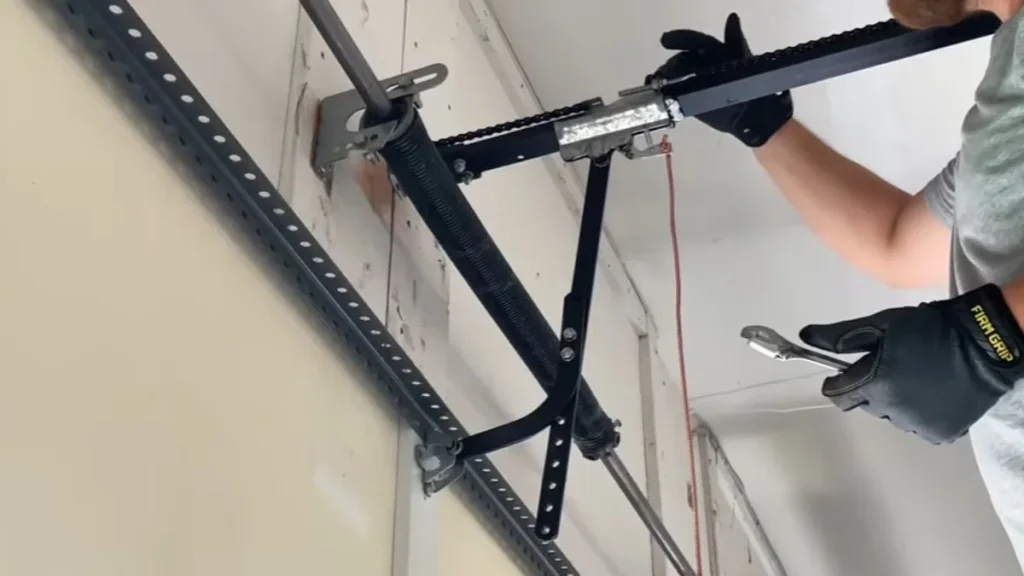
The actual chain tension adjustment takes 15–20 minutes if your tools are ready and you follow a consistent sequence. Rushing or skipping steps is how a minor sag becomes a derailed chain.
Tools and Safety Setup
Gather these before you start:
- A 5/16-inch open-end wrench or adjustable wrench (most Chamberlain, LiftMaster, and Craftsman models use 5/16-inch tension adjustment bolts — confirm against your manual)
- A ruler or tape measure marked in 1/8-inch increments
- A stepladder tall enough to reach the rail midpoint comfortably
Unplug the opener at the outlet — not just the wall switch. Pull the manual release cord (the red handle hanging from the trolley) to disengage the door from the drive mechanism. Confirm the door stays in place on its own before proceeding. If it drifts up or drops, your spring tension needs professional attention before any chain adjustment.
Making the Adjustment
The tension adjustment bolts sit on the front of the motor unit housing, where the chain connects to the trolley assembly. There are two: a front nut and a rear nut that work together like a jam nut system.
Follow this sequence:
- Loosen the rear nut one full turn to free the front nut
- Tighten the front nut one quarter-turn clockwise
- Re-tighten the rear nut snugly against the front nut to lock the position
- Re-measure chain slack at the rail midpoint using the finger-push test
- Repeat in quarter-turn increments until you reach your target slack
Stop when the chain hits your rail-specific target — 1/4 inch for square rail, 1/2 inch for T-rail. Never force the bolts past hand-tight resistance. If you reach the bolt’s travel limit before achieving target slack, the chain itself may be stretched and needs replacement, not further adjustment.
Diagnosing Tension Problems: Symptoms and Solutions
Chain tension symptoms fall into three distinct patterns, and each one points to a different root cause. Matching the symptom to the correct fix saves you from adjusting something that isn’t actually the problem.
Loose Chain: Noise, Bouncing, and Derailment Risk
A chain with too much slack slaps against the rail during operation, producing a rhythmic rattling or clunking sound. You may also see the chain visibly bounce as the door moves. Left uncorrected, excessive garage door opener chain slack causes the chain to skip sprocket teeth during direction changes — the first stage of a full derailment. If the chain has already jumped the sprocket once, inspect the sprocket teeth for flattening or rounding before re-tensioning. A worn sprocket won’t hold proper tension regardless of how precisely you adjust the bolt.
Over-Tightened Chain: Motor Strain and Grinding
A chain adjusted too tight produces a different set of chain tension symptoms: a high-pitched grinding or whining noise, a door that hesitates before moving, and a motor that runs hot to the touch after normal operation. Over-tightening is actually more damaging than a loose chain because it accelerates sprocket wear and can burn out the motor’s drive gear within months.
Uneven Tension and Rail Problems
If the chain sags on one side of the rail but not the other, or if the door exhibits unsynchronized door movement — one side rising faster than the other — the issue is unlikely to be chain tension at all. That pattern indicates rail misalignment, a bent rail section, or uneven wear on the trolley carriage.
Here’s the hard boundary: if re-measuring after a full proper chain adjustment procedure still shows irregular sag, or if the door binds, stops mid-travel, or reverses unexpectedly, stop adjusting and call a certified garage door technician. Those symptoms point to structural or spring system issues that fall outside DIY scope.
Frequently Asked Questions
How much slack should a garage door chain have?
T-rail openers — used on most Chamberlain and LiftMaster models — require 1/2 inch of slack at the rail midpoint. Square rail openers, common on older Craftsman units, require 1/4 inch. Measure with the door fully closed and the opener unplugged to get an accurate reading.
Should you adjust chain tension with the door open or closed?
Always adjust with the door fully closed. An open door redistributes chain tension unevenly across the rail, which makes any slack measurement inaccurate and any adjustment based on it unreliable.
How often does garage door chain tension need adjustment?
Check tension once per year as part of routine maintenance, and re-check after any significant temperature shift — specifically a swing of 40°F or more between seasons. Metal contraction in cold weather is the most common reason a correctly adjusted chain develops visible sag within a few months of adjustment.
Can over-tightening a garage door chain damage the opener?
Yes. A chain adjusted too tight forces the drive sprocket and motor gear to work against constant resistance, accelerating sprocket wear and generating heat that shortens motor life. If the door hesitates at startup or the motor feels hot after normal use, loosen the chain before running the opener again.
Keep Your Garage Door Running Smoothly
The single factor that causes most chain adjustment failures is measuring in the wrong conditions — door open, opener still plugged in, or checking at the rail endpoints instead of the midpoint.
Right now, unplug your opener, close the door, and use the finger-push test at the rail midpoint to get your true slack reading. If it falls outside your rail-specific target, work through the quarter-turn adjustment sequence until it does — and schedule the same check every fall before cold weather shifts your tension again.