How to Pop Dents Out of Aluminum Garage Doors: 4 DIY Methods
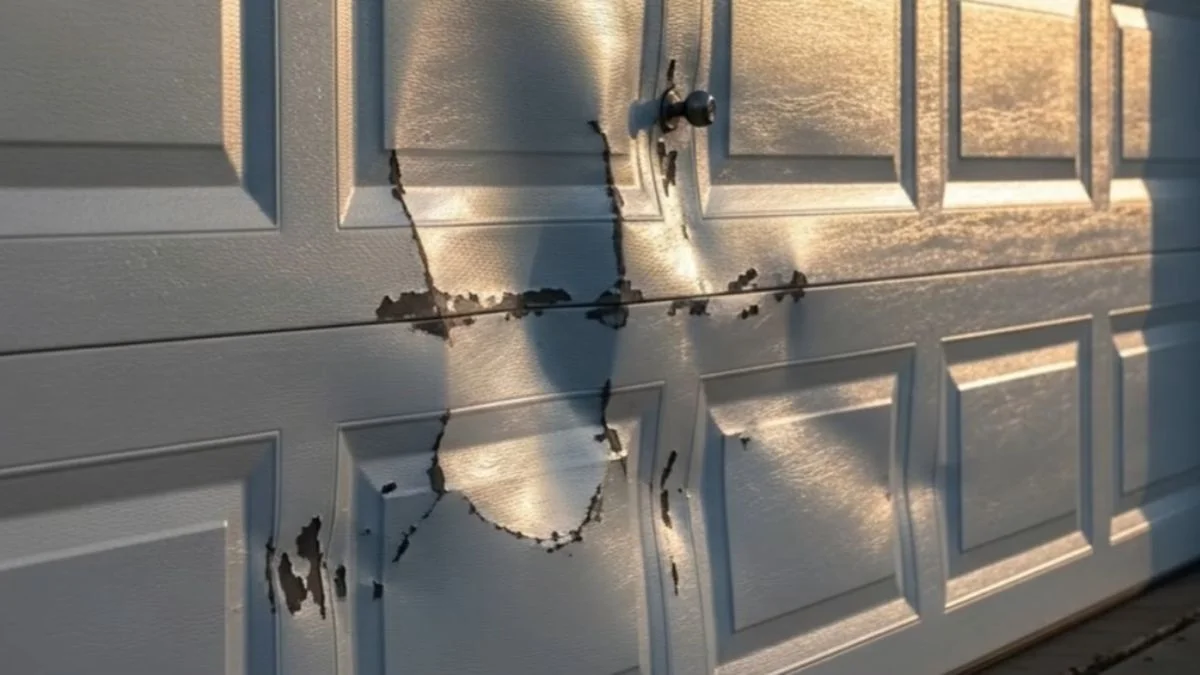
A single dent on an aluminum garage door panel can cost $150–$400 to fix professionally — but most shallow dents respond well to DIY methods you can complete in under an hour using tools you already own.
The real problem is not the dent itself — it is not knowing which method is safe for aluminum specifically, since the wrong approach can warp the panel, crack the paint finish, or compromise the door’s structural alignment.
This guide walks you through 4 proven techniques ranked from easiest to most involved, so you can match the right method to your dent and fix it confidently without touching your wallet or your warranty.
Assessing Your Dent Before You Start
Not every dent in an aluminum panel responds the same way. Measuring depth and diameter before you attempt any DIY garage door dent repair saves you from making a fixable problem worse.
How to Measure Dent Depth Accurately
Lay a straightedge — a metal ruler or level works well — flat across the undamaged surface surrounding the dent. Measure the gap between the straightedge and the lowest point of the depression. This gives you your working depth.
Use this scale to set expectations:
- Minor (under 1/8″ deep): High success rate with thermal dent removal or compressed air methods. No tools beyond household items required.
- Moderate (1/8″ to 1/4″ deep): Responds well to mechanical dent popping using a rubber mallet and wood block, or a garage door dent puller kit.
- Severe (1/2″ or deeper): Metal panel repair at this depth often causes secondary creasing. DIY dent extraction is unlikely to restore the panel cleanly.
When to Call a Professional Instead
Three situations make professional assessment the smarter financial move:
- The dent has sharp crease lines radiating outward — aluminum work-hardens along creases, making home straightening nearly impossible without causing new damage.
- The panel is buckled inward enough to affect the door’s tracking or balance. A misaligned door puts dangerous tension on the spring system.
- The dented section sits near a hinge, roller bracket, or reinforcement strut — garage door panel restoration in these zones requires hardware removal that most homeowners should not attempt solo.
A single service call for an assessment typically runs $75–$100 and can confirm whether a full panel replacement is cheaper than repeated repair attempts.
Method 1: Wood Block and Hammer
The wood block and hammer technique is the most accessible form of mechanical dent popping — no specialty tools, no heat, and no chemicals. It works best on moderate dents between 1/8″ and 1/4″ deep with a rounded, crease-free profile.
Choosing the Right Block and Hammer
Use a scrap of 2×4 lumber cut to roughly 4–6 inches long. Hardwoods like oak or maple distribute strike force more evenly than pine, which can compress and concentrate pressure into a smaller spot. For the hammer, a rubber mallet is strongly preferred over a steel-faced hammer — the rubber face absorbs impact energy and dramatically reduces the risk of secondary creasing or paint chipping on fix dented aluminum panels work.
Positioning and Strike Technique
Place a folded cotton cloth or microfiber towel between the wood block and the panel surface. This buffer protects the paint finish, which is the most common casualty in DIY aluminum garage door dent removal attempts gone wrong.
Hold the block flat and centered over the dent. Strike the block with the mallet using controlled, moderate-force blows — not full swings. Work from the outer edge of the dent inward in a circular pattern. This gradual approach to how to straighten a garage door dent prevents the aluminum from over-correcting and popping out too far in the center.
What This Method Cannot Fix
Avoid this technique on dents with any visible crease lines or angular edges. Once aluminum creases, mechanical dent popping pushes metal along the work-hardened fold rather than back into its original position, creating a raised ridge that is harder to fix than the original dent.
Method 2: Foil and Heat Method
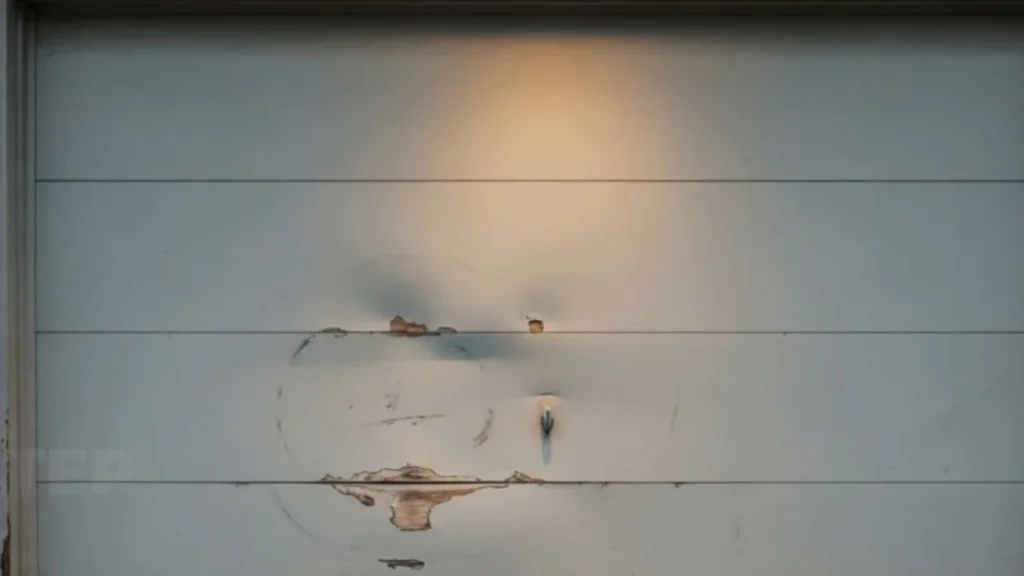
Thermal dent removal works because aluminum expands when heated and contracts when cooled rapidly — and that sudden dimensional change can release the internal stress holding a shallow dent in place. This method has the highest success rate on minor dents under 1/8″ deep with no crease lines.
Why Aluminum Responds to Heat
Aluminum has a thermal expansion coefficient roughly twice that of steel, meaning it moves more per degree of temperature change. A shallow dent in an aluminum panel is essentially stressed metal held in a deformed position. Rapid heating followed by rapid cooling disrupts that stress pattern and allows the metal to return toward its original shape — the core principle behind garage door panel restoration using thermal methods.
Heat Source Comparison
Not all heat sources deliver the same result on fix dented aluminum panels work:
| Heat Source | Temperature Output | Recommended Distance | Risk Level |
|---|---|---|---|
| Hairdryer | 130–140°F | 2–3 inches | Low |
| Heat gun | 200–1000°F | 6–8 inches | High |
| Boiling water | 212°F | Direct pour | Moderate |
A standard hairdryer on its highest setting is the safest starting point for most DIY garage door dent repair attempts. Heat guns can warp aluminum panels and blister paint finish in under 10 seconds at close range.
Application Process
Cover the dent completely with a single layer of standard aluminum foil, shiny side against the panel. Apply your heat source for exactly 60 seconds without moving it off the dented area. Immediately after heating, spray the foil-covered area with a short burst of compressed air held upside down — this releases liquid CO2, dropping the surface temperature rapidly.
Limitations to Know
This thermal dent removal approach works poorly on doors with older or repainted finishes. Repeated repainting adds thickness and reduces the paint’s flexibility, meaning the topcoat can crack or bubble before the aluminum has time to respond to the temperature change.
Method 3: Compressed Air and Hairdryer Technique
This method combines two forces — heat expansion and rapid cooling — without requiring you to access the back of the panel or apply any mechanical pressure. It is the lowest-risk DIY garage door dent repair approach for homeowners who want results without the chance of secondary damage.
How the Pressure Differential Works
Heating the aluminum panel causes the metal to expand outward slightly. Blasting the same spot immediately with inverted compressed air creates a sudden pressure and temperature drop. The combination of outward thermal expansion followed by rapid contraction generates enough internal movement to pop shallow dents free — a form of thermal dent removal that requires no contact with the panel surface itself.
Temperature and PSI Guidelines
Set your hairdryer to its highest heat setting, which typically outputs between 130–140°F. Hold it 2–3 inches from the panel surface and heat the dented area for 30–45 seconds in a slow circular motion. Do not exceed 60 seconds — prolonged heat at close range risks softening the paint binder on older garage door panels.
For the compressed air can, standard 10–12 oz office duster cans work well. Hold the can inverted approximately 2 inches from the panel and spray in 2–3 second bursts. Inverted cans release liquid difluoroethane at roughly -60°F, creating the rapid cooling effect needed for dent extraction without mechanical contact.
Where This Method Fails
Dents deeper than 1/4″ rarely respond to this technique alone. The pressure differential generated by a consumer compressed air can is not strong enough to overcome the deformation stress in moderate-to-severe aluminum panel dents. Deep creases in particular show near-zero improvement — the work-hardened crease line locks the metal in place regardless of temperature cycling.
This technique is also less effective on thicker-gauge aluminum panels, which some premium garage door brands like Clopay and Wayne Dalton use in their higher-tier residential lines.
Method 4: Dent Puller Tools — When and Whether to Invest
A garage door dent puller gives you mechanical advantage that no household item can match — but the wrong tool or too much pulling force can separate aluminum panel layers or create a new outward dent worse than the original. Knowing which puller fits aluminum specifically is the deciding factor.
Three Tool Types Compared
| Tool Type | Cost | Best For | Aluminum Risk |
|---|---|---|---|
| Manual suction cup puller | $10–$30 | Shallow, smooth dents under 1/4″ | Low — no penetration required |
| Slide hammer puller | $40–$120 | Moderate dents with access room | Moderate — overtension tears thin panels |
| Glue-pull dent extractor | $60–$200 | Precise dent extraction on thin aluminum | Low — releases cleanly without drilling |
For aluminum garage door dent removal specifically, glue-pull extractors — where a plastic tab is glued to the dent and pulled with a T-bar — outperform slide hammers. Slide hammers were designed for thicker automotive steel panels and generate more force than most residential aluminum door sections can absorb without distorting.
Buy, Rent, or Skip?
Renting a glue-pull kit from a tool rental service like Home Depot’s tool rental department typically costs $25–$45 per day — a reasonable middle ground if you have 2 or more dents to address. Buying makes sense only if your door has recurring dent issues or you plan to use the tool across multiple metal panel repair projects.
If you have a single moderate dent and no existing tools, a one-time professional fix dented aluminum panels service at $150–$250 often costs less than purchasing a quality extractor kit outright.
Pulling Force and Panel Separation Risk
Pull gradually and stop the moment you feel resistance ease. Aluminum garage door panels are typically 0.019–0.024 inches thick — significantly thinner than automotive body panels — and will deform permanently if you apply continuous tension past the metal’s yield point. Three to five short, controlled pulls beat one aggressive yank every time.
Cosmetic Finishing and Prevention
Popping a dent back into position is only half the job. Paint disturbance, surface scuffing, and minor panel irregularities left unaddressed after garage door panel restoration will make the repair visible from the street — which defeats the purpose of the work entirely.
Matching and Applying Touch-Up Paint
Most major garage door manufacturers — including Clopay, Amarr, and Wayne Dalton — publish their factory color codes in the door’s installation manual or on a sticker inside the top panel. Take that code to a paint supplier and request a color-matched aerosol can in an exterior-grade alkyd or acrylic enamel formula. These bond properly to pre-painted aluminum and hold up against temperature cycling.
Before applying, clean the repair area with isopropyl alcohol to remove any residue from glue tabs, compressed air propellant, or foil contact. Apply paint in thin coats from 10–12 inches away, allowing each coat to dry fully before adding the next. Two to three thin coats produce a cleaner result than one heavy application.
Buffing the Repaired Surface
After the final paint coat cures — typically 24 hours at room temperature — buff the repair area lightly with a 2000-grit wet/dry sandpaper followed by a polishing compound. Meguiar’s Ultimate Compound works well on painted aluminum surfaces and blends the repaired zone into the surrounding finish without cutting through the topcoat.
Preventing Future Dents
Three practical measures reduce re-denting risk significantly:
- Parking guides: A tennis ball hung from the garage ceiling on a string gives drivers a consistent stopping point, preventing door contact from vehicle hoods and bumpers.
- Wall-mounted impact guards: Foam or rubber bumper strips mounted at car door height protect the lower panels — the most frequently dented zone on residential garage doors.
- Weatherstripping inspection: Check the bottom seal and side weatherstripping after any impact. Damaged seals allow moisture intrusion that accelerates corrosion along repaired aluminum panel edges.
Your Repaired Door Starts Here
Dent depth is the single factor that determines which method succeeds — measure it with a straightedge before touching the panel, and you will avoid the most common DIY mistake of applying the wrong technique to the wrong dent. Start today by grabbing a metal ruler and assessing your dent against the depth scale in Section 2 — if it measures under 1/4″, the hairdryer and compressed air method gives you a realistic shot at a clean fix in under 30 minutes with zero tool investment.