Garage Door Shifted to One Side: Diagnose & Fix in 5 Steps

A garage door shifted to one side when opening is almost never a random glitch — it points to a specific mechanical failure in the cable, drum, roller, or spring system that controls balanced lift.
The frustrating part is not knowing whether you are looking at a five-minute adjustment or a dangerous high-tension spring repair that needs a certified technician.
This guide walks you through a clear 5-step diagnostic process so you leave knowing exactly what broke, whether you can fix it yourself, and when to put down the tools and call a pro.
Why Your Garage Door Shifts to One Side
A garage door drifts left or right because something on one side is delivering more — or less — force than the other. There are five mechanical culprits, and each leaves a distinct signature.
Torsion Spring Imbalance
Torsion springs store the tension that counterbalances the door’s weight. When one spring loses tension or breaks entirely, that side loses lift support, and the door tilts — one side higher than the other — the moment the opener engages. The standard balance check confirms this fast: disconnect the opener, lift the door manually to waist height, and let go. A balanced door stays put. One with torsion spring imbalance drops or rises on the weak side.
Slack or Damaged Lift Cables
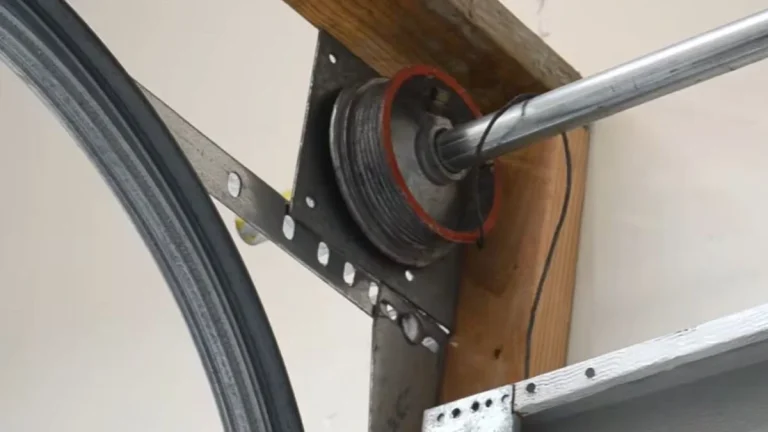
Each lift cable runs from the bottom bracket up to a drum at the top corner. Fraying, wear, or a cable that has slipped off the drum winding creates uneven tautness — and uneven tautness causes lateral drift. A visibly slack cable on one side is a clear sign garage door cable adjustment is needed.
Worn or Bent Rollers
Flat spots or bent roller wheels create binding inside the track. When one side binds and the other moves freely, the door pulls toward the binding side. Check the roller grooves for visible wear or deformation.
Track Misalignment or Debris
A track that has shifted, bent, or separated from its mounting brackets forces the door out of alignment. Even packed debris on one side creates enough resistance to pull the door off-center.
Loose Brackets and Hardware
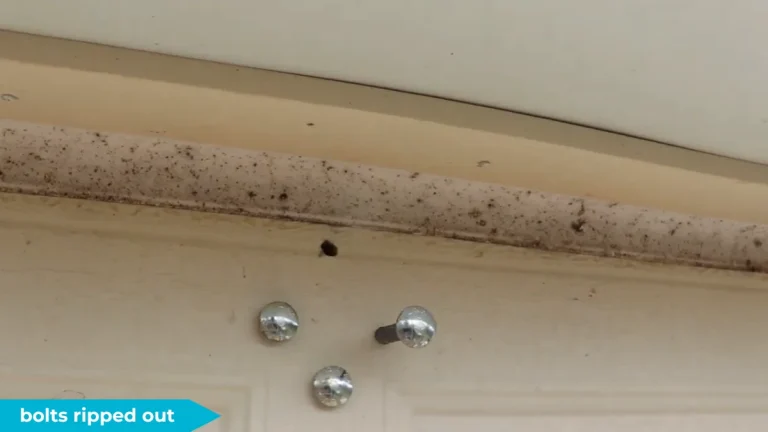
Bolts backing out of wall brackets allow the track to flex under load. That flex introduces lateral play — enough that the door shifts noticeably during every cycle. Tighten and inspect all hardware before diagnosing anything else.
How to Diagnose the Shift
Diagnosis takes about ten minutes and requires no special tools — just your eyes, hands, and a tape measure. Work through these three checks in order before touching any hardware.

Quick Visual Assessment
Start with the gaps. Measure the space between the door edge and the frame at all four corners. Uneven gaps — wider on one side than the other — confirm the door is not centered. Next, scan both lift cables for visible slack, fraying, or a cable that has jumped off its drum winding. Then check both vertical tracks where they meet the mounting brackets: a track pulled away from the wall or visibly bent is a garage door track alignment problem, not a cable issue. Finally, note whether the shift happens during opening, closing, or both — that timing narrows the cause significantly.
Manual Lift Test
Pull the red emergency release cord to disengage the opener. Lift the door slowly by hand to waist height and release it. A properly balanced door holds its position. If it drops on one side, rises unevenly, or feels noticeably heavier on one side, you have a mechanical imbalance — most likely torsion spring imbalance or a cable tension problem. While lifting, listen for grinding, popping, or snapping sounds, and feel for any binding or catching sensation in the rollers or track.
Automated Operation Observation
Re-engage the opener and run the door through two full cycles. Watch for lateral drift — does the door consistently pull left or right? Time the open and close cycles; a door that moves slower than usual on one side often has a binding roller or a partially collapsed track. If the shift worsens with each cycle, stop operating the door immediately to prevent cable or track damage from compounding.
Step-by-Step Repair Path
Work through these repairs in order — hardware first, then cables, then track — because fixing a loose bracket often resolves what looked like a cable or alignment problem.

Step 1: Tighten Loose Hardware
Inspect every mounting bolt on both vertical tracks and the horizontal header bracket with a socket wrench. Loose brackets are the most common and most overlooked cause of lateral drift. Check bracket welds for hairline cracks while you are there. Retighten bolts progressively — snug first, then firm — and avoid over-torquing, which strips the wall anchor.
Step 2: Adjust Cable Tension
A slack cable on one side is the direct cause of uneven tautness and lateral drift. Locate the cable drum at the top corner of each track. Tighten the slack side by turning the drum adjustment bolt incrementally — no more than a quarter turn at a time — then re-test the balance after each adjustment. Stop immediately if the cable shows fraying or has slipped off the drum winding entirely; that requires professional cable replacement.
Step 3: Realign the Track
Clamp the door in place with two C-clamps on the vertical track below the bottom roller before loosening anything. Loosen the bracket bolts, tap the track gently into correct position with a rubber mallet, re-measure the gap between track and door edge, then retighten bolts progressively. Run the door manually along the full track length to confirm no binding remains.
Step 4: Confirm Balance
Disengage the opener and perform the manual lift test again. The door should hold at waist height without drifting or dropping. Run three full automated cycles and watch for any remaining lateral drift.
When to Call a Professional
Stop and call a certified technician for any of the following:
- Torsion spring adjustment or replacement (springs store hundreds of foot-pounds of tension and can cause serious injury if mishandled)
- Full cable replacement or any high-tension cable work
- Track straightening beyond minor positional taps
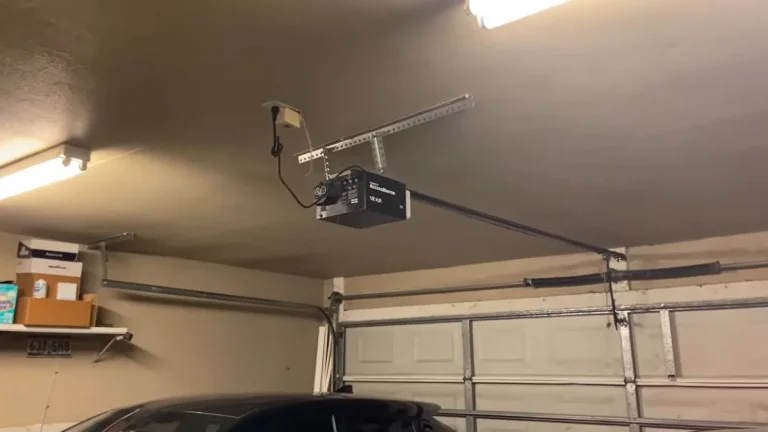
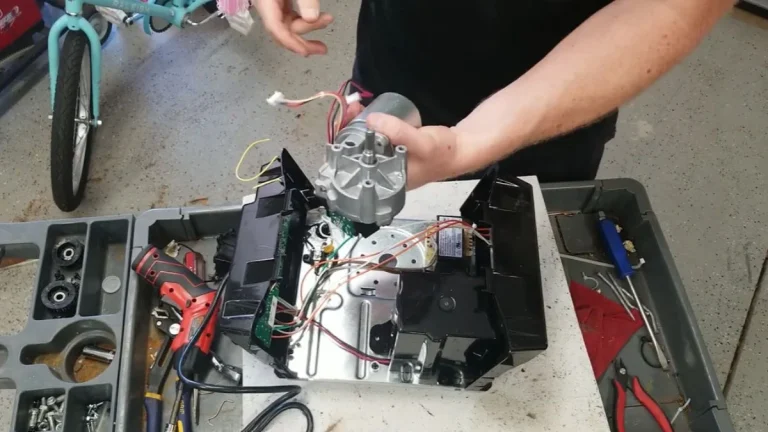
- Opener motor or sensor circuit faults
Frequently Asked Questions
Why does my garage door shift only when opening but not closing?
Opening puts maximum load on the lift cables and springs, exposing tension imbalances that the door’s own weight masks during closing. A cable with uneven tautness or a drum that is wound unevenly will show lateral drift under load but appear normal when gravity assists the descent.
Can I adjust garage door cables myself safely?
Minor cable tautness adjustments at the drum — quarter-turn increments with the door clamped and the opener disengaged — are within DIY range. Any work involving a frayed cable, a cable off its drum winding, or the torsion spring system itself requires a certified technician; the stored tension in those components can cause serious injury.
What is the difference between misalignment and imbalance?
Misalignment means the physical track or hardware has shifted out of its correct position — the door is not centered in the frame. Imbalance means the mechanical forces on each side are unequal — typically a spring tension or cable tension problem. A door can have one condition, the other, or both at the same time, which is why the diagnostic steps address each separately.
Keep Your Door Running Straight
Most garage door misalignment problems start as minor hardware looseness or cable slack that compounds over hundreds of cycles into a full lateral drift — catching it early costs minutes, not hundreds of dollars. Run the manual balance test every six months, lubricate rollers and tracks with a silicone-based spray each spring and fall, and inspect all mounting bolts for backing-out after any hard winter.
If the door fails the waist-height hold test at any point, work through the five diagnostic steps in this guide before scheduling a service call.