Garage Door Opens But Won’t Close with Remote: 5-Step Sensor Fix
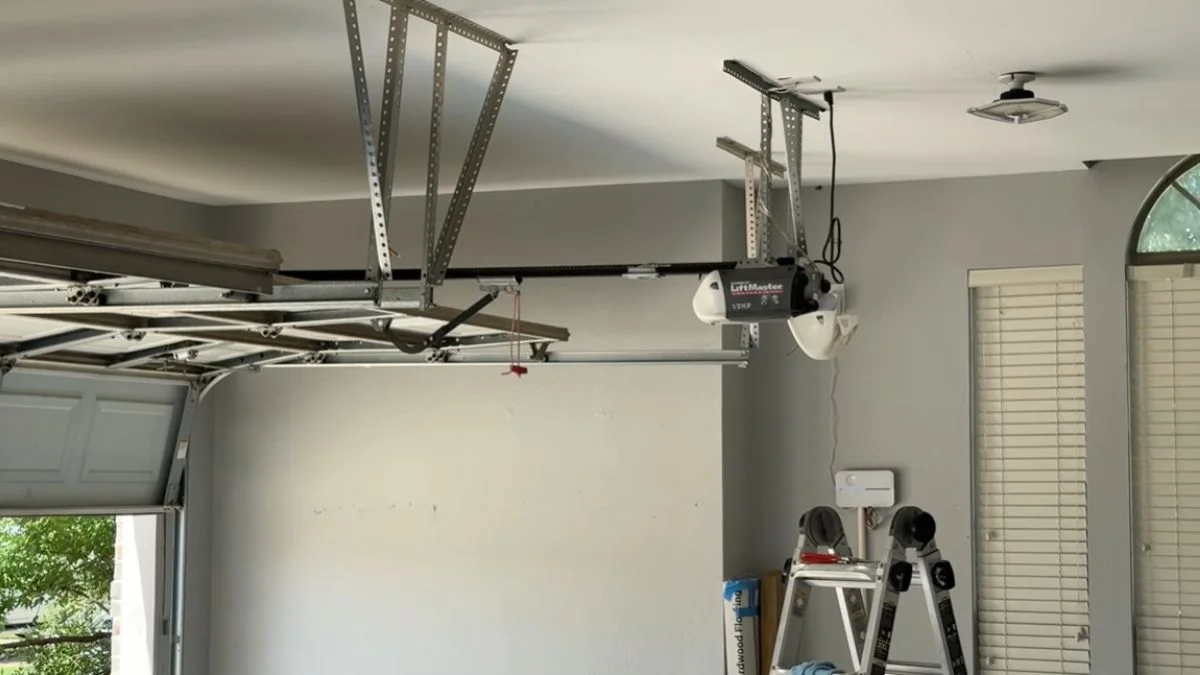
When your garage door opens but won’t close with the remote, the culprit is almost always the safety sensor system — a pair of infrared eyes mounted 4-6 inches off the ground that must stay perfectly aligned to allow the door to close.
You press the remote button, the door rises without complaint, but closing it becomes a standoff — no movement, maybe a blinking opener light — and you have no idea whether the problem is the remote, the motor, or something else entirely.
This guide walks you through 5 diagnostic steps to pinpoint the exact cause and fix it yourself, without a service call.
Why Your Garage Door Won’t Close: The Real Causes
Three things cause a garage door to open fine but refuse to close: a blocked or misaligned infrared beam, a wiring fault between the sensors and the motor head, or a remote-specific failure that the wall control panel doesn’t share.
Misaligned or Dirty Safety Sensors (Most Common)
Photo-eye sensors work by shooting an invisible infrared beam across the door opening — one sensor transmits, the other receives. If anything interrupts that beam, the safety reverse mechanism fires and the door stays open.
The beam path is surprisingly fragile. A single spider web across the sensor lens, a thin film of garage dust on the photo-eye, or a sensor bracket nudged by a lawnmower can drop the beam strength below the threshold the opener needs to confirm a clear path. Chamberlain and LiftMaster both document this as the leading cause of a garage door that won’t close automatically.
Misaligned safety sensors are easy to spot: the sending unit’s LED glows steady, but the receiving unit blinks or goes dark.
Blocked Sensor Path or Broken Wiring
Sometimes the sensor itself is fine but something is crossing its line of sight — a garden hose, a trash can, or a child’s bike parked too close to the garage door track. Remove any object within 6 inches of either sensor before assuming hardware failure.
Wiring faults are less obvious. Corroded terminals, a wire chewed through by rodents, or a staple that pierced the cable during installation can all cut the signal between the sensor and the door opener motor. Look for any section of wiring that looks frayed, kinked, or discolored.
Wall Button Works but Remote Doesn’t
If the wall control panel closes the door without issue but the remote won’t, the sensor system is almost certainly fine. The problem is isolated to either the remote transmitter or the receiver module inside the motor head.
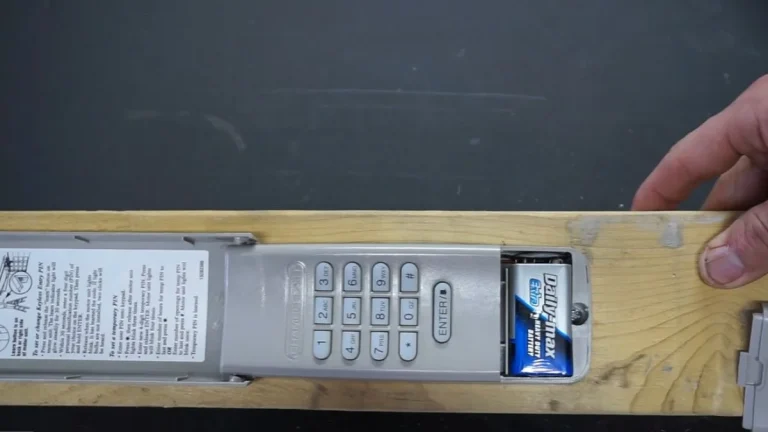
Start with the simplest fix: replace the battery. A weak battery produces a signal too faint to reach the receiver reliably, especially from the end of a driveway. If a fresh battery changes nothing, the receiver module itself may have failed — a distinct problem from garage door remote malfunction caused by the transmitter.
How to Diagnose and Fix Your Sensors: 5-Step Process
Work through these steps in order. Each one takes less than five minutes, and most homeowners find the fix before reaching Step 4.
Step 1: Locate and Visually Inspect Both Sensors
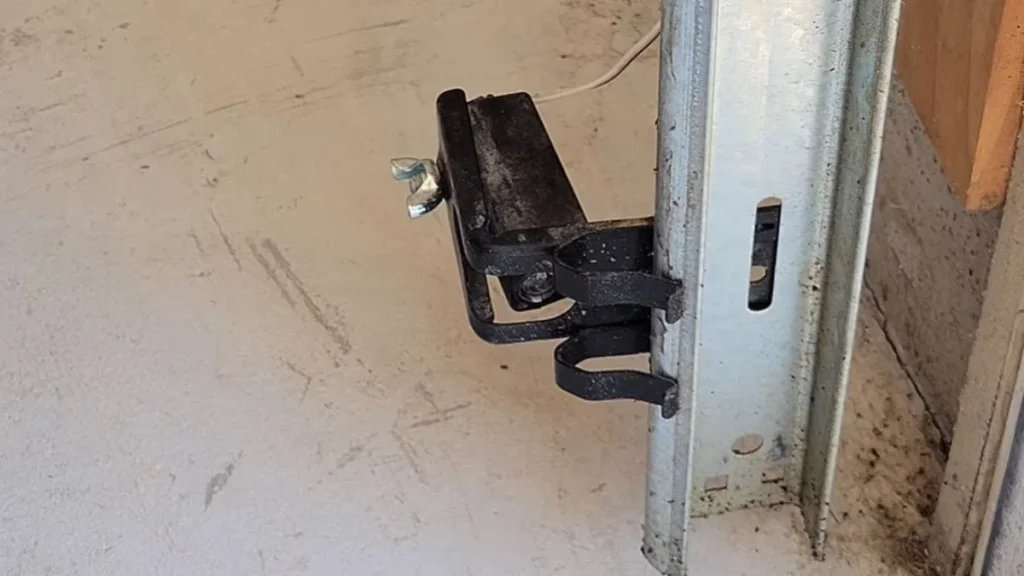
Both photo-eye sensors sit near the floor on opposite sides of the door opening, typically 4-6 inches above the ground and mounted to the garage door track with adjustable brackets. One unit transmits the infrared beam; the other receives it. The transmitting sensor usually has a steady amber LED, while the receiving sensor glows green when alignment is correct.
Look for bent brackets, sensors rotated out of position, mud packed around the housing, or visible cracks in the lens cover. Any of these alone can prevent the door from closing automatically.
Step 2: Clean the Sensor Lenses
Wipe both sensor lenses with a dry, lint-free cloth — the kind used for eyeglasses works well. Dust, pollen, and cobwebs accumulate directly on the photo-eye surface and scatter the infrared beam enough to trigger the safety reverse mechanism.
After cleaning, press the remote immediately. A dirty lens is the single fastest fix in garage door opener troubleshooting, and the door closing on the first attempt confirms it.
Step 3: Check Sensor Alignment with the Straightedge Method
Hold a long straightedge or a laser level flat against the face of one sensor and extend it toward the opposite unit. Both sensor faces must sit in the same horizontal plane with no vertical or angular offset.
Loosen the mounting bracket wing nut, adjust the sensor until the receiving unit’s LED glows solid, then retighten. Even a 1-centimeter vertical difference is enough to break the infrared beam path.
Step 4: Trace the Wiring and Test Connections
Follow the sensor wires from each photo-eye unit back up to the terminal block on the door opener motor. Look for staple damage, rodent chewing, sharp kinks, or green corrosion on the terminal screws.
Disconnect each wire, scrape any corrosion with a small flathead screwdriver, reattach firmly, and test the close cycle after each terminal. A single loose connection at the motor head is enough to cause complete sensor failure.
Step 5: Test Sensor Function with Manual Obstruction
Command the door to close, then slowly pass your hand through the sensor path midway through the cycle. The door must reverse immediately — no hesitation.
If the door does not reverse, the safety reverse mechanism is not responding, which means the sensors have failed and need replacement rather than adjustment. Chamberlain replacement photo-eye sensor kits are widely available for under $30 and install without special tools.
When Wall Button Works But Remote Doesn’t
If the wall control panel closes the door without hesitation but the remote produces nothing, you have just eliminated the safety sensors as the problem. Sensors block both the wall button and the remote equally — so if one works and the other doesn’t, the fault is in the wireless communication chain, not the infrared beam path.
Why This Happens
The wall button connects directly to the door opener motor through a hardwired low-voltage circuit. It sends a close command without passing through any radio receiver. The remote, by contrast, transmits a radio signal that the receiver module inside the motor head must decode and authorize before acting.
A depleted battery is the most common reason for garage door remote malfunction. Most remotes use a CR2032 or 12-volt alkaline cell that weakens gradually — the door may respond intermittently for weeks before stopping entirely, which homeowners often misread as a sensor obstruction problem.
Receiver module failure is less common but does occur, particularly in older LiftMaster and Chamberlain units exposed to power surges or sustained humidity inside the garage.
Troubleshooting Order
Follow this sequence before replacing any hardware:
- Replace the remote battery with a fresh cell of the correct type — check the back panel of the remote for the battery model number.
- Stand within 5 feet of the motor head and press the remote button. Short range success at close distance but failure from the driveway points to a weak battery or antenna issue rather than receiver failure.
- Check that the antenna wire hanging from the motor head is fully extended and unobstructed — a coiled or severed antenna dramatically cuts receiver range.
- If a new battery and a clear antenna produce no response, the receiver module has likely failed and needs replacement or reprogramming.
Keeping the wall button as your working baseline throughout this process ensures you are testing only the wireless path — not chasing a sensor obstruction that was never there.
When to Call a Professional
Sensor cleaning and realignment are safe DIY tasks. Several other garage door problems are not — and misreading the situation can result in serious injury or a door that becomes permanently inoperable.
High-Tension Springs and Cable Risks
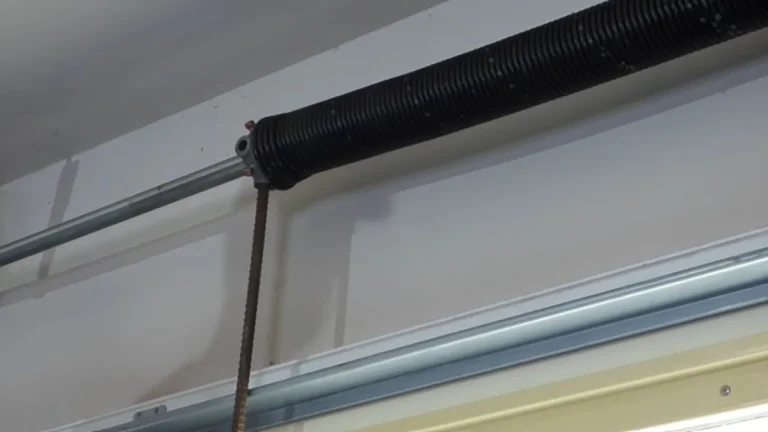
The torsion spring mounted above your garage door stores hundreds of pounds of mechanical force. A broken spring is identifiable by a visible gap in the coil or a door that feels extraordinarily heavy when lifted manually. Never attempt to adjust, wind, or replace torsion springs yourself. According to the International Door Association, spring-related injuries account for a significant portion of annual garage door repair incidents — and the risk applies even to experienced DIYers without specialized winding tools.
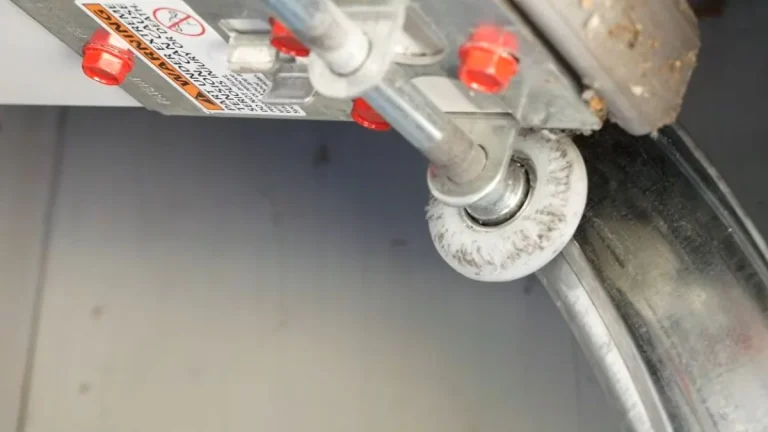
Frayed or snapped lift cables carry the same danger. If you see a cable lying loose on the garage floor or wrapped around the drum incorrectly, stop using the door entirely and call a licensed technician.
Motor and Structural Damage Beyond Sensor Fixes
If you have completed all 5 diagnostic steps and the door still won’t close automatically, the fault may lie inside the opener motor itself — a stripped gear, a failed logic board, or a damaged drive belt. These components require disassembly of the motor head unit and, in most cases, specialized diagnostic tools that consumer troubleshooting guides cannot substitute for.
Visible damage to door panels, bent garage door track sections, or a door that moves unevenly on one side also falls outside sensor troubleshooting and needs professional assessment.
Repeated Sensor Failures After Fixes
If your photo-eye sensors fall out of alignment repeatedly within weeks of adjustment, the root cause is usually a structural problem — a warped door frame, a deteriorating mounting bracket, or ground settlement shifting the track. Chasing alignment fixes on a compromised frame wastes time and delays a repair that only gets more expensive. A technician can assess whether the bracket, the frame, or the track itself needs correction.
Don’t Let This Happen Again: Sensor Maintenance Checklist
Most garage door sensor failures are preventable with 10 minutes of quarterly maintenance — wipe both photo-eye lenses with a lint-free cloth, confirm both LED indicators glow solid, and check that mounting brackets are snug. Set a recurring calendar reminder every three months and add a seasonal alignment check each fall before cold weather causes metal brackets to contract and shift.
If you live in a high-humidity region, a small weatherproof enclosure rated for outdoor photo-eye sensors adds years to their reliable service life.