Bottom Garage Door Roller Off Track? Complete Repair Guide
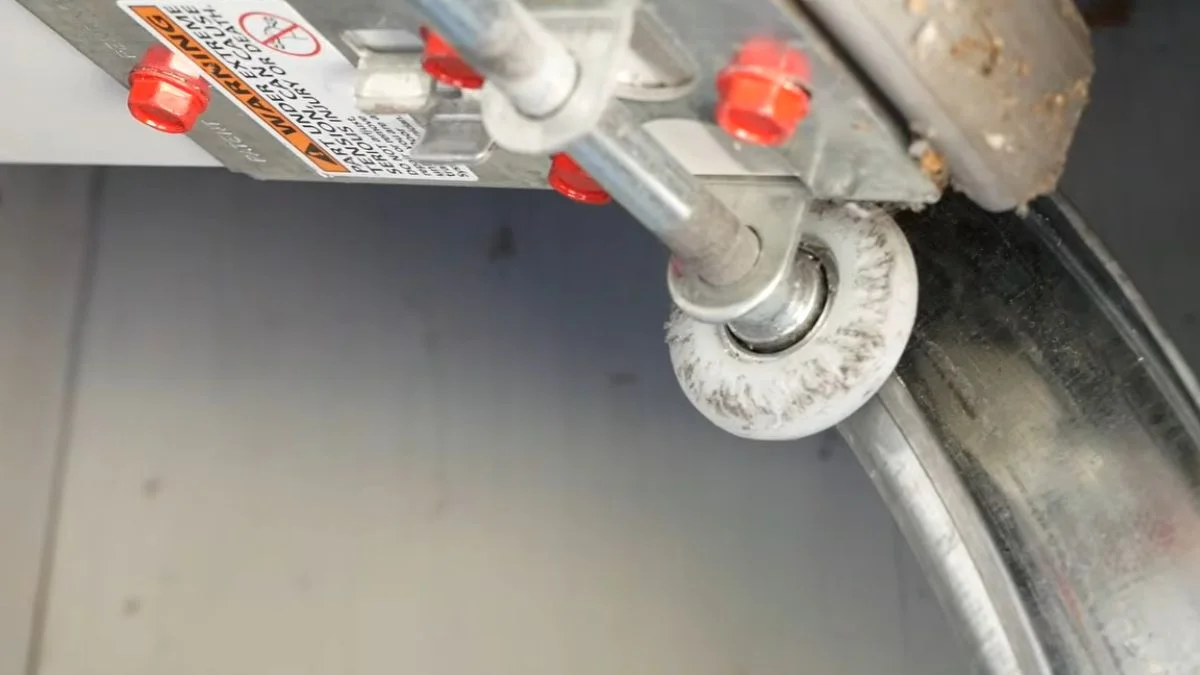
A single bottom roller jumping its track is one of the most common garage door failures — and knowing how to fix a bottom garage door roller off track can save you a $150–$300 service call in under an hour.
The real problem is not the repair itself. It is knowing whether your specific situation is safe to attempt, since garage door torsion springs store enough tension to cause serious injury if disturbed.
This guide walks you through diagnosing the problem, completing the repair step by step, and identifying the exact conditions that mean you should stop and call a licensed technician instead.
Safety First: When This Is DIY-Safe vs. Professional Territory
A bottom roller repair is genuinely DIY-safe in most cases — but the torsion spring above your door changes that calculation fast.
What Makes Torsion Springs Dangerous
According to the U.S. Consumer Product Safety Commission, garage doors are involved in approximately 30,000 injuries annually in the United States, with spring-related failures among the leading mechanical causes. A torsion spring — the large horizontal spring mounted above the door opening — stores hundreds of foot-pounds of torque. Disturbing it without proper tools and training can cause the spring to release violently.
The good news: fixing a bottom roller that has popped out does not require touching the torsion spring at all, provided the door is fully closed and lowered manually before you begin.
Red Flags That Mean Stop and Call a Pro
Do not attempt DIY repair if any of these conditions exist:
- The vertical or horizontal track is visibly bent or crimped
- The bottom bracket — the metal fitting that holds the roller and attaches to the lift cable — is cracked or deformed
- The lift cable on either side is frayed, slack, or off its drum
- The door is older than 15 years and has never had a professional inspection
- The door uses a torsion spring system and the spring itself appears damaged or unwound
Required Safety Gear
Always wear impact-resistant safety glasses and heavy work gloves before touching any garage door hardware. Use a stable stepladder for track alignment inspection at height. DASMA — the Door and Access Systems Manufacturers Association — recommends that any repair involving bottom bracket tension or roller bearing replacement follow the original manufacturer’s hardware specifications.
Diagnose the Problem: Track Alignment and Roller Position
Before touching any hardware, spend five minutes on a thorough visual inspection. Rushing past this step is the most common reason a reseated roller pops out again within days.
Step 1: Inspect the Roller and Track Opening
With the door fully closed, crouch down and look at both bottom corners. A bottom roller that has popped out will be visibly sitting outside the vertical track channel, often resting against the track’s outer edge or dangling from the bottom bracket. Check the inside of the track for debris — hardened grease, gravel, or a buildup of dirt can push a roller bearing out of alignment over time. Clear any obstruction before proceeding.
Step 2: Check Track Alignment With a Level
Hold a standard 4-foot level against the vertical track section on the affected side. The track should run perfectly plumb — any gap between the level and the track greater than 1/4 inch indicates track misalignment that must be corrected before roller replacement. Also check that the horizontal track slopes slightly downward toward the rear of the garage, approximately 1/4 inch of drop per foot of run. Incorrect slope causes recurring derailment.
Step 3: Inspect Brackets, Bolts, and Fasteners
Examine every lag bolt securing the vertical track to the wall. Loose fasteners are a leading cause of one-side-only roller failures, because the track shifts inward or outward under door weight. Look for corrosion on the bottom bracket and check whether the bracket itself has pulled away from the door panel. A warped or settled door panel can apply uneven pressure to the bottom bracket, creating chronic track misalignment even after hardware adjustment.
Repair: Reseat or Replace the Bottom Roller
This is the core repair. Work slowly, keep the door fully closed and disconnected from the opener, and never force hardware that resists.
Reseat vs. Replace Decision Matrix
| Condition | Action |
|---|---|
| Roller popped out, stem and bearing intact | Reseat only |
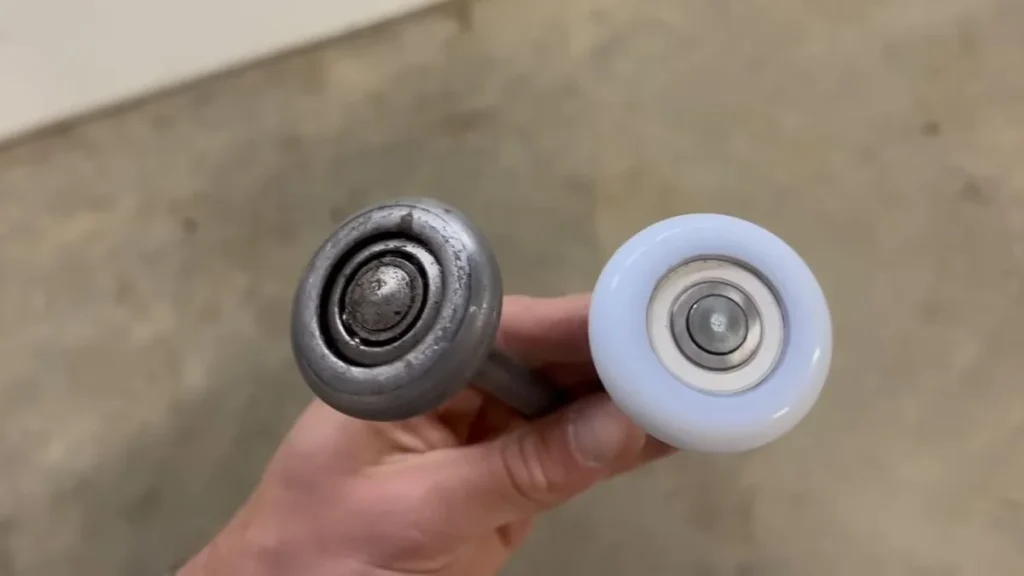
| Roller wobbles, bearing feels rough or grinds | Replace roller |
| Recurring derailment — 2+ times in 12 months | Replace roller and inspect track |
| Roller older than 7 years (nylon) or 10 years (steel) | Replace proactively |
Nylon rollers cost $3–$6 each and run quieter than steel. Steel rollers cost $5–$10 each and handle heavier doors better. Both are available at Home Depot and Lowe’s in standard 2-inch and 3-inch stem lengths.
Step-by-Step Reseat Process
- Disconnect the automatic opener by pulling the red emergency release cord.
- With a helper holding the door steady, locate the gap or flared opening at the bottom of the vertical track — this is the entry point for reseating.
- Wipe the inside of the track clean with a dry rag, removing any debris that caused or worsened the derailment.
- Align the roller stem with the track channel and press the roller firmly into the track opening using steady hand pressure.
- If the bottom bracket has shifted, tap it back into alignment with a rubber mallet — never a steel hammer, which can crimp the track.
- Reconnect the opener and run the door through 2 full open-and-close cycles, watching the roller through the full range of motion.
When Replacement Is Necessary
Grip the roller between two fingers and spin it. A worn roller bearing will feel rough, catch, or wobble on its stem — replace it. To remove the old roller without bending the track, use locking pliers to hold the stem while you slide the roller out through the track’s flared bottom entry point. Never pry against the track wall itself.
Install the new roller by sliding its stem into the bracket first, then guiding it into the track. Tighten all bracket bolts to snug — firm hand pressure on a wrench, not torqued down hard. Over-tightening distorts the bracket and creates new bottom bracket tension problems.
Prevention: Maintenance to Stop Recurrence
A bottom roller that comes off track once will do it again without a consistent maintenance routine. Most recurrences are caused by debris buildup, loose fasteners, or dry roller bearings — all preventable in under 30 minutes per quarter.
Monthly: Visual Inspection and Track Clearing
Once a month, crouch down and visually scan both bottom corners while the door is closed. Look for the roller sitting proud of the track, any visible gap between the bracket and the door panel, or debris accumulating inside the vertical track channel. A dry rag or stiff-bristle brush removes hardened grease and grit in seconds. Catching small track misalignment early prevents the gradual shift that eventually pops a roller out entirely.
Quarterly: Hardware and Bearing Check
Every three months, run a wrench along every visible lag bolt and track mounting bolt. Fasteners loosen from the constant vibration of daily door cycles — a bolt that feels tight by hand may have backed out a quarter turn. Spin each roller bearing by hand while the door is stationary. Any roughness, wobble, or grinding means the bearing is failing and the roller needs replacement before the next season.
Annual: Lubrication With the Right Product
Apply a dry PTFE spray lubricant — WD-40 Specialist White Lithium Grease or 3-IN-ONE Garage Door Lube are both purpose-formulated options — to the roller stems and hinges once per year. Never use standard WD-40 or petroleum oil on garage door tracks. Oil attracts dirt, accelerates debris buildup inside the track channel, and is a leading cause of recurring roller derailment.
Seasonal: Pre-Winter Track Cleaning
Before the first hard freeze, wipe the inside of both vertical and horizontal tracks with a clean dry cloth. Cold temperatures cause metal tracks to contract slightly, and any debris left inside the channel creates pressure points that accelerate roller bearing wear and increase bottom bracket tension through the winter months.
Frequently Asked Questions
Is it safe to fix a garage door roller yourself?
Reseating or replacing a bottom roller is safe for most homeowners with basic mechanical skills, provided the door is fully closed, the opener is disconnected, and no torsion spring components are damaged or under visible stress. Stop and call a professional if the lift cable, bottom bracket, or track shows any deformation.
What causes a bottom roller to come off on one side specifically?
One-side failures almost always trace back to a loose track mounting bolt on that side, allowing the vertical track to shift inward under the door’s weight until the roller pops out. Debris buildup concentrated in one track channel is the second most common cause.
How much does professional repair cost versus DIY?
A licensed garage door technician charges $150–$300 for a single roller repair, including parts and labor. DIY costs $3–$10 for a replacement roller, making the savings substantial if the repair falls within safe DIY parameters.
Can you replace a roller without special spring-release tools?
Yes. Bottom roller replacement does not require winding bars or any torsion spring tools, because the roller slides in and out through the flared entry point at the base of the vertical track without disturbing spring tension at all.
When to Call a Pro Instead
A single bottom roller off track is a legitimate DIY repair — but a bent track, damaged lift cable, or any sign of torsion spring failure makes it a professional job, every time, without exception.
If any red flag from Section 2 applies to your door, skip the DIY attempt and contact a DASMA-member garage door company for a service call, since most charge a flat diagnostic fee of $50–$75 that applies toward the repair cost. Start by running the Section 3 inspection checklist right now — it takes five minutes and tells you exactly which path is yours.