How to Build Garage Steps: Complete Code Compliance Guide
Building safe, code-compliant steps from garage to house is one of the most regulated DIY projects a homeowner can tackle — the International Residential Code sets strict minimums for riser height, tread depth, and fire separation that vary by jurisdiction and carry real inspection consequences if ignored.
Most homeowners don’t discover these requirements until mid-project, facing costly tear-outs or failed inspections because local amendments to the IRC weren’t checked upfront.
This guide walks you through every stage — from measuring your height differential and selecting materials to meeting fire-rating requirements and passing final inspection — so your garage entry steps are built right the first time.
Building Code Requirements for Garage Steps
IRC Standards and Local Amendments
The International Residential Code (IRC) Section R311.7 governs residential stair geometry nationwide, but every municipality can — and often does — amend it.
The IRC baseline sets a maximum riser height of 7-3/4 inches and a minimum tread depth of 10 inches. For a single step between garage floor elevation and the house entry, many jurisdictions treat this as a “step” rather than a “stair,” which changes the applicable rules. A stairway, by IRC definition, begins at 2 or more risers. One riser is simply a step, and landing platform requirements shift accordingly.
Local amendments create real variation:
- Los Angeles County requires a minimum 36-inch wide landing at the door threshold, regardless of step count
- Chicago (Cook County) enforces a maximum 7-inch rise with no exceptions for garage entries
- Austin, Texas follows IRC minimums but mandates a building permit for any garage entrance steps construction exceeding one riser
Handrails are required by IRC Section R311.7.8 when a stairway has 4 or more risers. Guardrails trigger at open sides with a vertical drop exceeding 30 inches.
Safety and Accessibility Considerations
ADA guidelines don’t apply to private single-family homes, but they offer a useful design benchmark — a 1:12 slope ratio for ramps (1 inch of rise per 12 inches of run) if a ramp alternative is preferred.
Frost line depth affects footing requirements for any attached or freestanding step structure. In Minneapolis, frost depth reaches 42 inches; in Atlanta, it’s just 12 inches. Footings must extend below local frost depth or the structure will heave seasonally.
Load calculations for garage to house landing design typically assume 40 pounds per square foot (psf) live load for residential stairs — confirm this with your local building department before pouring any concrete.
How to Build Garage Steps: Step-by-Step Construction
Materials and Design Setup
Material choice determines long-term durability, maintenance load, and cost — and the right answer depends on your climate.
| Material | Best Climate | Avg. Cost (per step) | Lifespan |
|---|---|---|---|
| Concrete | All climates | $150–$300 | 50+ years |
| Pressure-treated wood | Dry/mild | $80–$150 | 15–25 years |
| Steel/metal prefab | Dry climates | $200–$400 | 20–30 years |
Before ordering materials, establish your rise and run measurements precisely. Measure the total height difference between garage floor elevation and the house entry floor — this is your total rise. Divide by your target riser height (7 inches is a safe, code-compliant choice) to get your step count. The result must produce individual risers no taller than 7-3/4 inches per IRC standards.
For multi-step configurations, plan a landing platform at the top that is at minimum as deep as the door’s swing width — typically 36 inches. Footings should extend below local frost depth; use a tube form with rebar for concrete installations.
Installation Process
Concrete steps require forming, rebar placement, and a single pour. Use a 3,000 PSI concrete mix minimum. Strike the surface with a broom finish while wet for a built-in non-slip surface.
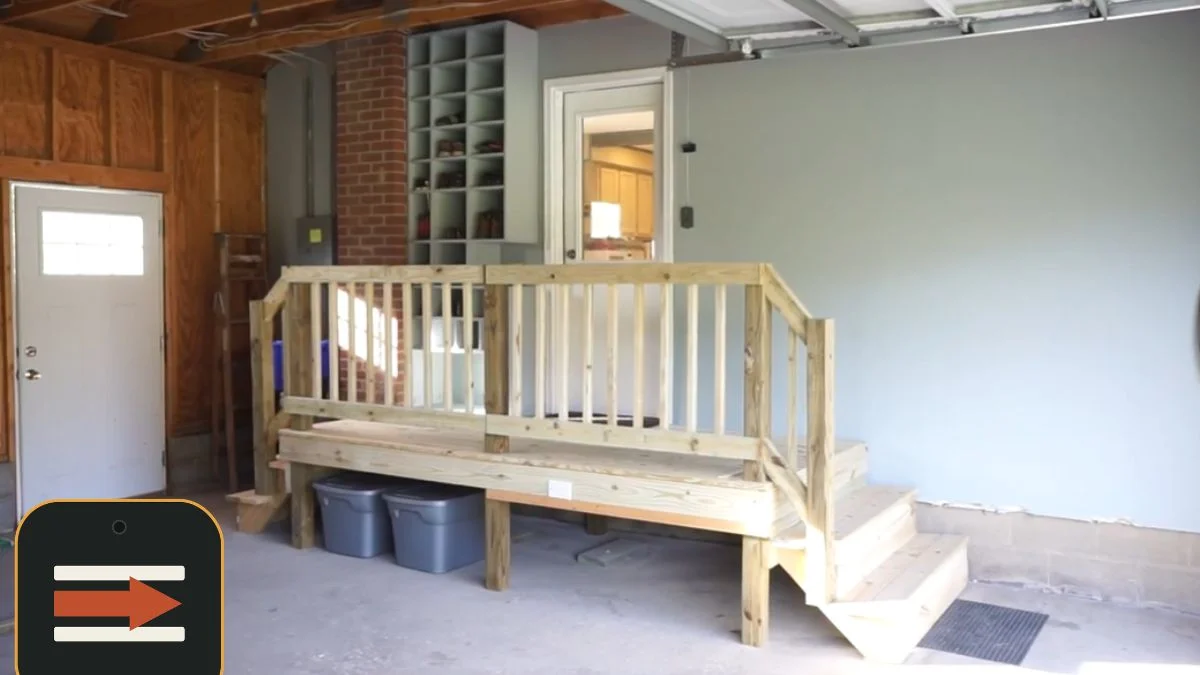
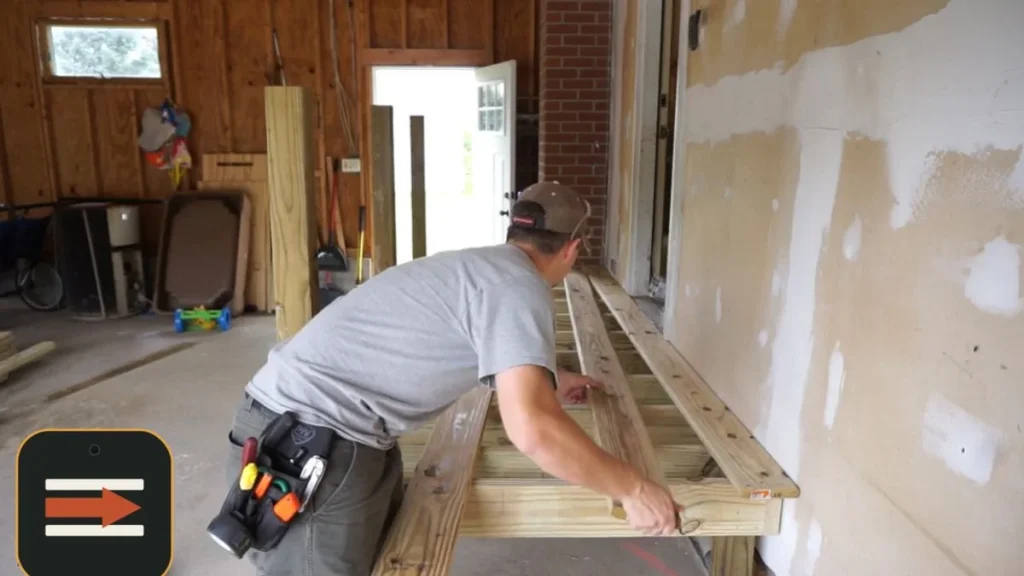
Pressure-treated wood framing uses a stringer-and-tread system. Cut stringers from 2×12 stock, attach to the house framing with joist hanger hardware from Simpson Strong-Tie, and use 5/4-inch decking for treads.
Prefab metal steps from manufacturers like Cotterman or American Stair bolt directly to a concrete pad — fastest installation, typically under 4 hours.
Regardless of material, finish every garage entrance steps construction project with:
- Waterproof sealer on concrete or wood surfaces exposed to moisture
- LED step lighting hardwired or solar-mounted at riser face height
- Non-slip adhesive stair treads rated for outdoor use on smooth surfaces
- A weather-resistant threshold strip at the house entry door
If the transition needs a landing due to a level change, here’s a more detailed guide.
Pre-Built vs. DIY: When to Buy Ready-Made Steps
Pre-built steps make sense when your height differential is standard, your timeline is short, and you want to skip formwork and curing time. DIY construction wins when dimensions are non-standard, budget is tight, or you need a custom landing platform integrated into the design.
Measuring and Selection Criteria
Before purchasing any pre-built unit, take 3 measurements:
- Total rise — floor-to-floor height between garage floor elevation and house entry threshold
- Width of opening — the clear horizontal space available for the steps, typically 36–48 inches for a single door
- Door swing clearance — how far the door opens into the garage, which determines landing depth
Most pre-built units are engineered for total rises between 7 and 21 inches — anything outside that range requires custom fabrication or DIY construction.
Where to buy:
- Lowe’s and Home Depot stock prefab wood and aluminum step units in-store, typically 1–3 step configurations
- Grainger and Cotterman supply industrial-grade steel stair units that meet building code requirements for garage stairs out of the box
- Amazon carries adjustable aluminum step stools, but most lack the structural ratings required for permanent garage entrance steps construction
Look for units rated to at least 1,000 lbs. static load capacity and compliant with IBC or IRC step geometry — check the product spec sheet, not just the listing description.
Professional installation is worth the cost when total rise exceeds 21 inches, when the garage to house landing design requires anchoring into existing concrete, or when your municipality requires a licensed contractor to pull the permit. Expect to pay $300–$600 for professional installation of a pre-built unit.
Ready to Close the Gap Safely
The single biggest mistake homeowners make is starting construction before confirming local amendments to IRC Section R311.7 — those amendments determine riser height limits, landing dimensions, permit requirements, and inspection checkpoints specific to your jurisdiction.
Before buying a single board or bag of concrete, call your local building department, state your total rise measurement, and ask directly whether a permit is required and which code edition is currently enforced in your municipality.