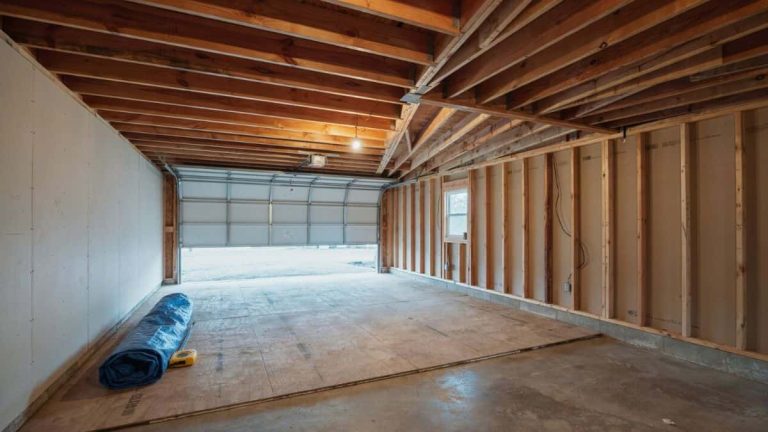
Concrete Ledge in Garage? Here’s How to Fix It
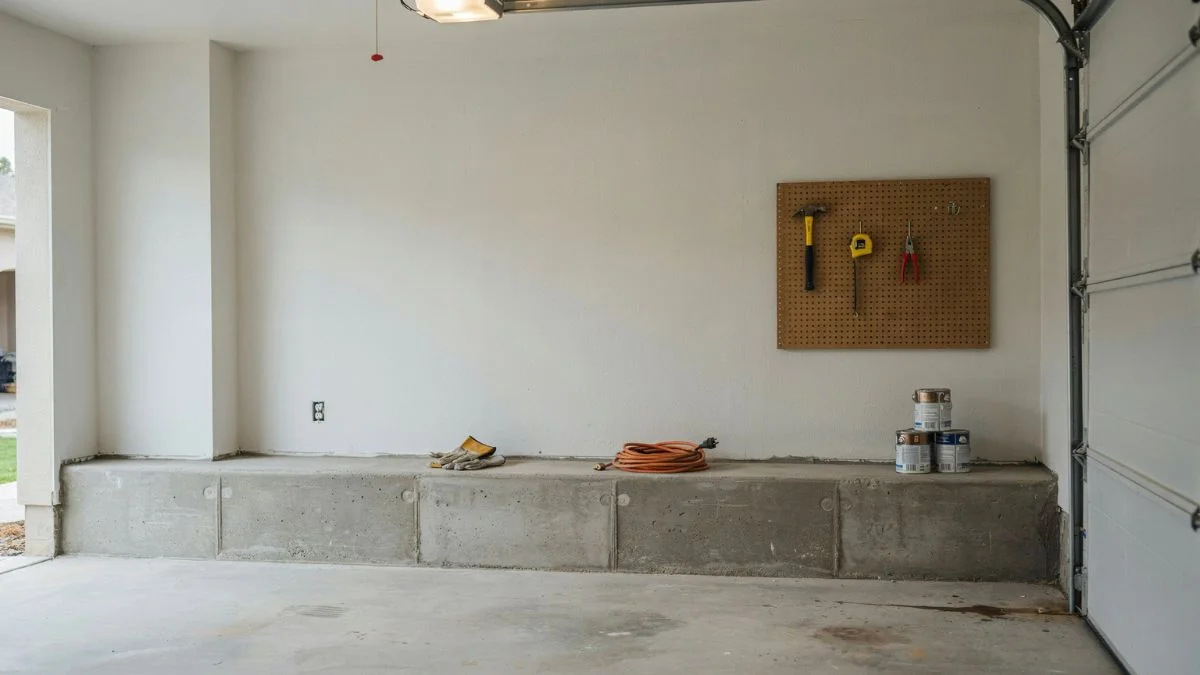
A concrete ledge in garage construction is one of the most overlooked obstacles homeowners hit mid-renovation — appearing at the base of walls, along door openings, or at foundation transitions where the slab meets the stem wall.
When you’re replacing a garage door, finishing interior walls, or addressing drainage problems, that raised ledge creates uneven surfaces that stop projects cold and force expensive workarounds.
This article gives you 5 proven solutions — from grinding and cutting to building up or boxing in — so you can choose the right fix for your specific situation and complete your project with confidence.
What Is a Concrete Ledge in a Garage?
A concrete ledge in a garage is the raised lip where the foundation stem wall meets the interior slab — typically projecting 1 to 2 inches above the finished floor surface. Contractors also call it a sill, brick ledge, foundation ledge, or garage threshold depending on its location and purpose.
Why the Ledge Exists
The ledge forms during the foundation pour as a deliberate structural transition between below-grade and above-grade concrete. It serves three practical functions:
- Wall support — The stem wall ledge carries the load of above-grade framing, whether wood stud walls or masonry.
- Moisture barrier — Raising the slab above the exterior grade line reduces water infiltration at the garage floor transition.
- Brick offset — On brick-veneer homes, the ledge provides a 2- to 4-inch horizontal shelf so brick or stone cladding sits flush with the finished exterior wall.
Standard Measurements and Code Context
Ledge height typically ranges from 4 to 12 inches above the slab surface, depending on the foundation design and local frost depth requirements. Width varies from 2 to 4 inches based on wall thickness and whether a brick ledge foundation is required.
IRC Section R309 governs garage sill construction and door clearance requirements in residential builds. The International Building Code (IBC) adds foundation requirements that affect tuck-under garage designs specifically.
Note that any modification to a load-bearing stem wall in a garage requires review by a licensed structural engineer before work begins.
Building and Finishing Concrete Ledges
Whether you’re adding a new garage foundation ledge or finishing an existing concrete lip, the process splits into two distinct phases: construction and surface treatment. Getting either phase wrong creates drainage problems or finishes that fail within a season.
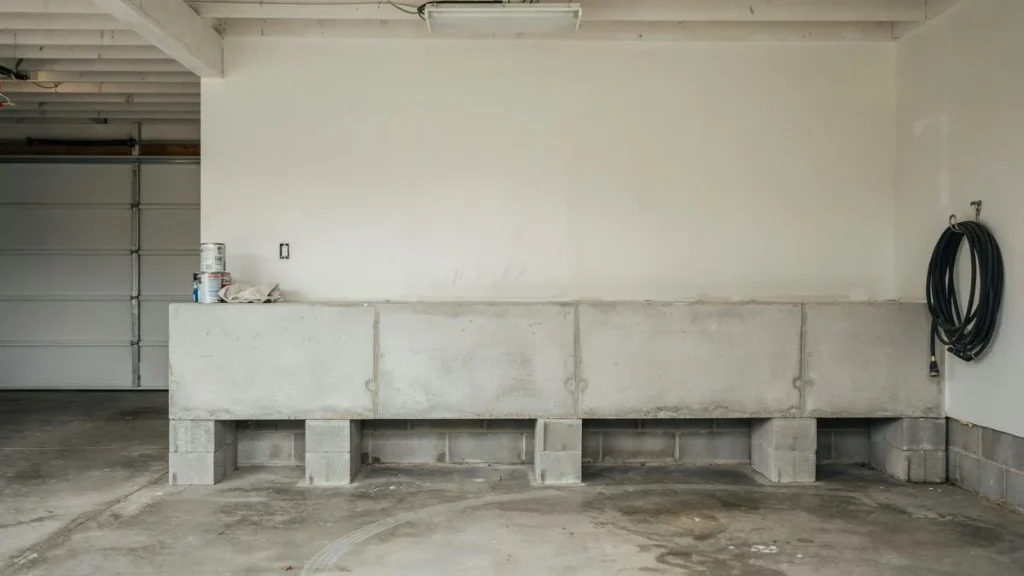
Construction Process for New Ledges
Building a new ledge starts with forming. Use 2×4 lumber to build a temporary frame directly on the slab, securing it with construction adhesive or concrete screws to hold position during the pour. Mix a high-strength concrete mix — 4,000 PSI minimum for garage applications — and pour to your target height.
3 mistakes that cause ledge failures:
- Flat or reverse slope — The ledge top must pitch slightly toward the garage interior or drain point, or water pools against the stem wall.
- Poor slab bond — Roughen the existing concrete pad with an angle grinder and apply a concrete bonding adhesive like Quikrete Concrete Bonding Adhesive before pouring.
- Premature demolding — Wait a minimum of 24 to 48 hours before removing forms, and allow 7 days before applying load or foot traffic.
Covering and Finishing Exposed Ledges
For interior finishing, drywall carried down to the slab with a synthetic baseboard covering the concrete floor transition is the most common approach. Synthetic baseboards outperform wood in garages because they resist moisture and won’t swell.
For exposed concrete ledges, apply a penetrating concrete sealer — products like RadonSeal or Ghostshield Lithi-Tek 4500 prevent moisture wicking and simplify cleaning. Paint alone without sealer fails quickly in garage environments due to humidity cycling.
Managing Ledges During Garage Door Replacement
A concrete ledge at the garage threshold becomes a direct problem during door replacement when it conflicts with track mounting height, weather seal placement, or opener rail clearance. Identifying the conflict early saves you from a full reinstallation.
Height and Clearance Issues
Most residential garage door openers require a minimum of 2 inches of headroom above the door opening and specific side-room clearances for track brackets. A raised concrete lip at the base of the opening can shift the effective door height, forcing the bottom weather seal to compress unevenly or preventing the door from sealing flush.
Here’s the decision point: if the ledge projects less than 1.5 inches above the finished floor and only affects the weather seal, shimming the door track is usually sufficient. If the ledge raises the door’s operational height enough to reduce opener headroom below manufacturer specs, a garage door ledge adjustment — or partial ledge removal — becomes necessary.
Any modification that cuts into the stem wall or alters the foundation ledge structure requires a structural engineer’s sign-off before work proceeds.
Moisture and Drainage at Ledges
The perimeter of a garage foundation ledge is one of the most common water infiltration points in residential construction. Water travels along the concrete floor transition, finds the gap between slab and stem wall, and wicks inward.
The fix involves 3 layers of protection:
- Slope — Confirm the slab pitches at least 1/8 inch per foot toward the garage door opening.
- Caulk — Apply a polyurethane sealant like Sikaflex-1a at the slab-to-stem-wall joint.
- Sealer — Coat the entire ledge surface with a penetrating concrete sealer to stop capillary moisture movement.
Below-grade ledge sections need a different approach — crystalline waterproofing products like Xypex or Kryton work by bonding chemically with the concrete rather than sitting on the surface.
Troubleshooting Common Ledge Problems
Most concrete ledge problems fall into two categories: surface issues you can fix yourself in an afternoon, and structural issues that require professional assessment before touching anything. Knowing which category you’re dealing with prevents costly mistakes.
Uneven Floors and Tripping Hazards
A concrete lip that projects 1 inch or more above the surrounding floor creates a genuine tripping hazard — particularly at the concrete floor transition between the garage and an attached living space. Three retrofit solutions work for most situations:
- Beveled transition ramps — Rubber or aluminum ramp strips, like those from Handi-Ramp or Transitions by MD Building Products, bridge height differences up to 2 inches and meet ADA transition slope requirements of 1:2 maximum.
- Self-leveling compound — Products like Ardex K-15 or Henry 555 can feather out a gradual slope from the ledge edge to the surrounding slab, eliminating the abrupt edge entirely.
- Recessed trim covers — Low-profile aluminum threshold covers recess into a saw-cut channel at the ledge edge, creating a flush, finished garage threshold.
IRC Section 303.4 and ADA Standards for Accessible Design both limit floor transition height to 1/2 inch vertical maximum without a beveled treatment. Factor this into any finishing concrete ledge project connected to living space.
Removing vs. Modifying Existing Ledges
The critical distinction is whether the ledge is load-bearing. A cosmetic concrete lip — one that simply protrudes beyond the stem wall face with no framing sitting on it — can be ground down or cut back with a concrete saw without structural consequence.
A load-bearing foundation ledge that supports wall framing, brick veneer, or precast concrete elements is a different situation entirely. Removing or cutting it without transferring that load first can destabilize the wall above. If there is any doubt, consult a licensed structural engineer before starting demolition.
If the damage extends into the block wall itself, here’s how to repair that.
Ready to Tackle Your Garage Ledge
The single rule that determines your entire approach: if the ledge carries structural load, hire a licensed structural engineer before cutting or removing anything — every other fix is fair game for a capable DIYer. Start by identifying whether your ledge is cosmetic or load-bearing using the test in Section 5, then match your specific problem — drainage, clearance, tripping hazard, or finish work — to the corresponding solution above.
If you’re unsure, a one-hour consultation with a structural engineer typically costs $200–$500 and eliminates the guesswork entirely.