How to Frame a Floor Over Garage Slab: Complete Guide
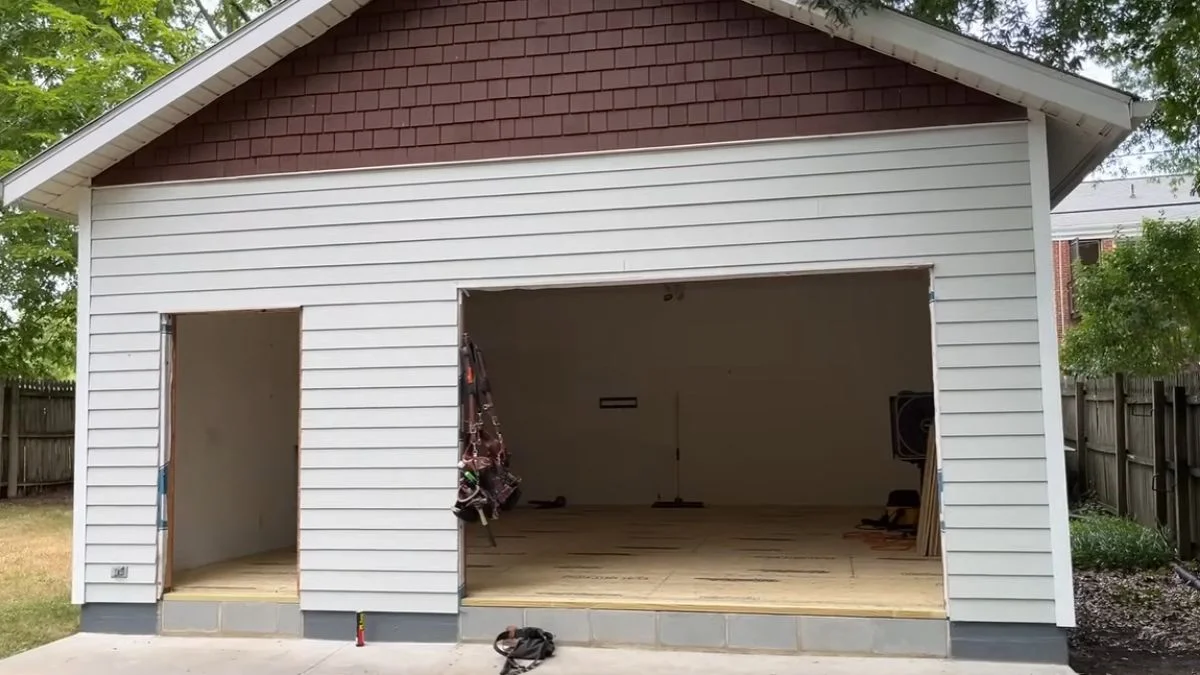
Moisture trapped between a concrete slab and wood framing is the single most common reason garage conversions fail within five years — and framing floor over garage slab correctly from the start prevents that entirely.
Most homeowners and DIY renovators underestimate how concrete slabs actively wick ground moisture upward, and they skip the vapor control details that determine whether the finished floor lasts decades or rots in years.
Follow this guide and you will leave with a complete, sequenced workflow covering moisture barriers, joist sizing based on real span tables, material selection, and the code compliance checkpoints that keep your project legal and structurally sound.
Moisture Control: The Critical Foundation
Why Concrete Slabs Leak Moisture Into Wood Framing
Concrete is hygroscopic — meaning it absorbs and holds water from the soil beneath it. Capillary action continuously pulls ground moisture upward through the slab, and vapor transmission pushes it further into anything resting on top. Wood framing in direct contact with a wet slab can begin rotting in as little as three to six months, making moisture management the single most important step in any garage floor framing project.
Vapor Barriers vs. Vapor Retarders: Terminology and Performance
These two terms are not interchangeable. A vapor barrier is completely impermeable — 6-mil polyethylene sheeting and bituthene membrane both qualify. A vapor retarder is semi-permeable, allowing some drying while still limiting moisture transmission; kraft paper and housewrap fall into this category.
Building codes increasingly specify materials by perm rating rather than blanket “barrier” requirements, so verify your local jurisdiction’s standard before purchasing materials. For most garage conversions with a concrete slab moisture barrier, 6-mil poly is the practical minimum.
Slab Preparation and Moisture Testing
Never install framing over an untested slab. Two reliable testing methods exist:
- Calcium chloride test — measures moisture vapor emission rate (MVER) in pounds per 1,000 square feet per 24 hours
- Anhydrous calcium carbide test — measures moisture percentage within the slab itself
Allow 24 to 48 hours for accurate results. Before installing any barrier, seal visible cracks with hydraulic cement or polyurethane caulk, grind down spalling areas, and sweep or vacuum all dust and debris. A contaminated surface prevents the barrier from adhering and seating correctly.
Materials and Framing Assembly

Pressure-Treated Lumber: When Required, When Optional
Most building codes — including those aligned with the International Building Code — require pressure-treated lumber for any wood within 8 inches of concrete or in direct contact with a slab. This applies to sill plates, sleepers, and the bottom chord of any joist resting on or near the concrete slab moisture barrier. Non-treated lumber absorbs moisture rapidly if the barrier is ever compromised, and rot follows within one to two seasons.
A common misconception: pressure-treated lumber is not required throughout the entire framing assembly — only at the contact points. Upper joists and blocking that sit well above the slab can use standard kiln-dried lumber, which saves cost without sacrificing structural integrity.
Joist Sizing and Span Calculations
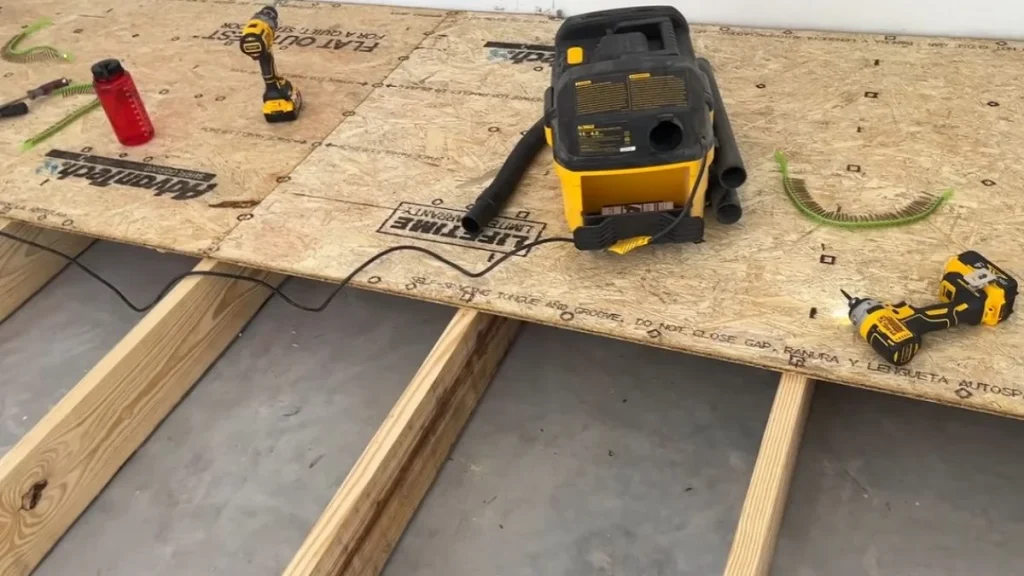
For most garage floor framing joists, 2×6 or 2×8 dimensional lumber at 16-inch on-center spacing handles standard residential live loads of 40 pounds per square foot (psf). Span tables published by the American Wood Council specify allowable spans by species, grade, and spacing — Douglas Fir-Larch No. 2 at 16 inches on center, for example, spans up to 10 feet 9 inches with a 2×6.
Always size up when in doubt. Undersize joists produce noticeable floor bounce and can crack tile or rigid flooring finishes over time. Consult a structural engineer for any loads exceeding 40 psf or spans beyond 14 feet.
Intermediate Blocking and Support Strategy
Install solid blocking or cross-bridging between joists every 8 feet along the joist run. Blocking prevents lateral twisting — a failure mode that worsens under repeated live loads. For raised floor assemblies spanning more than 12 feet, add a mid-span beam supported by concrete piers or a load-bearing wall perpendicular to the joist direction. This distributes structural load-bearing forces evenly across the slab rather than concentrating stress at the rim board connections.
Installation Sequence and Fastening
Layout, Fastening Methods, and Level Checks
Start by snapping chalk lines across the slab at your chosen joist spacing — 16 inches on center for standard residential loads, 12 inches for heavier applications. Chalk lines give you a visual reference that prevents cumulative drift across a large garage floor framing layout.
Fasten pressure-treated sill plates and sleepers to the concrete slab using one of two proven methods:
- Powder-actuated fasteners (Hilti DX or Ramset tools) — fast, strong, and code-accepted for sill plate attachment in most jurisdictions
- Concrete anchor bolts with construction adhesive — slower but provides additional pullout resistance on slabs with surface variation
Before driving any fastener, check each joist for crown — the slight natural curve along the length of the board. Orient all crowns facing up so the floor load gradually flattens them rather than amplifying the bow.
Garage slabs are rarely perfectly level. Here’s what to do: use a 6-foot or longer level to identify high and low points across the entire slab before setting any framing. Address low spots with pressure-treated shims or self-leveling polyurethane foam — both handle minor variation well. For deviations greater than 3/4 inch over 10 feet, self-leveling concrete underlayment applied during slab preparation gives a more stable base than stacked shims.
If the original garage slab has a drainage slope — typically 2 to 3 percent toward the door — you have two choices: frame level by tapering the sill plate height, or maintain the slope deliberately if the converted space will still need drainage. Most living space conversions require a level floor, so plan the tapered sill plate approach into your layout from the start.
Insulation and Thermal Envelope
Cavity Insulation and Rigid Foam Integration
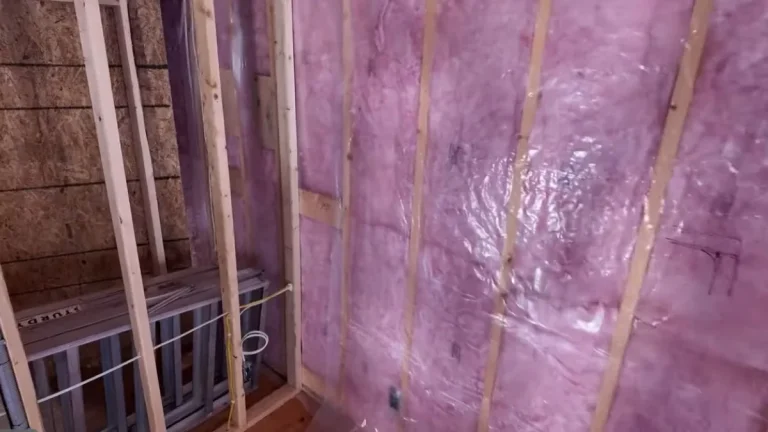
The joist cavities created by your garage floor framing joists are prime real estate for insulation — use them fully. For 2×6 joist cavities, unfaced fiberglass batts rated R-19 to R-21 fill the space without compression, which would reduce their effective R-value. For 2×8 cavities, R-25 batts are the correct fit. Compress a batt by even 25 percent and you lose roughly 20 percent of its rated thermal performance.
Rigid foam board adds a second layer of protection that batts alone cannot provide. Install 1 to 2 inches of extruded polystyrene (XPS) or polyisocyanurate (polyiso) directly below the joists, between the framing and the concrete slab moisture barrier. This continuous layer does two critical things:
- Breaks the thermal bridge — joists themselves conduct cold from the slab into the living space without it
- Creates a drying path — XPS at 1 inch has a perm rating around 1.1, allowing limited vapor diffusion rather than trapping moisture against the wood
For garage conversions in climate zones 5 through 7 — roughly the northern half of the United States — the Department of Energy recommends a minimum R-30 for floors over unconditioned or semi-conditioned spaces. Reaching R-30 typically requires combining R-21 cavity batts with 1.5 inches of polyiso beneath the joists, which contributes approximately R-9.
One practical note: install rigid foam before setting joists if you are building a sleeper floor over concrete slab. Retrofit installation after framing is significantly harder and rarely achieves full coverage at the edges and blocking locations.
Once the new floor framing is in, you’ll also want a clean transition where it meets the driveway.
Building Codes, Permits, and Long-Term Durability
Local Code Variations and Structural Engineer Triggers
The International Building Code sets the baseline for joist sizing, floor framing spacing over slab, and moisture control requirements — but local jurisdictions frequently amend it. California, Florida, and the Pacific Northwest all have supplemental requirements around vapor retarder installation and seismic or wind load considerations that override IBC defaults. Always pull the local amendment before finalizing your framing plan.
Permits are mandatory in most jurisdictions for any garage-to-living-space conversion. Expect three inspection stages:
- Pre-barrier inspection — slab condition and moisture testing results reviewed before any framing begins
- Post-framing inspection — joist sizing, spacing, blocking, and pressure-treated lumber placement verified
- Pre-finish inspection — insulation and vapor retarder installation confirmed before subfloor goes down
A structural engineer becomes necessary in 3 specific situations: the slab shows significant cracking or settlement, the intended live load exceeds 40 psf (home gym equipment, heavy storage), or the span exceeds what published span tables cover for the chosen lumber species and grade. Engineer fees typically run $300 to $800 for a residential floor framing plan — a fraction of the cost of correcting a failed structure.
Annual Maintenance and Failure Prevention
Framing floor over garage slab is a long-term investment that requires annual checks to stay sound. Each year, inspect the perimeter where the framing meets the foundation wall — this is where condensation and standing water appear first. Check for mold odor, which indicates moisture has already reached the wood framing below the subfloor.
Two exterior factors directly affect interior moisture levels:
- Gutters and downspouts — clogged or misdirected gutters deposit water at the foundation, driving ground moisture into the slab
- Grading — soil should slope away from the garage foundation at a minimum 6-inch drop over the first 10 feet
Repair any vapor barrier punctures immediately using 2-mil polyethylene repair tape. Small tears left unaddressed allow localized moisture accumulation that can rot a pressure-treated sleeper within two to three seasons.
Next Steps and Verification
Moisture control is not a preparation step — it is the structural foundation every other framing decision depends on, and skipping or rushing it invalidates everything built on top of it. Before purchasing a single joist or roll of poly, contact your local building department to confirm permit requirements and scheduled inspection stages, then run a calcium chloride moisture test on the slab and document the results in writing.
Size your joists and barrier one grade up from the minimum — the cost difference is negligible compared to tearing out a finished floor to address rot or code violations two years later.