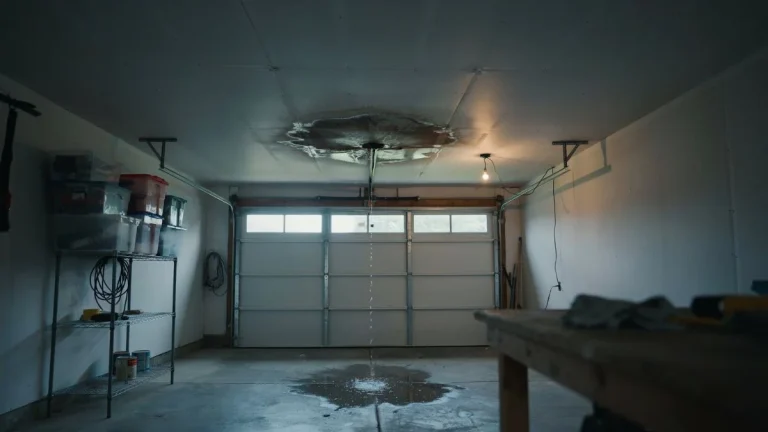
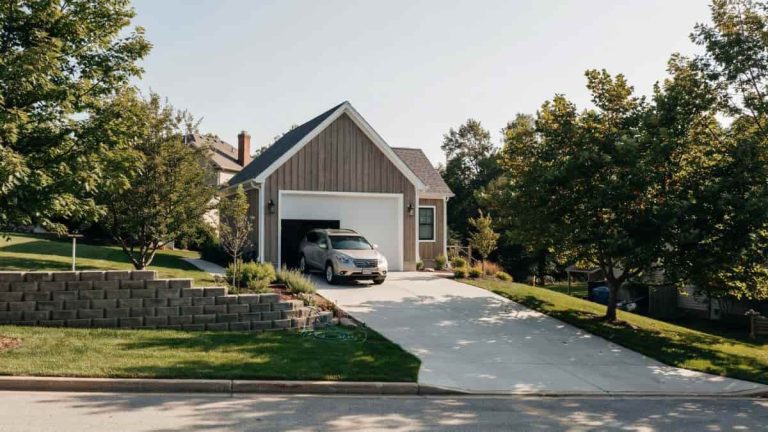
How to Fix a Driveway to Garage Floor Transition: 5 DIY Solutions
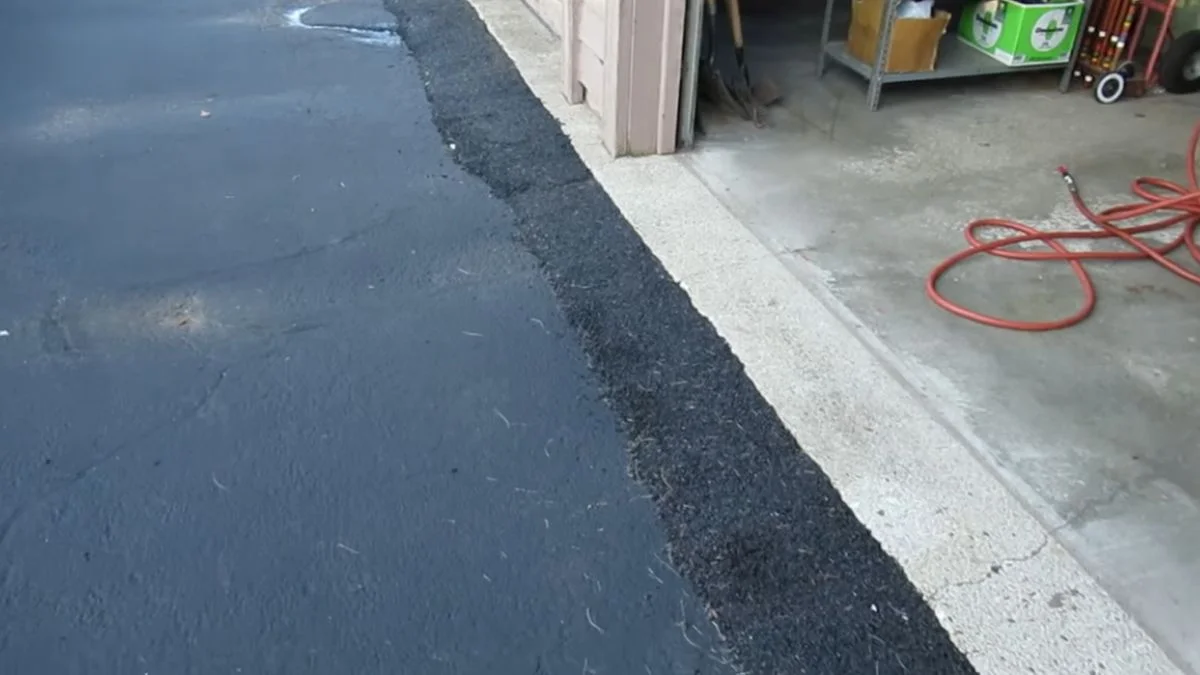
A damaged driveway to garage floor transition is more than an eyesore — it is a trip hazard, a water intrusion risk, and, left untreated, a source of serious structural damage to your garage slab.
Most homeowners discover the problem after water starts pooling at the garage entrance, a wheel catches the lip on the way in, or they notice a gap wide enough to let in debris, pests, and cold air. The fix feels out of reach without a contractor, but it rarely is.
This guide covers 5 proven DIY solutions — from quick patching compounds to full threshold rebuilds — so you can choose the right fix for your budget, your skill level, and how bad the damage actually is.
Why Driveway-to-Garage Transitions Fail
Transitions fail for predictable reasons. Knowing which one applies to your situation determines which fix will actually hold.
The Ground Beneath Is Always Moving
Soil compaction is the most common culprit behind driveway settling and the resulting garage floor gap. Over time, the sub-base beneath asphalt or concrete compresses under vehicle weight and moisture changes. The driveway slab or asphalt surface sinks, but the garage slab — poured on a separate footing — stays put. The result is a raised lip or an uneven step at the entry point.
Poor Original Grading
Many driveways were never graded correctly at installation. The ADA recommends a maximum 2% cross-slope for accessible surfaces, but residential driveways are rarely held to that standard. When the initial slope directs water toward the garage rather than away from it, water pooling at the garage entry becomes a chronic problem — and pooled water accelerates erosion of the sub-base, making settling worse over time.
Freeze-Thaw Damage
Water infiltrates small cracks, freezes, expands by roughly 9%, and forces materials apart. This cycle widens gaps at the transition joint every winter. Concrete versus asphalt driveway transitions are especially vulnerable here because the two materials expand and contract at different rates.
The Real Safety Risks
A garage floor elevation difference of even one inch creates genuine hazards:
- Trip and fall risk for pedestrians, especially at night
- Vehicle grounding — low-clearance cars scraping the lip
- Water intrusion into the garage, leading to hydrostatic pressure buildup against the slab edge and eventual moisture damage to stored items or finished floors
The 5 DIY Solutions: Materials, Methods, and Durability
Each fix below suits a specific gap size, budget, and durability expectation. Match the solution to your actual conditions.

Solution 1: Cold Patch Asphalt
Cold patch asphalt — products like Quikrete’s Asphalt Cold Patch or Sakrete’s version — works best when your driveway is asphalt and the garage floor elevation difference is under 3 inches. Clean the area thoroughly, remove loose material, and apply an asphalt bonding agent to the existing surface before packing in the cold patch. Compaction is where most DIYers go wrong — driving a vehicle over the patch repeatedly produces better results than hand-tamping alone. Expect a lifespan of 2–4 years before reapplication.
Solution 2: Aquaphalt
Aquaphalt is a self-bonding, water-activated asphalt repair compound that requires no heating and bonds to both asphalt and concrete surfaces. It handles concrete versus asphalt driveway transitions better than standard cold patch because it adheres to dissimilar materials. Pour, compact, wet, and it cures within hours. It costs roughly $30–$60 per bucket and covers approximately 15–20 linear inches at a 2-inch depth.
Solution 3: Concrete Ramp Transition
A poured concrete ramp transition is the most permanent DIY solution for gaps over 2 inches. Build a form, add wire mesh or rebar for reinforcement, and pour at a slope no steeper than 1:12 — that is 1 inch of rise per 12 inches of run — to meet ADA accessibility guidelines and prevent vehicle grounding. Do not pour in temperatures below 50°F; cold concrete cures unevenly and cracks early.
Solution 4: Rubber Threshold Ramp
A rubber threshold ramp solves the problem without any mixing or curing. One-piece rubber ramps from brands like Park Smart or Bridjit anchor with construction adhesive or concrete screws and handle gaps up to 4 inches. Modular systems let you stack sections for greater height. Durability runs 3–7 years depending on traffic volume. This is a genuine fix for minor elevation differences — not just a band-aid — but it does not address water pooling at the garage entry or sub-base settling.
Solution 5: Polymer Sand for Minor Gaps
For gaps under 1 inch — common with brick paving or paver driveways — polymer sand fills the joint effectively. Sweep it into the gap dry, compact lightly, then activate with water. It locks rigid when cured, resists washout, and costs under $25 for a 50-pound bag. Surface prep matters: the gap must be clean and dry, and a gravel drainage layer beneath helps prevent hydrostatic pressure buildup at the garage entry.
Temporary vs. Permanent Trade-offs
Cold patch and rubber ramps buy time. Concrete ramps and proper sub-base repair solve the problem. Repeated cold patch applications over 10 years can easily cost more than a single concrete ramp installation, so factor long-term cost into the decision — not just today’s price tag.
Professional Help: Cost, Codes, and When to Call
DIY fixes work well for gaps under 4 inches with stable sub-base conditions. Beyond that threshold, professional intervention saves money in the long run.

Signs You Need a Pro
Call a licensed contractor when you see any of these conditions:
- The garage floor elevation difference exceeds 4 inches
- The driveway slab is cracked through its full depth, not just surface-level
- Water pooling at the garage entry is occurring inside the garage, not just at the threshold
- The settlement is active — meaning the gap is still growing season to season
- Hydrostatic pressure garage entry damage is visible as efflorescence (white salt deposits) on the slab edge
What Professionals Charge
Costs vary by region and solution type, but these ranges reflect typical residential projects in the U.S.:
| Service | Typical Cost Range |
|---|---|
| Mudjacking (slab lifting) | $500–$1,500 |
| Concrete slab replacement | $1,500–$4,000 |
| Asphalt mill-and-fill overlay | $800–$2,500 |
| Full driveway regrading | $1,000–$3,500 |
Mudjacking — injecting a cement-soil slurry beneath a sunken slab to raise it — is often the most cost-effective professional option for driveway settling when the slab itself is structurally sound.
Permits and Code Requirements
Many jurisdictions require a building permit for concrete ramp transition work that alters drainage patterns or exceeds a certain square footage — typically 100 square feet. Check with your local building department before pouring. Unpermitted work can complicate home sales and void homeowner’s insurance claims related to the repair. A licensed contractor handles permit pulling as part of the job, which is a real practical advantage beyond just the quality of work.
The Right Garage Floor Height and Slope Design
Most homeowners assume a flush transition is the goal. It is not — and building it that way causes the exact water and settling problems this article addresses.
The Ideal Elevation Difference
The garage floor should sit 1 to 2 inches above the driveway surface at the transition point. This intentional garage floor elevation difference acts as a barrier, preventing rainwater and snowmelt from flowing directly into the garage. The International Residential Code (IRC) supports this principle through Section R309, which requires garage floors to slope toward a drain or the main vehicle entry door — meaning water must have somewhere to go that is not into your living space.
Why Flush Transitions Fail
A flush driveway to garage floor transition looks clean but creates two problems. First, it gives water no barrier at the threshold, so any pooling flows straight in. Second, in freeze-thaw climates, the joint between the driveway and garage slab becomes a water trap. That water freezes, expands, and forces the two slabs apart — accelerating driveway settling and widening the gap year over year.
Correct Grading Specifications
The driveway itself should slope away from the garage at a minimum of 1% grade — that is 1/8 inch of drop per foot of run. Most concrete and asphalt contractors target 2% for reliable drainage. A slope steeper than 5% creates vehicle grounding risk for low-clearance cars and ice hazards in winter.
Designing for Long-Term Prevention
When planning a concrete ramp transition or any permanent repair, build the slope into the repair itself. Taper the new material so the high point meets the garage slab edge and the low point blends into the existing driveway grade. This eliminates both the trip hazard and the water pooling at garage entry in a single design decision.
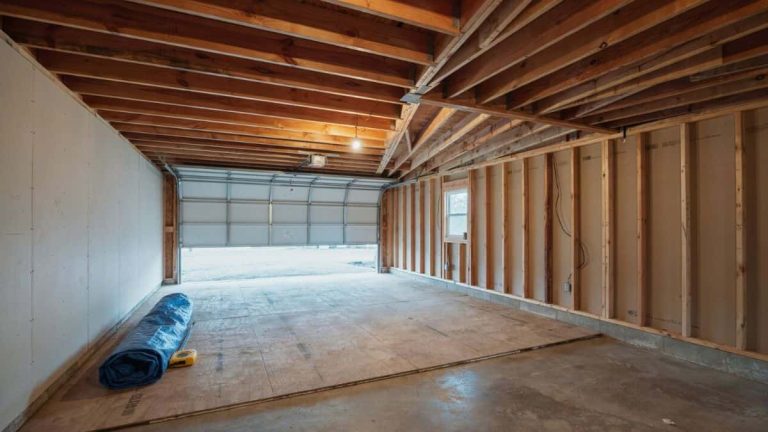
If you’re also changing the floor height or structure, see this guide on framing over the slab.
Next Steps: Choosing Your Fix
The gap size and sub-base stability determine everything — choose the wrong fix for the conditions and you will repeat the repair within a season. Measure your garage floor elevation difference today: gaps under 1 inch call for polymer sand or a rubber threshold ramp, gaps of 1 to 3 inches suit cold patch asphalt or Aquaphalt, and anything over 3 inches warrants either a poured concrete ramp transition or a call to a licensed contractor for mudjacking.