How to Build Garage Stairs With Landing: Complete DIY Guide

Falls on stairs are the leading cause of accidental home injury deaths in the United States, and poorly built garage stairs with landing areas are a common culprit in older homes.
Most homeowners dealing with steep, narrow, or structurally unsound garage entry stairs have no clear starting point — no measurements, no material list, and no code reference to work from.
This guide gives you a complete, code-referenced plan to design, build, and finish safe, IBC-compliant garage stairs with a landing, using standard tools and intermediate carpentry skills.
Measuring and Calculating Garage Stairs With Landing
Accurate measurements are the foundation of every safe, code-compliant garage stair project. Get these numbers wrong and your stairs will either fail inspection or become a tripping hazard.
What Are Rise, Run, and Tread Measurements?
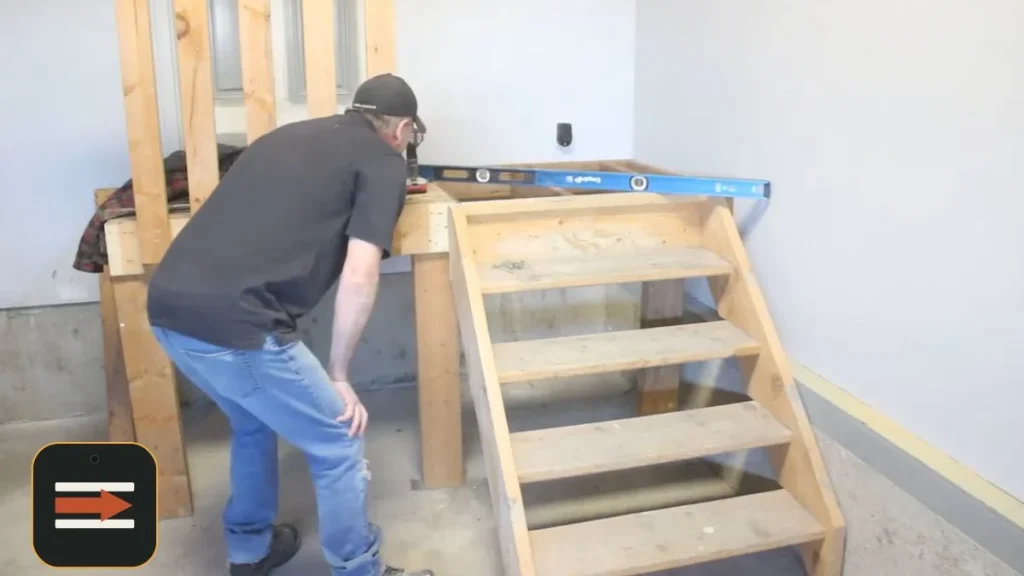
Rise is the vertical height of a single step. Run is the horizontal depth of each tread — the surface your foot lands on. Together, they define how comfortable and safe each step feels to climb.
The International Building Code (IBC) sets the maximum riser height at 7.75 inches and the minimum tread depth at 10 inches for residential stairs. A nosing overhang — the tread edge that extends past the riser below — adds 0.75 to 1.25 inches to the actual step footprint. Riser height must stay consistent across every step; even a 3/8-inch variation is a code violation and a fall risk.
How Do You Calculate Steps and Landing Height?
Use the 7-11 rule as your starting point: target a riser height between 7 and 7.75 inches and a tread depth of 10 to 11 inches. Then apply the rise-plus-run formula — riser height plus tread depth should equal between 17 and 18 inches for a comfortable stair angle.
Calculate your total number of steps by dividing total floor-to-floor rise by your chosen riser height, then rounding to the nearest whole number and recalculating riser height from that count. Landing height placement depends on your garage layout — mid-stairway landings require a full horizontal platform at least 36 inches deep in the direction of travel.
What Are the Building Code Requirements for Garage Stairs?
| Requirement | IBC Standard |
|---|---|
| Maximum riser height | 7.75 inches |
| Minimum tread depth | 10 inches |
| Minimum stair width | 36 inches |
| Minimum landing depth | 36 inches |
| Nosing overhang | 0.75–1.25 inches |
Most municipalities adopt IBC standards directly, but always pull a permit before you build. Inspectors check stringer cuts, landing framing, and railing height — typically 34 to 38 inches measured from the tread nosing.
Safety Requirements and Railings
Skipping proper railings or omitting a landing where code requires one are the two most common DIY garage stair mistakes — and both create serious liability if someone gets hurt.
Do You Need a Landing on Garage Stairs?
A landing is code-required any time your stair run changes direction, such as in an L-shaped or U-turn stairway design. For straight-run garage entry steps, a landing becomes mandatory when the total vertical rise exceeds 12 feet — though most garage applications fall well under that threshold.
That said, a landing platform dramatically improves usability even when it is not strictly required. It gives you a transition rest point, reduces the consequences of a misstep, and allows door swing clearance at the top of the stairs. The IBC requires that any door opening onto a landing must not reduce the landing depth to less than 36 inches when the door is fully open.
What Are the Railing and Handrail Standards for Garage Stairs?
Handrails on garage stairs must sit between 34 and 38 inches above the stair nosing, measured vertically. The graspable rail itself must have a diameter between 1.25 and 2 inches for round profiles — anything wider than 2.625 inches in perimeter requires a graspable finger recess.
Balusters, the vertical spindles between the rail and the stair or landing, must be spaced so a 4-inch sphere cannot pass through. This is the standard test inspectors use on every garage step railing installation.
Handrails must also withstand a 200-pound concentrated load applied in any direction, per IBC Section 1607.8. Anchor each post with structural hardware — surface-mounted post bases rated for lateral load, not just wood screws driven at an angle.
Step-by-Step Construction Process
Building garage stairs with a landing breaks down into two sequential phases: cutting and installing the stringers with treads, then framing and securing the landing platform with railings.
How Do You Build Stringers and Install Treads?
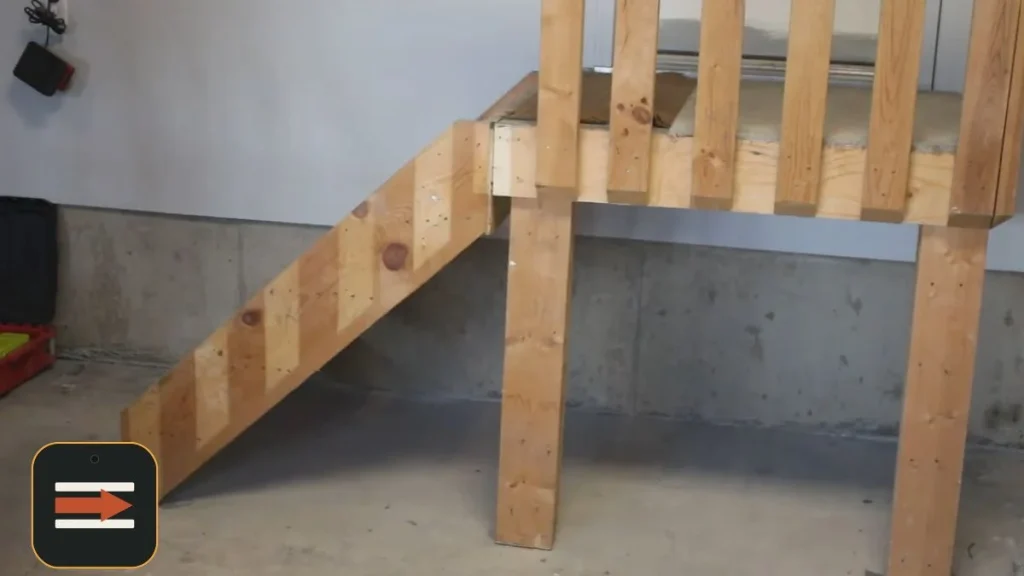
Start with 2×12 dimensional lumber for your stair stringers — this gives enough material depth after notching without compromising the structural section. Use a framing square with stair gauges (small clamp-on stops available at any hardware store) set to your rise and run measurements to mark each step layout directly on the stringer face.
Cut the notches with a circular saw, stopping the blade just short of the corner, then finish each cut with a handsaw. Never let the circular saw blade overrun the layout line — overcutting weakens the stringer’s load-bearing section below the minimum 3.5-inch net depth required by IBC.
Attach treads using 3-inch structural screws driven at opposing angles, plus a bead of construction adhesive like Loctite PL Premium to eliminate squeaking. Install risers before each tread to close the gap between steps — open risers are only code-compliant in specific occupancy types, not standard residential garage entry steps.
How Do You Secure the Landing Platform and Add Railings?
Frame the landing platform using doubled 2×10 or 2×12 joists supported by 4×4 posts anchored to the concrete garage floor with Simpson Strong-Tie post bases. Set the posts in the bases before pouring any concrete anchoring compound — this keeps them plumb and correctly positioned.
Fasten the landing frame to the adjacent wall using structural ledger hardware, not just toe-nailed connections. This distributes load across both the posts and the wall framing, which matters on a load-bearing stair landing that sees daily traffic.
For railing posts on the landing edges, use 4×4 posts bolted through the rim joist with 1/2-inch carriage bolts and washers — at minimum 2 bolts per post. Mount the handrail so it runs continuously from the bottom newel post up the stair run and wraps the landing edge without interruption.
Design, Materials, and Budget Planning
Material choice determines the long-term durability, maintenance demand, and total cost of your DIY garage stair project more than any other single decision.
What Are the Best Materials and What Do They Cost?
Pressure-treated lumber is the standard choice for garage stairs construction — it resists moisture, insects, and the temperature swings common in uninsulated garages. Use ground-contact rated PT lumber (marked “UC4B” or higher) for any component within 6 inches of the concrete floor, including stringer bases and landing posts.
Hardwood treads like oak or maple cost 2 to 3 times more than PT pine but offer better wear resistance on high-traffic garage entry steps. Composite decking materials, such as Trex or TimberTech, work well for treads and landing surfaces — they won’t splinter, need no sealing, and typically carry 25-year warranties.
Here is a realistic material cost breakdown for a standard 4-step garage stair with a 36-inch landing platform:
| Component | Pressure-Treated | Composite/Hardwood |
|---|---|---|
| Stringers (3) | $45–$70 | $45–$70 |
| Treads | $60–$90 | $150–$220 |
| Landing framing | $80–$120 | $80–$120 |
| Railing and hardware | $120–$200 | $200–$400 |
| Fasteners and adhesive | $30–$50 | $30–$50 |
| Total DIY cost | $335–$530 | $505–$860 |
Contractor labor to build the same stair runs $800 to $2,000 depending on region and complexity. The DIY savings are substantial, but only if you avoid costly errors like miscutting stringers or under-specifying hardware.
Open stair designs — no risers, exposed stringers — cost roughly 15% less in materials but require specific code approval in some jurisdictions. Enclosed designs with finished risers look cleaner and meet code universally.
If you’re just connecting the garage to the house without a full staircase, here’s a simpler approach.
FAQ
What is the 27-rule for stairs?
The 27-rule states that riser height plus tread depth should equal approximately 17 to 18 inches — some older references cite 24 to 25 inches using a different formula, but the IBC-aligned version targets 17 to 18 inches for comfortable, code-compliant residential stair geometry.
What is the 7-11 rule for stairs?
The 7-11 rule sets the target riser height at 7 inches and tread depth at 11 inches as the ideal combination for residential stairs. This ratio produces a natural walking stride angle and meets IBC maximums — 7.75 inches for risers and 10 inches minimum for treads — with comfortable margin.
Can you build garage stairs without a landing?
Yes, straight-run garage stairs with a total rise under 12 feet do not require a landing under IBC standards. However, any stair that changes direction — L-shaped or U-turn designs — requires a full landing platform at least 36 inches deep in the direction of travel, regardless of total rise.
How wide should garage stairs be?
The IBC sets the minimum clear width for residential stairs at 36 inches, measured between handrails or between a handrail and a wall. For garage entry steps that also serve as a utility or move-in path, 42 inches is a more practical working width.
Build Your Upgrade With Confidence
Accurate rise and run calculations, IBC-compliant railing installation, and pressure-treated lumber selected for your specific conditions are what separate a safe, lasting garage stair build from one that fails inspection or causes injury.
Start your project today by measuring your total floor-to-floor rise, dividing by 7.5 inches to estimate your step count, and pulling a permit at your local building department before buying a single board. That one conversation with your inspector will save you from the most expensive mistakes before the build even begins.