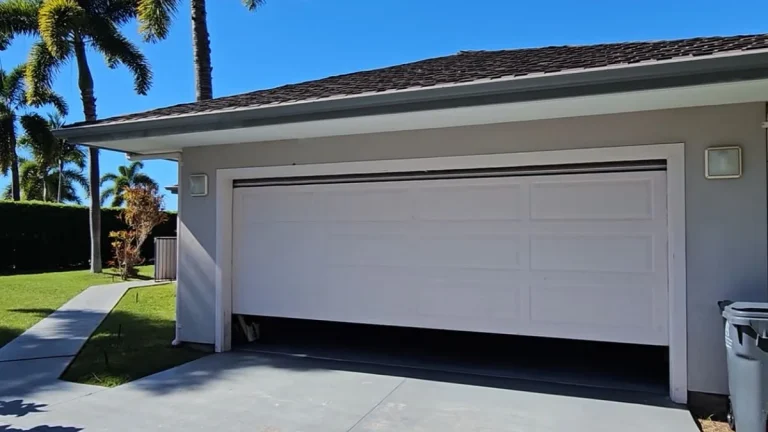
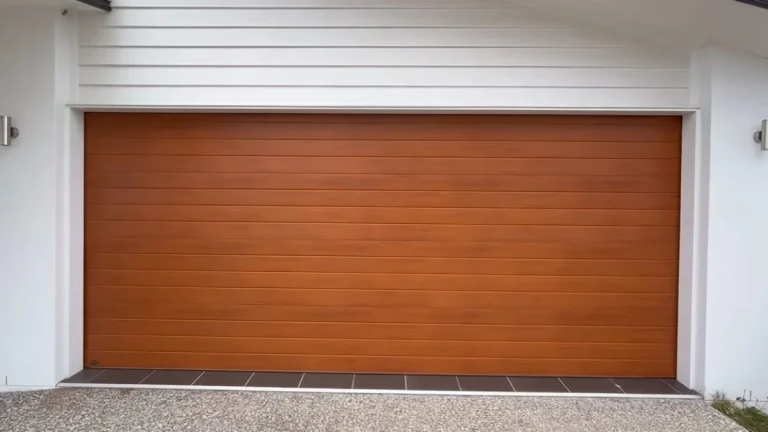
How to Close a Garage Door Opening: DIY Methods & Costs

Closing in a garage door opening is one of the most cost-effective ways to add conditioned living space to your home — but the wrong approach can fail a building inspection or compromise your wall’s structural integrity.
Most homeowners don’t know whether to frame with wood or steel, when a permit is required, or how much the project realistically costs before they start tearing things out.
This guide covers 4 proven methods — from basic framing and insulation to full exterior finish work — along with real cost ranges, permit requirements, and the key structural decisions that determine whether your conversion passes inspection.
Why Close Off a Garage Door Opening
Homeowners convert garage door openings for 4 main reasons: adding livable square footage, cutting energy costs, generating rental income through an ADU, or creating a dedicated home office. Each use case changes how you approach the infill construction — specifically whether you need a permanent door-to-wall transition or a reversible closure.
Permanent vs. Temporary Closure
A permanent conversion — framing a garage door opening with wood or steel studs, insulating, and finishing both sides — is the right call when you’re adding a bedroom, master suite, or legal ADU. It maximizes thermal performance and meets residential building codes for habitable space.
A temporary garage enclosure makes sense for renters or homeowners who may want to restore the garage later. Options include removable panel systems or heavy-duty insulated curtain walls. These skip the permit process in many jurisdictions but don’t qualify the space as conditioned square footage.
Energy and Resale Value Impact
An uninsulated garage door is one of the worst thermal weak points in a home. Closing in a garage door frame with 2×6 studs and R-19 batt insulation can meaningfully reduce heating and cooling loads in adjacent rooms.
Resale value is more complicated. Converting garage space to living area increases finished square footage — which typically raises appraised value — but removing garage parking can reduce buyer appeal in car-dependent markets. The net impact depends heavily on your neighborhood and local demand for garage space versus living space.
Structural & Code Requirements Before You Start
Skipping the structural and permit steps is the most common — and most expensive — mistake in any garage door opening closure project. Get these wrong and you’re looking at failed inspections, forced demolition, or an unpermitted conversion that surfaces during a home sale.
Load-Bearing vs. Non-Load-Bearing Openings
The existing garage door header carries the load from the structure above the opening. Before framing a garage door opening closed, you need to know whether that header transfers roof or floor loads — or whether it’s purely decorative.
A standard 16-foot garage door opening requires a substantial header, often a doubled 2×12 or an LVL (laminated veneer lumber) beam. If you’re adding a window or new door within the infill wall, the span table in IRC Table R602.7 governs your header sizing. Hire a structural engineer when your opening exceeds 10 feet, when there’s visible roof sag, or when the home is older than 1978 and framing details are unknown.
Permits are required for this work in most U.S. jurisdictions. Expect at minimum a framing inspection and a final inspection. Contact your local building department before breaking ground.
Code Compliance Essentials
The International Building Code (IBC) and its residential counterpart, the IRC, require that infill framing match the structural integrity of the surrounding wall. Stud spacing is typically 16 inches on center.
Insulation minimums depend on your climate zone. In Zone 4 (most of the mid-Atlantic and Midwest), exterior walls require at least R-13. Zone 6 and above (northern states) require R-20 or better. A vapor barrier is mandatory on the warm-in-winter side of the insulation in climate zones 5 through 8.
Step-by-Step Closure Methods
Hardware Removal and Opening Prep
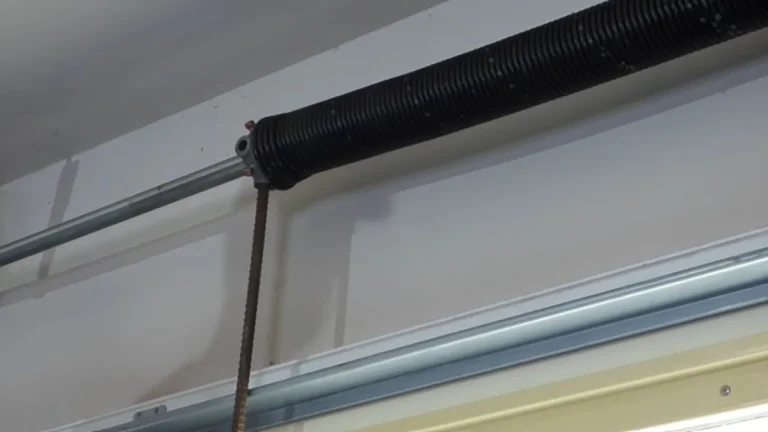
Start by disconnecting the garage door opener from power, then release the tension on the torsion springs — this step requires caution, as torsion springs store significant mechanical energy and cause serious injury if released incorrectly. If you’re unfamiliar with spring systems, hire a garage door technician for this step alone.
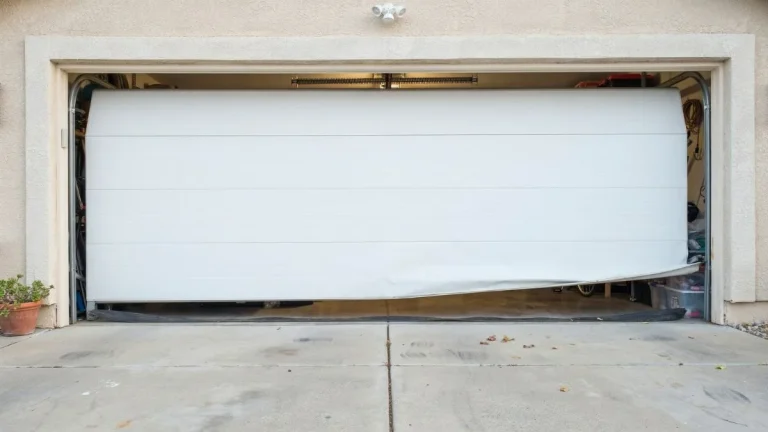
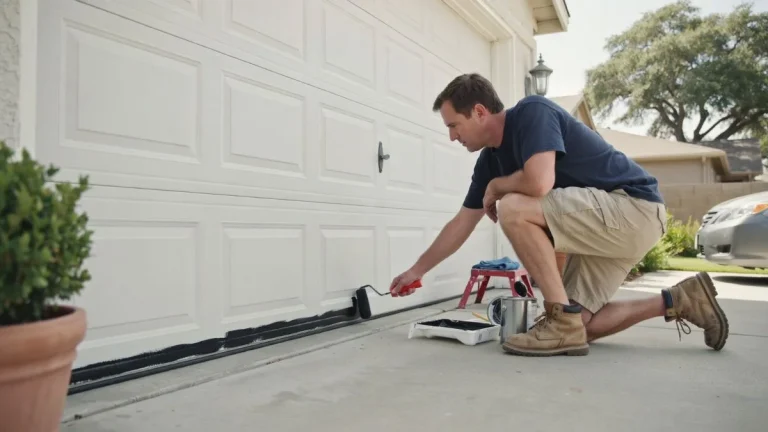
Remove the door panels, tracks, springs, and opener unit. Strip out all hinges, weatherstripping, and any existing frame caulk. Inspect the rough opening for rot, pest damage, or moisture intrusion before proceeding.
Framing the Opening
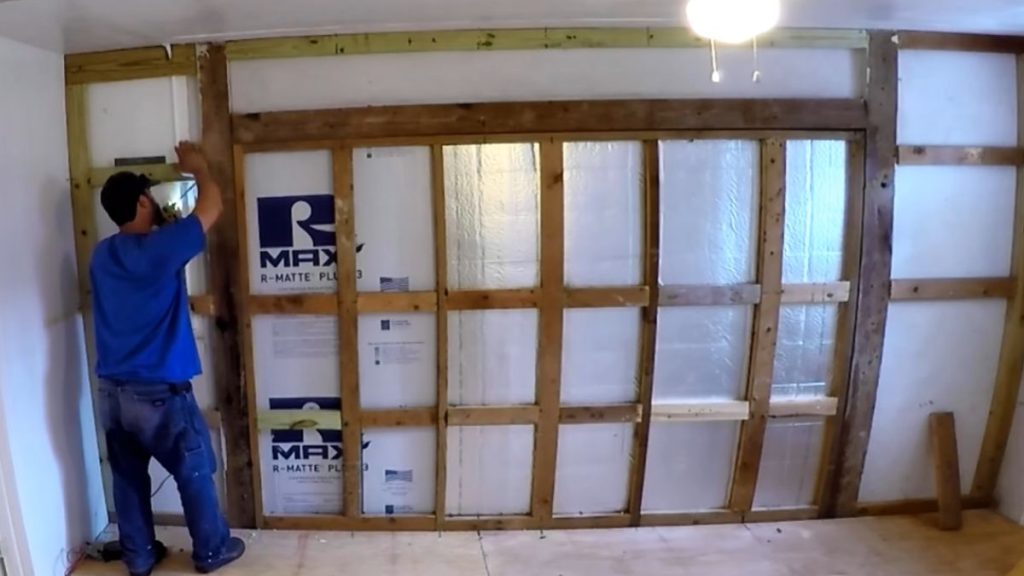
Install a pressure-treated bottom plate directly on the concrete slab — regular lumber will wick moisture and rot. Set vertical studs at 16 inches on center between the bottom plate and the existing header. You typically don’t need to replace the header when closing in a garage door frame, since the existing beam already handles the load above.
Pack the stud bays with R-15 or R-21 mineral wool or fiberglass batts. Apply a continuous bead of acoustic sealant around all penetrations before hanging any sheathing.
Exterior Finish Matching
This is where most DIY garage enclosure projects fall short. Stucco requires matching both texture (smooth, sand, or dash) and color — pull a sample chip before ordering premixed material. For lap siding, match the exposure width and profile exactly; Hardie and LP SmartSide both offer profiles in common widths. Brick infill requires sourcing matching units and blending mortar color to avoid a visible patch.
Interior Completion
Hang 1/2-inch drywall on the interior face, tape and mud the joints, then prime before painting. Match existing baseboard profiles using a profile gauge tool available at any home center.
Material Options & Cost Breakdown
The right infill approach depends on three factors: whether the space needs to meet habitable room standards, how much natural light the converted room requires, and your budget for materials versus labor.
Solid Wall vs. Window Hybrid
A full solid wall infill is the simplest garage door opening closure — studs, sheathing, insulation, exterior finish, drywall. It’s the lowest-cost permanent option and the easiest to air-seal effectively.
A window or transom hybrid converts the garage door opening to a wall with one or more windows integrated into the framed opening. This adds $300–$800 per window in materials but significantly improves livability for a bedroom or home office conversion. Casement and awning windows outperform single-hung units for air sealing in this application.
Cost Breakdown by Method
| Method | DIY Material Cost | Professional All-In Cost |
|---|---|---|
| Basic solid wall framing | $300–$500 | $3,000–$5,000 |
| Wall with window(s) | $600–$1,200 | $4,500–$7,000 |
| Brick or stucco match | $800–$1,500 | $5,000–$8,000 |
| Temporary panel system | $150–$400 | Not typically applicable |
Temporary vs. Permanent Options
Temporary garage enclosure products — including rigid foam panel kits and insulated curtain systems from brands like Garage Door Seal Pro — work for workshop conversions or short-term use. Expanding foam alone is not a structural or finished solution; it’s an air-sealing supplement only.
Permanent framing is the only path to a legal habitable space, permitted ADU, or insurable finished room. The material cost difference between temporary and permanent is modest — the real gap is labor and finish work.
Closing in the opening is usually step one of a bigger project — see what a full garage conversion involves.
FAQ
What’s the cheapest way to close the opening myself?
Basic wood stud framing with fiberglass batt insulation and OSB sheathing runs $300–$500 in materials for a standard 16-foot opening. Skip window integration and use paint-grade trim to keep finishing costs low — this is the lowest-cost permanent closure method available.
How do I match stucco, siding, or brick to my existing exterior?
For stucco, pull a 2-inch sample chip from an inconspicuous area and bring it to a stucco supplier to match both color and texture profile. For lap siding, measure the exposure width and bring a cut piece to a lumber yard to match the profile exactly. Brick matching requires sourcing units from a salvage yard or brick supplier and test-blending mortar color in small batches before committing to the full infill.
Can I use temporary solutions like expanding foam or plywood?
Plywood sheathing secured to the existing frame works as a short-term weatherproof barrier and costs under $100 in materials. Expanding foam alone is not a standalone closure — it’s an air-sealing product meant to supplement framing, not replace it, and it provides no structural support or finished appearance.
Ready to Convert Your Garage Space
The single factor that determines whether a garage conversion succeeds — structurally, legally, and financially — is pulling the right permit and understanding your header load before any framing begins.
Call your local building department this week to confirm permit requirements and request the inspection checklist for your specific project type. That one conversation will tell you exactly what your infill construction needs to meet code and protect your investment.