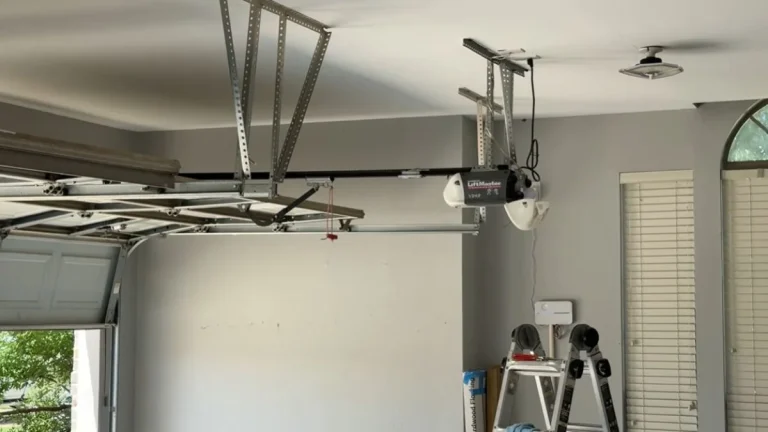
Garage Door Belt Off Track: DIY Fix Guide
A garage door belt off track is one of the most common reasons a belt-drive opener suddenly grinds, skips, or refuses to move — and it often happens with zero warning.
The real frustration is not knowing whether you are dealing with a simple realignment or something that could injure you or damage the opener permanently.
This guide walks you through diagnosing the problem, fixing it safely, and knowing exactly when to call a professional instead.
What’s Causing Your Belt to Slip
Belt-drive openers like those from Chamberlain and LiftMaster use a continuous reinforced rubber or polyurethane drive belt looped around a motor sprocket and a trolley pulley. When that loop loses tension or loses contact, the opener motor runs but the door does not move.
Belt Tension Loss from Wear or Sagging
A garage door belt sags naturally over time as the material stretches. Most manufacturers spec belt deflection at roughly 1/2 inch when pressed firmly at the midpoint — anything more signals a tension problem. LiftMaster’s official support documentation recommends checking belt tension annually and adjusting the belt tensioner (the threaded adjustment point near the front pulley bracket) before assuming the belt needs full replacement.
Worn or Stripped Drive Gear
The motor sprocket transfers rotation from the garage door opener motor to the belt. When sprocket teeth wear down or strip — common after 10,000+ cycles — the belt skips instead of gripping, producing a chattering sound during operation.
Broken Trolley Arm Connection
The trolley arm connects the belt to the door carriage. If the trolley arm bracket cracks or the belt cap (the metal clip anchoring the belt to the trolley) fails, the belt loses its anchor point entirely and goes slack.
Damaged Belt Material
Fraying edges, surface glazing, or visible cracking along the belt face indicate the material has degraded past adjustment. A glazed belt has a shiny, hardened surface that reduces grip on the sprocket — no amount of tension adjustment fixes this. Garage door opener belt replacement is the only solution.
Sprocket Misalignment
Loose mounting bolts let the front or rear sprocket shift sideways, pulling the belt off its intended path. This creates an out-of-phase drive system where the belt tracks diagonally and eventually jumps the sprocket entirely.
How to Diagnose the Problem Before You Repair
Accurate diagnosis saves you from replacing parts you do not need. Run through these checks before touching any hardware.
Visual Inspection Checklist
Stand inside the garage with the door closed and trace the full length of the drive belt from the motor housing to the front pulley bracket. Look for:
- Belt sitting off-center on the sprocket or riding one edge of the trolley pulley
- Visible fraying, cracking, or a shiny glazed surface on the belt face
- The belt cap missing, bent, or separated from the trolley arm
- Loose or visibly canted sprocket mounting bolts at either end of the rail
Listening for Specific Sounds
Sound pinpoints the failure type before you touch anything. A chirping or squealing noise during operation points to belt slippage on the sprocket. Grinding suggests the drive gear teeth are worn. Clicking repeatedly at the same point in the door’s travel usually means the belt has a damaged section passing over the sprocket.
Manual Tension Test
Disconnect the opener using the emergency release cord (the red handle hanging from the trolley arm). Press your thumb firmly against the belt at the midpoint of the rail. Correct tension allows roughly 1/2 inch of deflection. More than 1 inch of give confirms a belt tension adjustment is needed before anything else.
One-Sided Belt Sagging
Garage door belt sagging concentrated near one end — rather than evenly across the span — points to a failed belt cap or a cracked trolley arm bracket at that location specifically.
Motor Running but Belt Not Moving
When the garage door opener motor runs at full noise but the belt stays completely still, the sprocket is spinning freely without gripping the belt. This is classic glazing or a stripped sprocket — neither issue responds to tension adjustment alone.
If your opener is also flashing an error code, here’s what that combination usually means.
Safe Belt Replacement: Step-by-Step
Replacing a garage door drive belt is a manageable DIY task for most homeowners — but the steps must follow a specific order to avoid injury.
Before You Touch Anything
Unplug the opener directly from the ceiling outlet, or kill the dedicated breaker circuit if the outlet is hard-wired. Do not rely on the wall button being disabled.
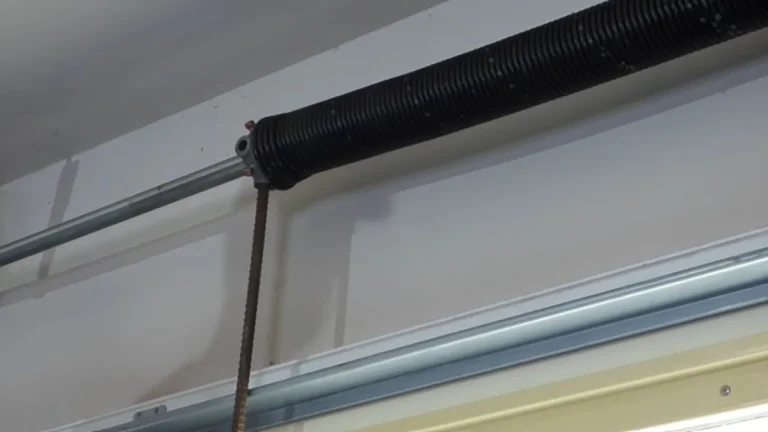
Raise the door manually and clamp a C-clamp onto the vertical track just below the bottom roller on each side. This locks the door open and prevents it from crashing down while you work. Note that garage door springs remain under tension even with the opener disconnected — never attempt to remove or adjust springs yourself. The pinch points between the door panels and the track are also active hazards throughout this process.
Removal and Installation
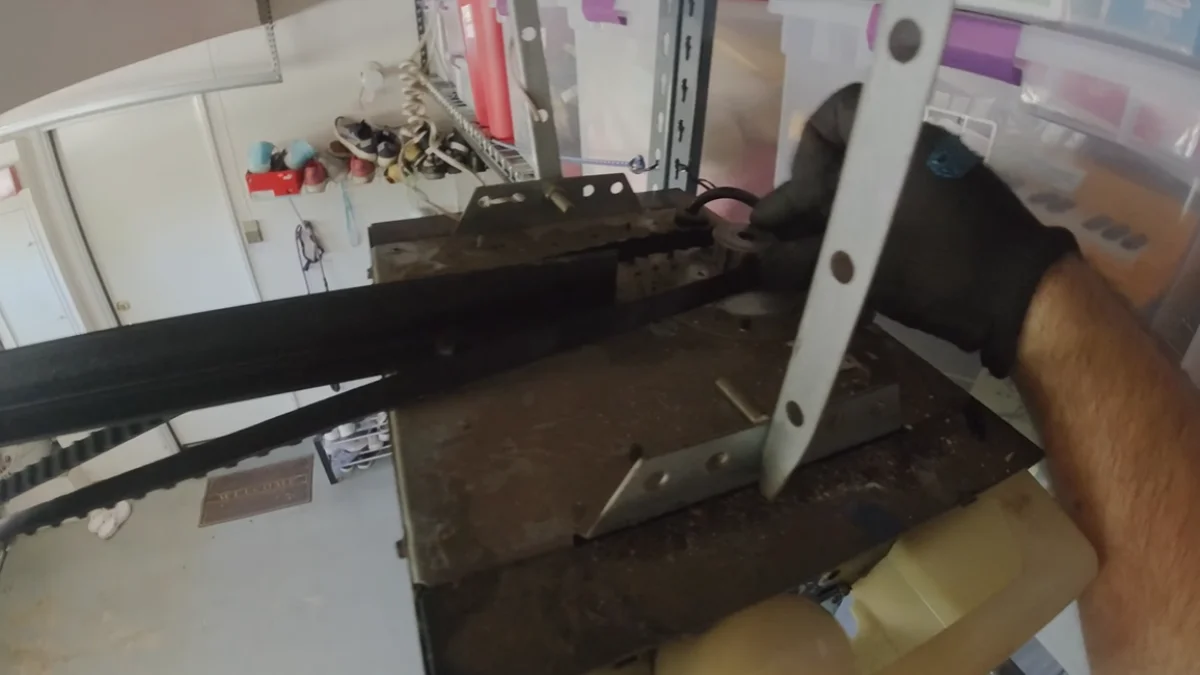
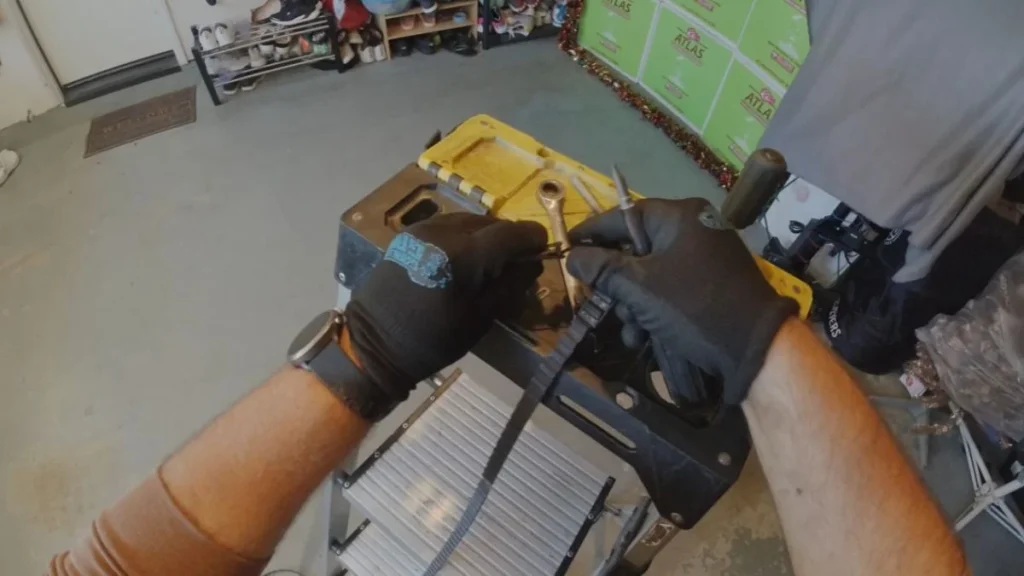
Use needle-nose pliers to remove the belt cap retaining clip where the belt anchors to the trolley arm. Slide the old belt forward off the rear sprocket, then pull it free from the trolley pulley at the front of the rail.
Thread the new belt — sourced from your opener manufacturer, such as a Chamberlain or LiftMaster OEM replacement — through the trolley carriage first, then loop it over the rear motor sprocket. Seat the belt cap back into the trolley slot and reinstall the retaining clip. Confirm the belt sits centered on the sprocket teeth, not riding either edge.
Getting Tension Right
Locate the belt tensioner adjustment bolt on the front pulley bracket of the motor carriage. Turn it clockwise in small increments, checking midspan deflection after each adjustment. Target 1/2 inch of flex under firm thumb pressure — this is the manufacturer standard for most LiftMaster and Chamberlain belt-drive models.
Over-tightening is one of the most common homeowner mistakes. Excessive tension strains the motor sprocket bearings and accelerates belt wear, effectively creating the same belt slippage problem you just repaired. Once tension is correct, run the opener through 2 full cycles and confirm the belt tracks centered without drifting to either side.
DIY Repair vs. Professional Service
Not every belt problem belongs in the DIY category. Here is a clear framework for making that call.
When to Call a Technician
Stop and call a professional if your diagnosis reveals any of these conditions:
- Stripped motor sprocket or drive gear teeth — requires disassembling the motor housing and is model-specific work
- A cracked or fully separated trolley arm — the trolley is a structural component, and improper reinstallation creates an out-of-phase drive system that damages the opener motor
- Any involvement of the torsion or extension springs — according to the Door and Access Systems Manufacturers Association (DASMA), spring-related failures account for a disproportionate share of serious garage door injuries annually
- Visible damage to the motor carriage mounting points or rail sections
Cost Comparison
A replacement OEM drive belt for a Chamberlain or LiftMaster opener typically costs $15–$40 in parts. A professional service call runs $75–$150 for labor plus parts, depending on your region. The DIY route saves money when the fix is limited to belt replacement and tension adjustment. The math shifts toward professional service when multiple components need replacement or diagnosis time exceeds 2 hours.
Safety Risks Worth Naming
Garage door springs store enough energy to cause severe lacerations or broken bones if released suddenly. The drive system’s pinch points remain hazardous even with the opener unplugged. Electrocution risk exists if the motor housing is opened while power is connected.
Warranty Considerations
Check your opener’s active warranty before starting any repair. Chamberlain’s limited warranty on belt-drive models explicitly states that unauthorized disassembly of the motor unit voids coverage. A belt cap swap or tension adjustment typically falls outside that restriction — but opening the motor housing does not.
Know When to Stop and Call for Help
A garage door belt off track is fixable yourself when the problem is limited to tension loss or a failed belt cap — but the moment springs, stripped gears, or a damaged trolley arm enter the picture, the repair exceeds safe DIY territory.
Run the diagnostic steps in this guide first, then use your findings to make the call: order an OEM replacement belt from Chamberlain or LiftMaster if the belt alone is the issue, or contact a DASMA-member technician if anything else is damaged.