How to Repair Wood Garage Door Panels: DIY Methods That Work
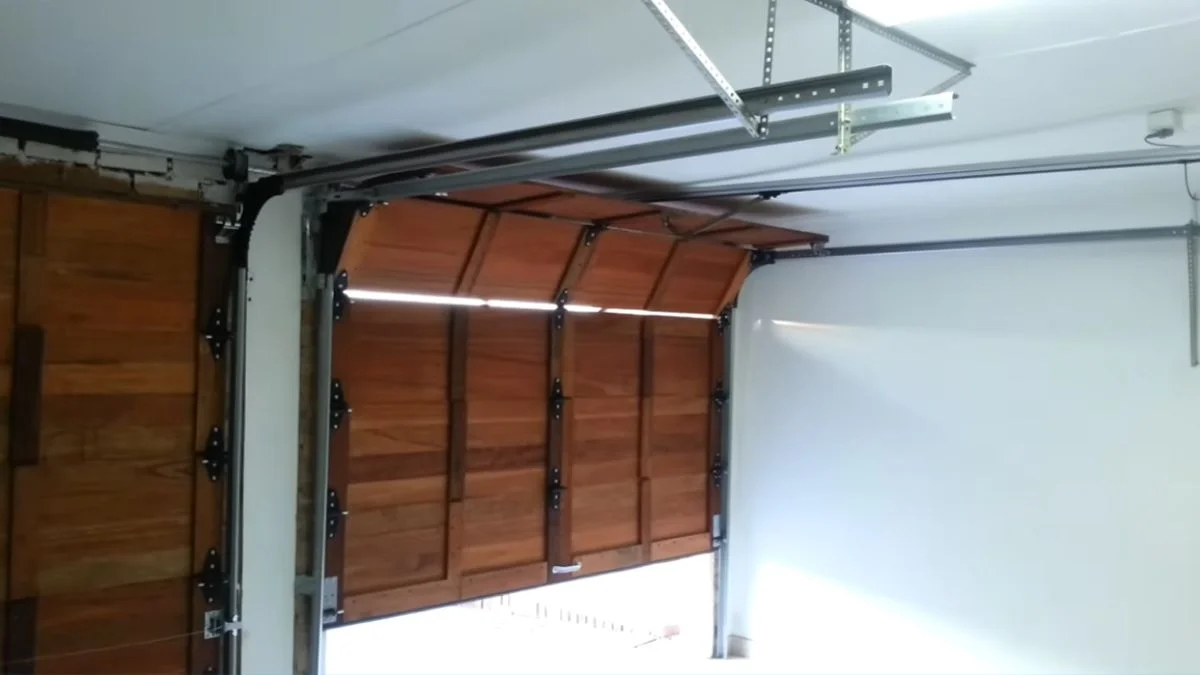
A wood garage door can last 30 years or more — but most homeowners assume visible rot or impact damage means an immediate full replacement costing $1,000 to $4,000.
The real problem is that rot, peeling paint, widening gaps, and dented panels look worse than they often are, and without a clear repair plan, replacing the entire door feels like the only option.
This guide gives you proven, step-by-step methods to assess and repair wood garage door panel damage yourself — using the right materials and techniques — so you can extend your door’s life and skip an unnecessary replacement bill.
Repair vs. Replace: When Each Makes Sense
The first decision — repair or replace — determines everything else. Get it wrong and you either waste money on materials that can’t fix the real problem, or you pay for a new door you didn’t need.
Signs the Panel Is Worth Repairing
Surface damage is almost always repairable. Peeling paint, hairline cracks, shallow dents, and minor panel separation along seams fall into this category. If the wood beneath the damage is still firm when you press it with a flathead screwdriver — no give, no crumbling — the structural integrity is sound enough for repair using two-part epoxy filler or exterior wood glue.
Check the wood panel hinges and the door track system as well. If both are undamaged and the door still opens and closes evenly without sagging, a DIY repair is a reasonable path.
When Replacement Makes More Sense
Rot that extends deeper than the surface layer changes the math entirely. Push a screwdriver into any soft or discolored area — if it sinks more than a quarter inch, the damage is structural. Multiple large gaps, visible panel separation that affects door alignment, or a sagging panel that throws the door track system out of square all signal that repair won’t hold long-term.
A practical rule: if the repair cost in materials and time exceeds 50% of a single panel replacement, replace the panel instead of patching it.
Cost Comparison at a Glance
| Option | Typical Cost Range |
|---|---|
| DIY surface repair (epoxy, wood glue, paint) | $20 – $80 |
| Single wood panel replacement (part + labor) | $150 – $400 |
| Full wood garage door replacement | $1,000 – $4,000 |
Materials, Tools, and Safety Setup
Having the right materials before you start prevents mid-repair trips to the hardware store and ensures the fix actually holds through seasonal weather changes.
Adhesives and Fillers
The choice between exterior wood glue and two-part epoxy filler depends on the damage type.
Use exterior wood glue — Titebond III is a reliable option — for panel separation fixes where both mating surfaces are structurally sound. It dries in 30 minutes and reaches full strength in 24 hours.
Use two-part epoxy filler — Abatron WoodEpox or Bondo Wood Filler are proven choices — for rotted wood garage door panel areas, missing chunks, or deep gouges. Epoxy doesn’t shrink, bonds to compromised wood fibers, and accepts paint and stain for wood grain matching. Abatron WoodEpox reaches workable firmness in about 2 hours and full cure in 24.
Hardware and Fasteners
For reattaching loose panels, 15-gauge brad nails work well for lightweight trim strips. Use 2-inch deck screws for structural reattachment — they hold under door movement stress where brad nails can back out. Replace wood panel hinges if they show rust, bending, or misalignment that affects panel alignment along the door track system.
For gap repairs along panel edges, a thin wood strip glued and nailed flush provides a solid base for weather sealing the garage door afterward.
Safety Setup
- Disconnect the garage door opener at the motor unit before any work
- Support the door at mid-travel using two sawhorses or solid wood blocks under the bottom rail
- Wear safety glasses and nitrile gloves when sanding epoxy or applying fillers
- Call a licensed garage door technician if you find structural failure across multiple panels or damaged torsion springs — spring systems store enough tension to cause serious injury
Step-by-Step Repair Methods by Damage Type
Each damage type needs a different approach. Using the wrong method — epoxy on a separation gap, or wood glue on active rot — produces a repair that fails within one season.
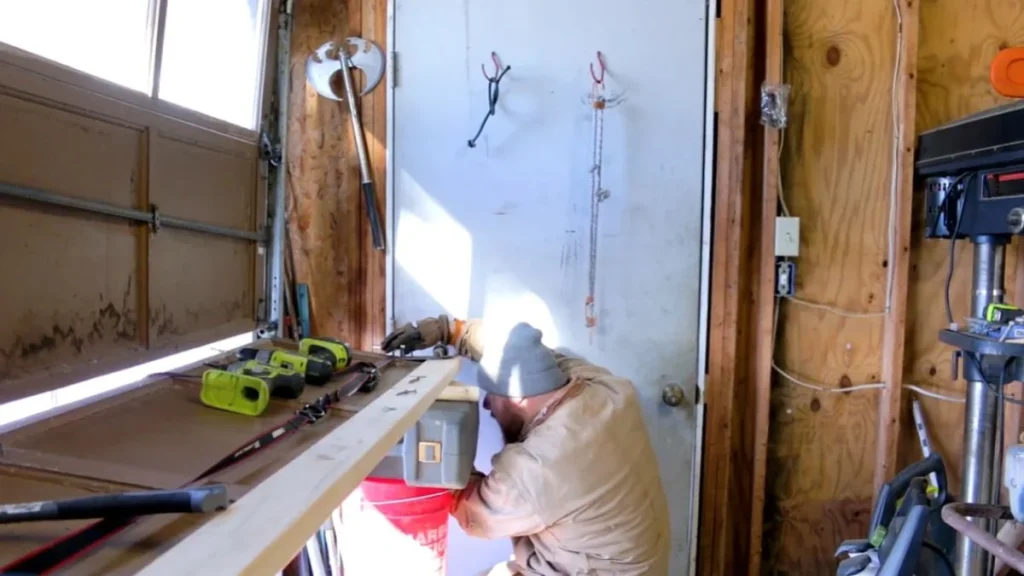
Repairing Rotted Wood Sections
Start by finding the moisture source. Check the bottom panel seal, nearby downspouts, and ground-level drainage. Skipping this step means the rot returns regardless of how well you fill it.
Chisel or gouge out all soft, discolored wood until you reach firm material. For wooden garage door bottom panel repair, this often means removing a 1- to 3-inch depth of damaged material. Apply Abatron LiquidWood consolidant first — it penetrates and hardens remaining soft fibers — then pack Abatron WoodEpox or Bondo Wood Filler into the cavity in layers no deeper than half an inch at a time to ensure full cure. For large voids, screw a pressure-treated backing strip behind the opening before filling to give the epoxy a surface to bond against.
Repairing Peeling and Cracked Surfaces
Scrape all loose paint and wood fibers with a pull scraper, then sand with 80-grit paper along the wood grain direction — never across it, which raises fibers and creates an uneven surface. Clean with a damp cloth and allow to dry completely.
Apply exterior wood glue into cracks using a glue syringe for precision. Clamp the area with medium bar clamps — 80 to 100 psi of pressure is enough — and leave undisturbed for a minimum of 24 hours before sanding flush.
Fixing Gaps and Panel Separations
First, determine the cause. A gap that appears in summer and closes in winter is seasonal wood movement — address it with a flexible, paintable exterior caulk like DAP Dynaflex 230. A gap that stays open year-round or widens progressively is structural, usually caused by hinge failure or panel alignment loss along the door track system.
For a structural garage door panel separation fix, apply Titebond III to both mating surfaces, press firmly together, then drive 2-inch deck screws at 6-inch intervals along the seam. Finish with exterior caulk along the joint edge before priming for weather sealing.
Finishing and Weather Protection
A repair that isn’t properly sealed fails faster than the original damage. Moisture is what destroyed the wood in the first place — the finishing stage is what keeps it from happening again.
Sealing and Painting the Repaired Area
Start with a shellac-based primer like Zinsser BIN on any area that received epoxy filler or consolidant. Oil and latex primers don’t bond reliably to cured epoxy surfaces. Apply one coat, allow 45 minutes of dry time, then sand lightly with 120-grit paper before topcoating.
For paint matching, take a photo of the existing door surface and a paint chip sample to a Benjamin Moore or Sherwin-Williams store — both offer spectrophotometer color matching that gets within one shade of the original. Apply 2 coats of a 100% acrylic exterior paint with a satin or semi-gloss finish. Flat finishes hold moisture against the wood surface and accelerate deterioration.
For stained wood doors, use a gel stain rather than a liquid stain over repaired areas. Gel stain sits on the surface and hides wood grain matching inconsistencies between new filler and original wood far more effectively.
Preventative Maintenance Schedule
A consistent inspection routine adds years to a wood garage door’s lifespan.
- Every spring: Check all panel seams, the bottom weatherstripping seal, and wood panel hinges for rust or loosening. Probe any discolored areas with a screwdriver for early rot detection.
- Every fall: Apply a penetrating wood preservative — TWP (Total Wood Preservative) 100 Series is a proven option — to all exposed wood surfaces, paying extra attention to the bottom panel and horizontal seams where water pools.
- Every 3 to 5 years: Sand and repaint or restain the full door surface to maintain weather sealing and prevent UV degradation that cracks the wood’s protective finish layer.
Ready to Decide: Repair or Replace
Most wood garage door damage — rot, peeling, gaps, and impact dents — is repairable with $20 to $80 in materials and a few hours of work, making full replacement unnecessary in the majority of cases. Start today by pressing a flathead screwdriver into every damaged area on your door: firm wood means repair is viable, soft or crumbling wood deeper than a quarter inch means that panel needs replacement.
Once you know what you’re dealing with, match the damage type to the correct method in the step-by-step section above and gather your materials before the next rain hits.