Garage Door Opener Just Hums? 5 Diagnosis Steps
When your garage door opener just hums but the door doesn’t move, the motor is receiving power — something mechanical is stopping it from doing its job.
The problem is you’re staring at a $200-500 service call without knowing whether the real culprit is a $15 capacitor, a broken torsion spring, or a seized bearing — and that uncertainty makes it hard to decide whether to fix it yourself or call a pro.
These 5 diagnosis steps will walk you through each likely cause in order, so you leave knowing exactly what’s wrong and what it will cost to fix it.
What Does Humming Actually Mean?
A humming garage door opener means the motor is receiving electrical power but cannot turn. The hum itself is the sound of the motor straining against a load it cannot overcome.
Why the Motor Hums Instead of Runs
Electric motors produce a hum when voltage reaches the windings but the rotor — the spinning internal component — fails to turn. This happens because something is either holding the mechanical drive system in place or the motor itself lacks the starting torque to get moving. Torque is the rotational force a motor generates to begin moving a load.
The drive mechanism — whether a chain, belt, or screw drive — connects the motor to the door. If anything along that chain is seized, broken, or overloaded, the motor strains, hums, and then trips its thermal overload protection to prevent burning out.
Humming vs. Complete Silence: Two Different Problems
These two symptoms point in opposite directions, so distinguishing them saves real diagnostic time.
- Humming: Power is reaching the motor. The failure is mechanical — broken spring, seized bearing, dead capacitor, or jammed drive system.
- Complete silence: Power is not reaching the motor. The failure is electrical — blown fuse, failed logic board, dead transformer, or a wiring fault.
A garage door opener that hums but won’t open is almost always a mechanical load problem. That’s actually good news — mechanical failures are typically cheaper and more DIY-friendly than electrical board replacements, which can run $80-150 for the part alone.
6 Most Common Causes of a Humming Garage Door Opener
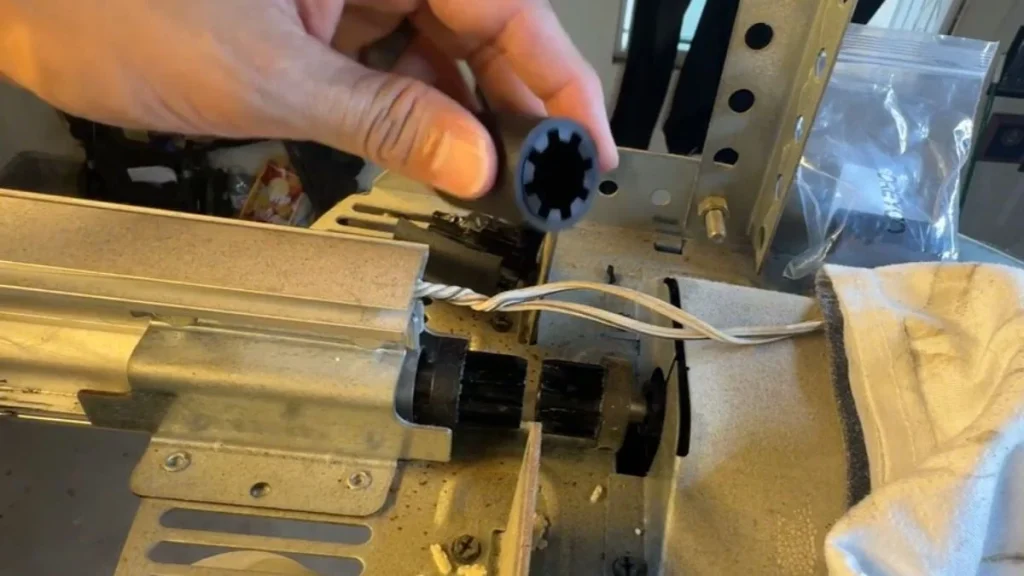
These causes are ordered by how often they appear in real-world diagnosis — start at the top and work down.
1. Bad Capacitor
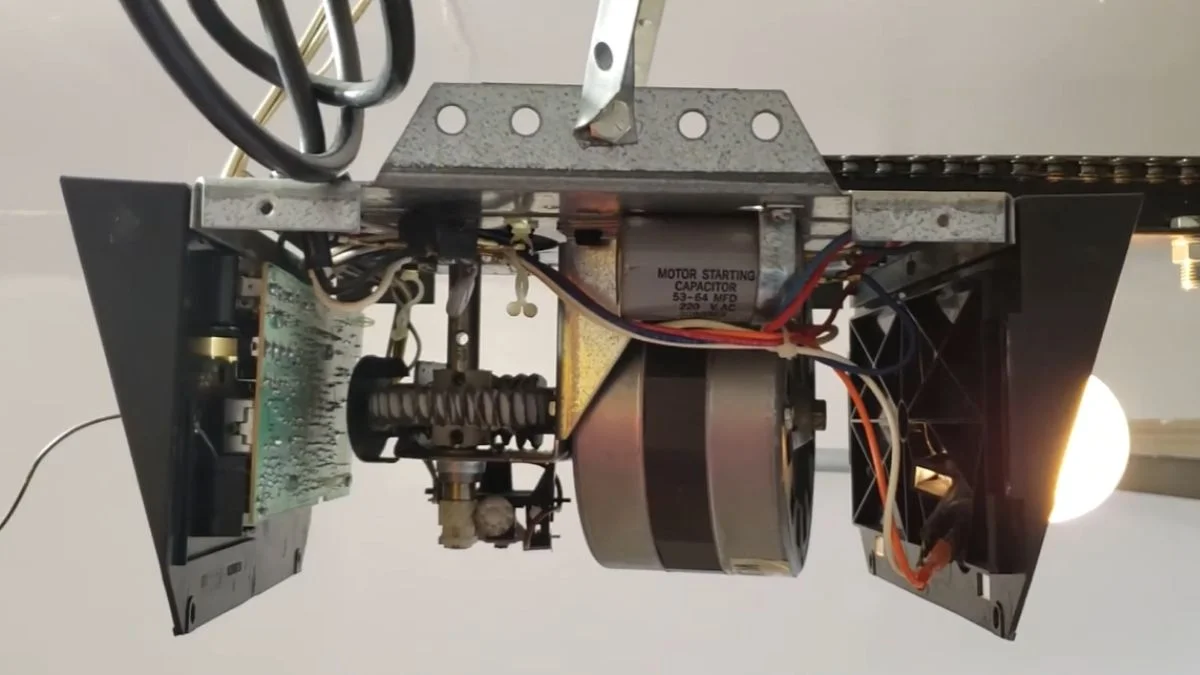
The capacitor is a small cylindrical component that gives the motor its starting surge of power. Without that surge, the motor hums but never achieves rotation. This is the single most common cause of a garage door opener that hums but won’t move. A replacement capacitor costs $5-15 at most electrical supply stores, and swapping it takes under 5 minutes.
2. Broken Torsion Springs
Torsion springs — the large coiled springs mounted horizontally above the door — counterbalance the door’s weight, which typically runs 130-350 lbs. When a spring breaks, the full dead weight of the door falls on the motor. The motor hums, strains, and trips its overload protection. Note that torsion springs store enormous tension and can cause serious injury if handled without proper tools and training — this repair is best left to a professional.
3. Seized Motor Bearings
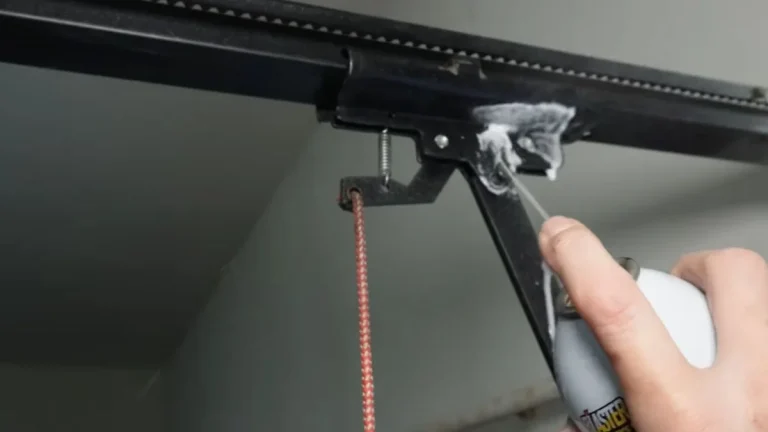
Bearings allow the motor shaft and drive mechanism to spin freely. When they seize from lack of lubrication or corrosion, rotation stops entirely. Regular application of a dry lubricant like WD-40 Specialist White Lithium Grease prevents this.
4. Broken Drive Belt or Chain
A snapped belt or chain means the motor spins freely with no load transferred to the door — but a loose or jammed one creates enough resistance to trigger humming.
5. Unbalanced or Misaligned Door
A door riding off its tracks or with uneven spring tension creates abnormal friction. The motor encounters resistance it wasn’t designed to overcome and hums under the load.
6. Damaged Motor Windings
This is internal electrical failure inside the motor itself. The windings — copper coils that generate the magnetic field driving rotation — short out or burn. This typically means full motor or unit replacement.
A humming motor with no movement often means the door has come off the chain — check that first.
Step-by-Step Diagnosis: 5 Checks to Find the Root Cause
Work through these checks in order. Each one narrows the cause before you move to the next.
Safety First
Unplug the opener from the wall outlet before touching any internal component. Springs store extreme mechanical tension — a torsion spring under load can release with enough force to cause fatal injury. Never attempt spring repair or adjustment without professional training and tools.
Check 1: Read the Indicator Light
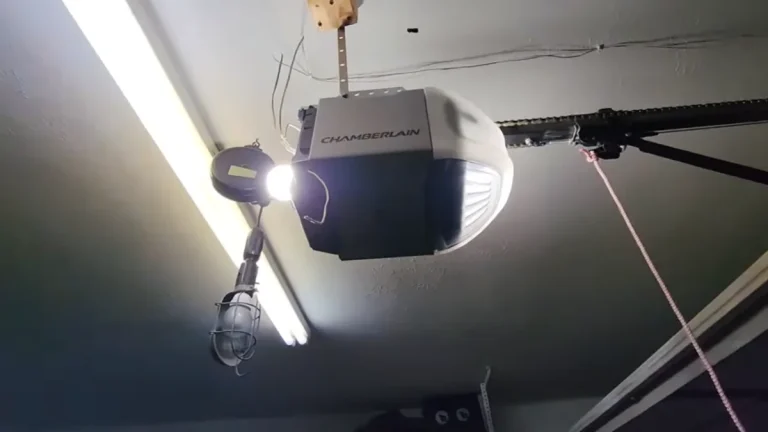
Most openers from Chamberlain, LiftMaster, and Genie use blink codes on the motor unit’s LED.
- Rapid blinking or amber light: Points to a capacitor fault or limit switch issue.
- Solid green, no movement: Suggests a mechanical blockage or motor failure downstream.
Consult your opener’s manual for the exact blink pattern — codes vary by model.
Check 2: The Manual Lift Test
Pull the red emergency release cord to disconnect the door from the drive mechanism. Try lifting the door by hand.
- Door lifts smoothly and stays up: Springs are intact. The fault is likely the capacitor or motor.
- Door is extremely heavy or won’t budge: A broken spring is forcing the full door weight onto the opener.
Check 3: Visual Spring Inspection
Look at the torsion bar — the horizontal metal rod running above the door. A broken spring shows a visible gap or separation in the coil. If you see that gap, stop. This is a professional-only repair.
Check 4: Listen for the Relay Click
Press the wall button and listen carefully before the hum starts.
- Click, then hum: The relay is engaging correctly. A capacitor failure is the most likely cause.
- No click at all: The signal isn’t reaching the motor. Suspect the control board or a wiring fault.
How to Replace a Garage Door Opener Capacitor (Most DIY-Friendly Fix)
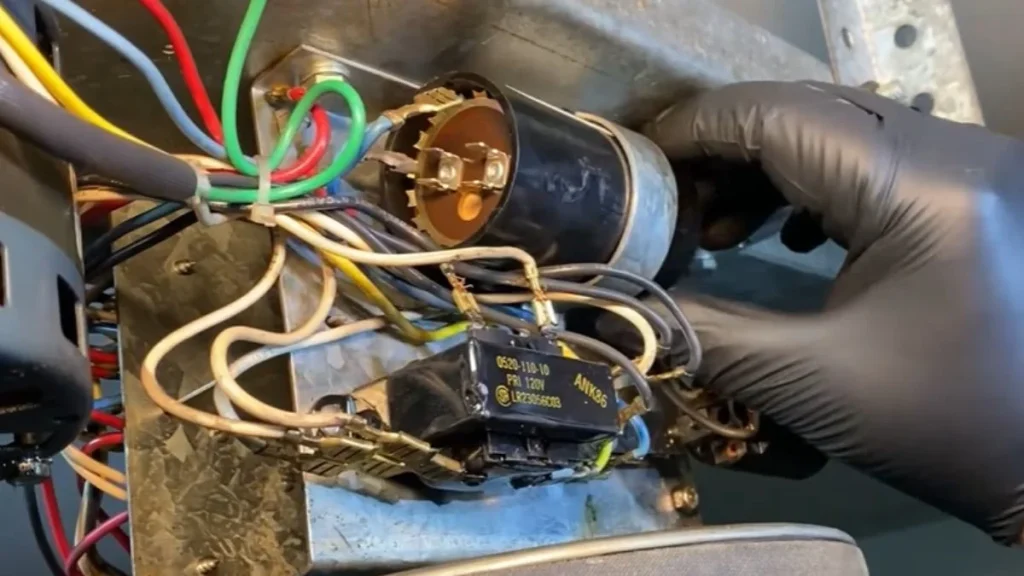
A failed capacitor is the most common cause of a humming motor that won’t move, and replacing one costs $5-20 with no special tools required. Here’s exactly how to do it.
Step 1: Find Your Capacitor Part Number
Unplug the opener and locate the model number label on the motor unit — typically on the back or side panel. For Chamberlain and LiftMaster units, search that model number on partselect.com or directly on the manufacturer’s site to identify the exact replacement capacitor. Using the wrong capacitor rating (measured in microfarads, or µF) will cause the same humming problem or damage the motor.
Step 2: Discharge the Capacitor Before Touching It
A capacitor stores electrical charge even after the unit is unplugged. Touch both terminals simultaneously with the blade of an insulated screwdriver to safely discharge it before handling. Skipping this step risks a sharp electrical shock.
Step 3: Source the Exact Replacement
Order the OEM replacement or a matching aftermarket capacitor with identical µF and voltage ratings. Local appliance parts suppliers, Grainger, or Amazon typically stock common sizes. Expect to pay $5-15.
Step 4: Swap and Test
Note which wire connects to which terminal — photograph it first. Remove the old capacitor, connect the replacement using the same terminal positions, and restore power. Press the wall button and listen.
The result? A motor that now spins freely instead of humming confirms the capacitor was the culprit. Total repair time runs 10-15 minutes for most homeowners.
Frequently Asked Questions
Why does my garage door opener hum but not move?
The motor is receiving power but cannot rotate against the mechanical load. The most common causes are a failed capacitor, a broken torsion spring transferring the door’s full weight to the motor, or seized drive mechanism bearings — all of which prevent the motor from generating enough torque to move the door.
What are the symptoms of a bad capacitor in a garage door opener?
The clearest symptom is a motor that hums for 1-3 seconds then stops without moving the door. You may also notice the opener working inconsistently — running fine when the unit is cool but humming and stalling after repeated use as the weakened capacitor struggles to deliver its starting surge.
Can I safely replace the garage door opener capacitor myself?
Yes, with one critical precaution: discharge the capacitor with an insulated screwdriver before touching it, even after unplugging the unit, because it holds residual electrical charge. Beyond that step, the repair requires only a matching replacement capacitor and a screwdriver, making it one of the most straightforward DIY fixes on any garage door opener.
Next Steps: Get Your Door Moving Again
A humming garage door opener has a mechanical cause in the vast majority of cases, and the manual lift test tells you within 30 seconds whether you’re dealing with a spring problem or something cheaper and simpler. Start there — pull the emergency release cord, lift the door by hand, and let that result direct you to the right repair or the right phone call.