Why Your Garage Door Opener Fails at Night: 5 Fixes
A garage door opener not working at night — but functioning fine during the day — is one of the most common and misdiagnosed problems LiftMaster and Chamberlain technicians encounter.
Most homeowners spend weeks pressing the remote harder, replacing batteries, and assuming the unit is dying, when the real culprit is usually one of a handful of specific, fixable conditions tied directly to nighttime environments.
Work through the 5 fixes below and you will know exactly what is causing the failure and how to resolve it — without calling a technician.
Root Causes of Nighttime Failures
Before applying any fix, you need to understand what actually changes between day and night in a garage environment. Four conditions shift dramatically after dark — and each one can independently kill your opener’s signal.
LED Bulbs Create RF Interference
LED bulbs and their internal drivers emit radiofrequency noise across a broad spectrum. Many cheap LED bulbs — including common brands sold at big-box stores — broadcast interference that overlaps directly with the 315 MHz and 390 MHz frequencies your garage door remote uses. At night, when the garage light is on and ambient light is low, this RF interference from LED bulbs intensifies relative to your remote’s signal strength, blocking the receiver from registering your button press.
Photoelectric Sensors Behave Differently in Low Light
Your garage door’s UL-required photoelectric sensors — the two small units mounted near the floor on each side of the door — rely on an infrared beam. Direct sunlight during the day can actually overwhelm and misalign these sensors, but the more common nighttime problem is subtle: vibration, seasonal shifts, or worn mounting brackets leave sensors slightly off-axis. Without daylight to partially compensate, the misalignment becomes a full failure after dark.
Temperature and Humidity Drain Batteries Faster
Garage temperatures drop significantly at night. Cold air increases a battery’s internal resistance, reducing the voltage output your remote delivers. A battery that tests at 1.5V at noon may drop below the remote’s minimum threshold at 45°F — which is why the opener works all day and fails the moment you pull into the driveway at 11 PM.
Antenna Obstruction and Receiver Positioning
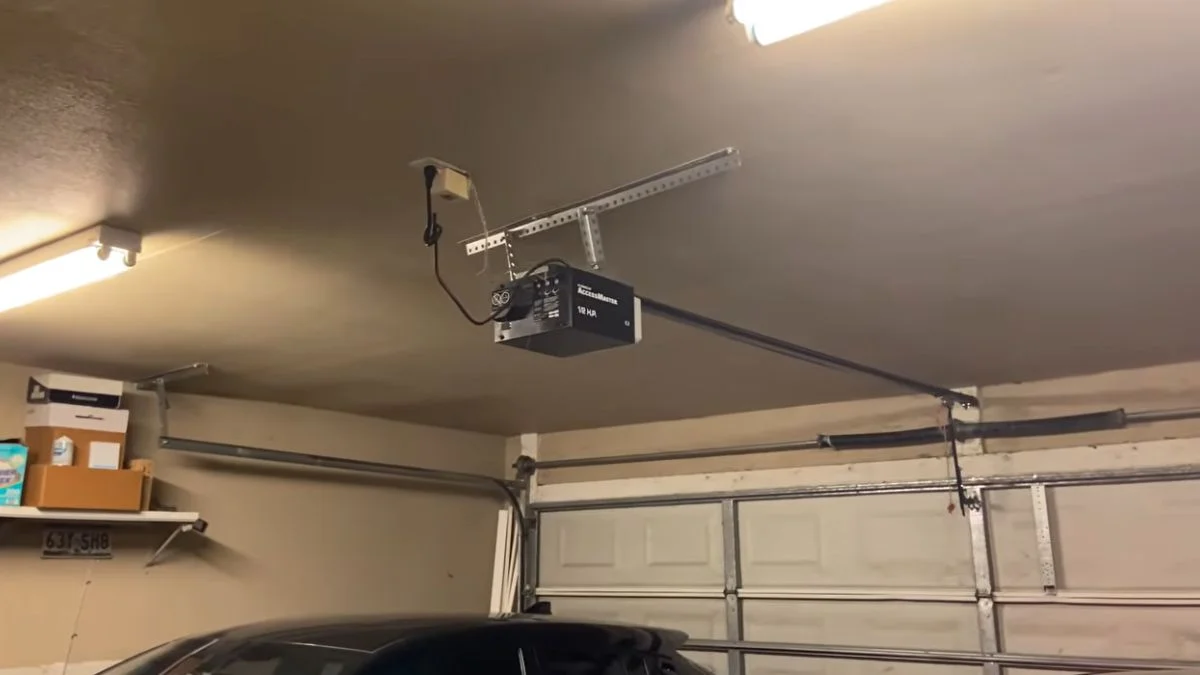
The opener’s antenna — the short wire or rod hanging from the motor unit — needs a clear line of sight toward the door. Metal shelving, overhead storage bins, and even a car’s roof can obstruct or reflect the signal. Garage door receiver obstruction at night is amplified because your headlights introduce additional electromagnetic noise, further degrading a marginal signal.
Diagnostic Flowchart: Test Order and Outcomes
Work through these tests in order. Each one either confirms or eliminates a cause before you move to the next. Skipping ahead wastes time and creates false conclusions.
Step 1: Battery and Remote
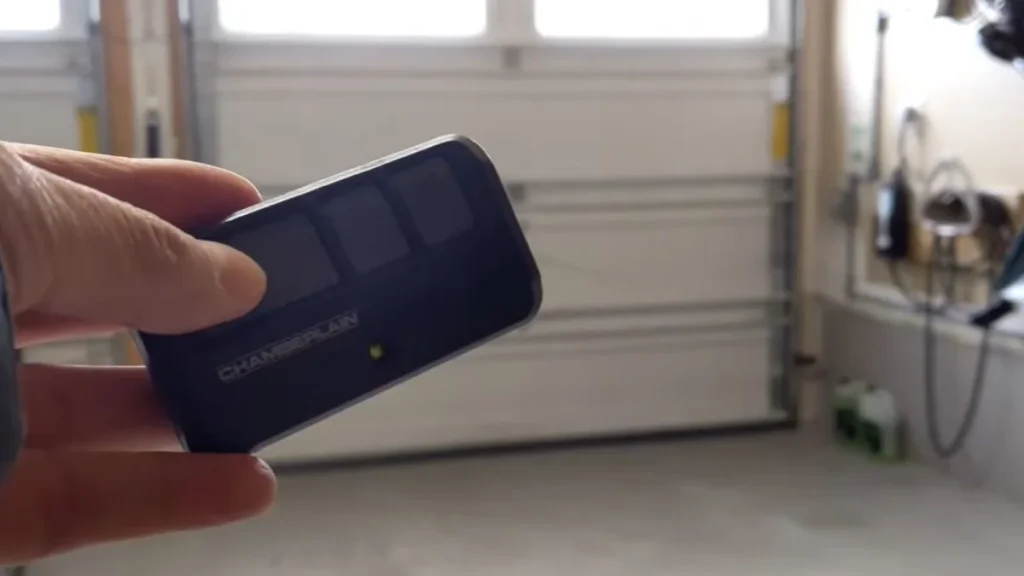
Check the battery’s age first — most remote batteries last 1 to 2 years. Remove the battery and look at the contacts inside the remote. Corrosion or a slight bend in the metal tab creates enough resistance to cut signal strength at low temperatures. If you have a second remote, test it immediately. A second remote that works confirms the problem is the remote, not the opener or receiver.
Step 2: LED Bulb and RF Interference
Remove any LED bulb installed in the opener’s light socket and replace it temporarily with an incandescent or known-clean LED. Then press the remote. If the door responds, the LED driver circuit was broadcasting RF interference that masked your remote’s signal. Also check for nearby WiFi routers or microwave ovens mounted on a shared wall — both introduce competing radiofrequency noise in the same general band.
Step 3: Safety Sensor Alignment
Look at both photoelectric sensors near the floor. Each one has a small indicator light — solid means aligned, blinking means not. Clean each lens with a dry cloth to remove dirt and spider webs. Then check the mounting brackets for looseness. Tighten any loose bracket and re-aim the sensors until both lights show solid.
Step 4: Receiver and Antenna Position
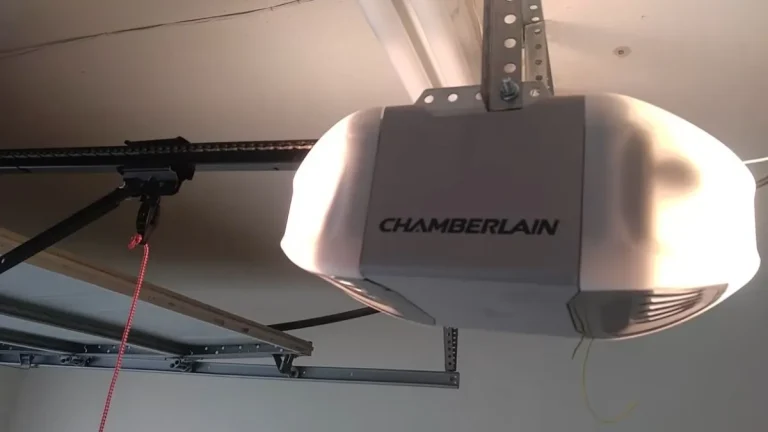
Locate the antenna wire hanging from your LiftMaster, Chamberlain, or Overhead Door motor unit. It should hang straight down, uncoiled, with no metal objects within 12 inches. Check the wall console wiring where it connects to the opener’s terminal screws — a loose or corroded wire here causes intermittent failures that mimic signal problems. Reattach any loose wire and test again.
Symptom-Specific Fixes
Your specific symptom pattern points directly to the cause. Match your experience to one of these four scenarios and apply the targeted fix.
Remote Works During the Day but Fails at Night
This is the classic LED interference pattern. The opener’s light activates at night, the LED driver circuit floods the receiver with RF noise, and your remote’s 315 MHz or 390 MHz signal cannot break through. Replace the LED bulb in the motor unit with an incandescent or an FCC-certified, garage-door-compatible LED — Chamberlain sells purpose-built bulbs specifically rated to avoid RF interference. Also check battery voltage with a multimeter. Evening temperatures regularly drop 15 to 25 degrees compared to afternoon highs, and that thermal shift alone can push a marginal battery below the remote’s minimum operating threshold.
Works Only at Dawn or Dusk but Fails at Full Dark
Photoelectric sensors are most vulnerable during light-transition periods. At dawn and dusk, partial ambient light partially compensates for minor sensor misalignment — but once full darkness arrives, that compensation disappears and the beam breaks entirely. Inspect the sensor mounting brackets for thermal expansion gaps, which open and close as temperatures shift. Tighten brackets and realign sensors until both indicator lights show solid at night specifically, not just during the day.
Door Opens Spontaneously at Night
An opener activating on its own almost always traces to RF noise triggering a false signal in the receiver, or a misaligned safety sensor sending a false obstruction reading that causes erratic behavior. A neighbor’s new RF device — a ham radio setup, a wireless security system, or even a new car with keyless entry on the same frequency band — can trip older receivers that lack rolling-code technology. If your opener predates 1993, it almost certainly uses a fixed code that any matching signal can trigger. Upgrading to a rolling-code receiver is the permanent fix.
Intermittent or Sporadic Response at Any Hour
Sporadic failures that have no clear time pattern usually point to a loose antenna connection or a battery in the final stage of degradation. A failing battery creates marginal voltage conditions where the remote works sometimes and fails others — the variability tracks with temperature and the exact charge state at that moment. Pull the antenna wire from the motor unit, inspect the terminal connection, and reseat it firmly. Then replace the battery regardless of how recently you changed it, and test across multiple nights before drawing conclusions.
Next Steps After Diagnosis
In 80% of nighttime garage door opener failures, the fix is either a new battery, a replaced LED bulb, or a sensor realignment — all completed in under 20 minutes with no specialized tools. Start tonight by removing the LED bulb from your opener’s light socket and testing the remote in complete darkness — if the door responds, you have confirmed RF interference and a purpose-built replacement bulb like the Chamberlain CLED1 solves it permanently.
If the door still fails after that test, work through the sensor alignment check before calling a licensed garage door technician.