How to Reinforce Garage Ceiling Joists: Complete Guide

Most residential garage ceiling joists are engineered to carry only 10–20 pounds per square foot — far less than what homeowners routinely stack on storage platforms and overhead racks.
If your garage was built between 1970 and 1990, the ceiling framing was almost certainly designed for a car below and nothing above, leaving you with joists that may already be undersized, sagging, or cracked from years of unintended loading.
This guide covers how to reinforce garage ceiling joists step by step — including how to calculate load capacity, choose the right reinforcement method, and recognize when the job requires a licensed structural engineer rather than a hardware store run.
The Load Capacity and Joist Limits
Before you add a single storage bin overhead, you need to know what your ceiling framing can actually hold. Overloading garage ceiling joists is one of the most common causes of sagging ceilings and, in serious cases, partial structural collapse.
Live Load vs. Dead Load: What the Numbers Mean
Every joist carries two types of load simultaneously.
Dead load is the permanent weight of the structure itself — drywall, insulation, and the joists. This typically runs 5 to 10 pounds per square foot (psf).
Live load is everything added and removable — storage boxes, shelving units, people. Residential building codes generally require ceiling joists supporting attic storage to handle a minimum live load of 20 psf.
The two combine into your total design load. A joist system rated for 30 psf total (10 psf dead + 20 psf live) across a 12-foot span handles roughly 360 pounds in that zone — not 360 pounds on one joist.
Joist Size and Span: What the Tables Show
Joist sizing determines how far a board can span safely without excessive deflection (sagging under load). Here is how common lumber sizes perform at standard 16-inch on-center spacing under a 20 psf live load:
| Joist Size | Max Safe Span (approx.) |
|---|---|
| 2×6 | 9–10 feet |
| 2×8 | 13–14 feet |
| 2×10 | 16–17 feet |
Garages built between 1970 and 1990 frequently used 2×6 joists across 12- to 16-foot spans — spans that exceed the safe limit for that lumber size under storage loads. That mismatch is why sagging ceiling truss repair and garage attic storage reinforcement are such common projects in homes of that era.
How to Calculate Your Load Capacity
Use this straightforward formula:
Allowable load (lbs) = Design load (psf) x Tributary area (sq ft)
Tributary area is the floor area each joist is responsible for — typically joist spacing multiplied by joist span. For a 2×6 at 16-inch spacing spanning 10 feet, the tributary area is roughly 13.3 square feet. At 20 psf live load, that joist handles about 267 pounds of storage weight.
If your planned storage exceeds that number, reinforcement is not optional — it is structural necessity. The most common fix is sistering, which means fastening a new joist directly alongside the existing one to double its load-bearing capacity and correct deflection.
Sistering Joists: The Dominant Reinforcement Method
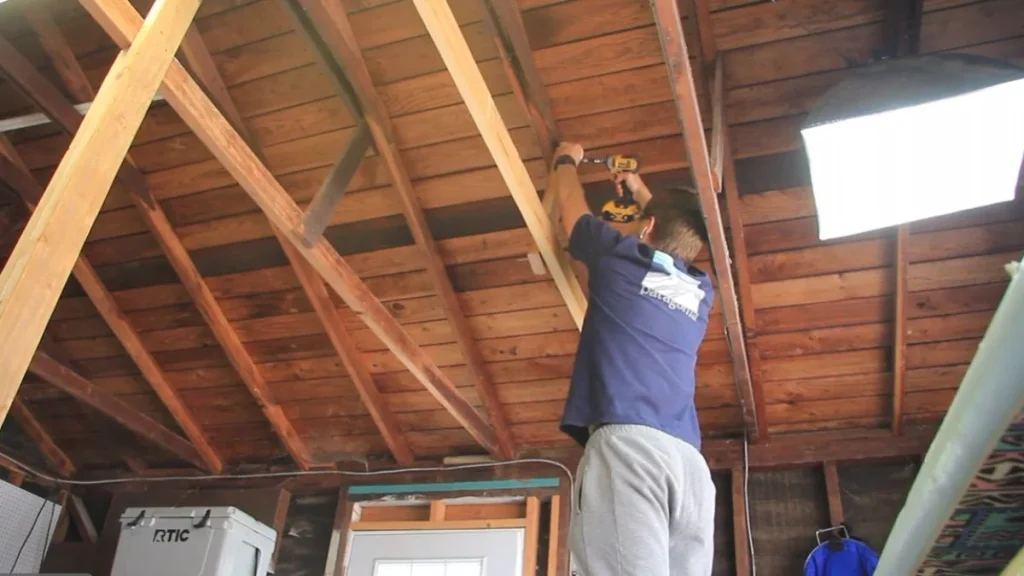
Sistering is the process of fastening a new, full-length joist directly alongside a damaged or undersized existing joist to restore or increase its load-bearing capacity. It is the most widely used method for garage attic storage reinforcement because it works with existing framing rather than replacing it.
What “Full-Length” Actually Means
A sister joist must run the full span of the original — from bearing wall to bearing wall. Partial sisters (short boards tacked alongside a weak section) do not transfer load properly at the ends and fail to address span and deflection problems. Match the lumber size and grade exactly: if the original is a 2×6 No. 2 Southern Yellow Pine, use the same.
Step-by-Step Installation
- Clear the bay completely. Remove insulation, debris, and any existing storage.
- Inspect the original joist for rot, cracks, or insect damage. A compromised joist needs replacement, not sistering.
- Apply a continuous bead of construction adhesive (Liquid Nails Heavy Duty or equivalent) along the full face of the sister joist before placement.
- Press the sister tight against the original with no gaps along the contact face.
- Fasten with 3-inch structural screws or 16d nails staggered every 12 to 16 inches in two rows — top and bottom.
- Add 3/8-inch lag bolts every 24 inches for spans exceeding 10 feet.
Load Capacity Gain and Common Mistakes
A properly sistered 2×6 pair effectively doubles the single-joist load-bearing capacity, taking a 9-foot span from roughly 267 pounds to over 500 pounds of allowable live load. The 3 most common mistakes that eliminate that gain:
- Skipping adhesive and relying on fasteners alone
- Using screws shorter than 3 inches, which fail to bite through both members
- Leaving gaps between the sister and original joist, creating independent rather than composite action
When Sistering Isn’t Enough: Alternative Methods
Sistering works well for distributed storage loads on standard joist-framed ceilings. It does not solve every problem — concentrated loads, long spans, truss systems, and significant structural damage all require different approaches.
Support Beam Installation
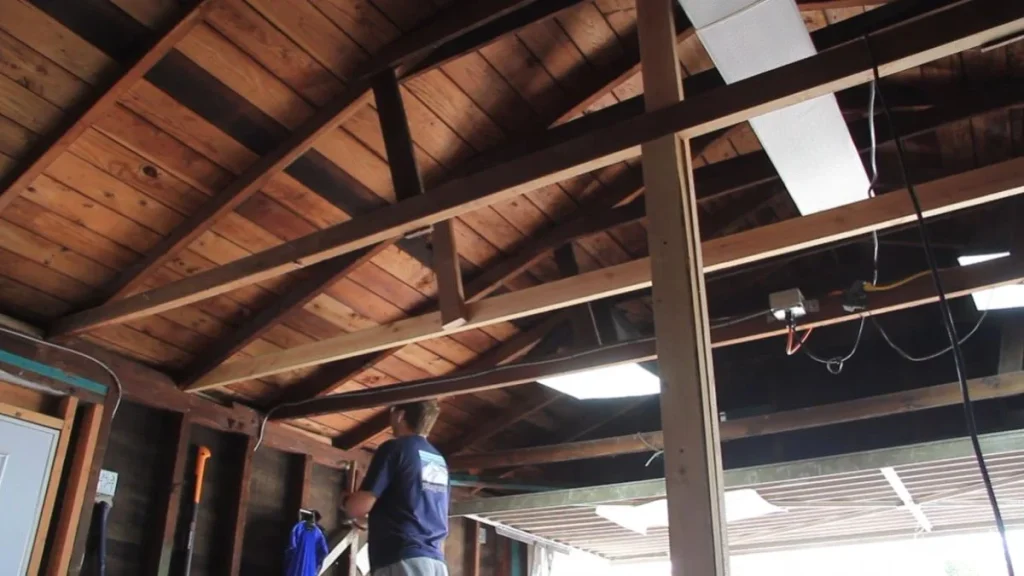
Adding a mid-span beam below the joists reduces the effective span and dramatically increases load capacity. A 4×8 or 4×10 beam running perpendicular to the joists, supported by posts at each end, can cut a 16-foot span into two 8-foot spans — more than doubling the allowable load per joist. This method works best for garages where a sagging ceiling truss repair is needed across multiple bays simultaneously. The trade-off is permanent headroom loss of 7 to 9 inches.
Plywood Reinforcement Plates
Gluing and screwing 3/4-inch plywood panels to the sides or tops of joists adds stiffness and modest load capacity. Plywood joist reinforcement is most effective for correcting minor deflection in short spans under 10 feet. It is not a substitute for sistering on spans that already exceed safe limits — it is a supplemental measure, not a primary structural fix.
Center Post Support
A steel adjustable post (lally column) running from a concrete floor to a beam mid-span eliminates deflection entirely at that point. This is a practical solution for detached garages with accessible slab floors and open ceiling bays.
When to Stop and Call an Engineer
4 situations require a structural engineering consultation before any work begins:
- Truss systems: Garage trusses are engineered as complete units. Cutting, notching, or sistering individual truss members without engineer approval can trigger progressive collapse.
- Spans over 16 feet: Standard span tables and DIY methods do not reliably apply at this scale.
- Visible rot, insect damage, or fire damage on multiple joists.
- Any load exceeding 40 psf total, such as a planned workshop, gym equipment, or mechanical systems overhead.
A structural engineer assessment for a garage typically costs $300 to $700 and produces a stamped drawing — the document contractors and permit offices require before work begins.
Spotting Problems Before You Reinforce
Never reinforce what you have not fully inspected. Adding load to a joist that is already rotted, cracked, or improperly bearing at its ends makes the problem worse, not better.
Visual Signs Worth Taking Seriously
Start from the ground with a flashlight before touching anything overhead. Look for:
- Visible sag or bow along the joist’s bottom edge — any deflection visible to the naked eye across a span indicates the joist is already stressed beyond its design limit
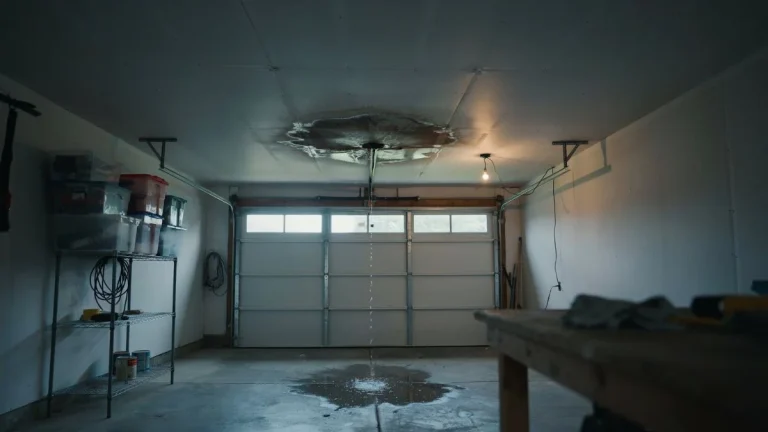
- Water stains or dark discoloration on joist faces, which signal past or active moisture intrusion
- Cracks running along the grain (checks) versus cracks running across the grain — cross-grain cracks are a structural failure indicator requiring immediate structural engineering consultation
- Springy or bouncy ceiling feel when you push up on drywall or sheathing — this indicates excessive span and deflection in the framing above
How to Measure Deflection
Stretch a taut string line or hold a long level along the bottom of a joist from end to end. Measure the gap at mid-span. Building codes generally permit a maximum deflection of span divided by 360 — for a 12-foot span, that is 0.4 inches. Anything beyond that number means the joist is already failing under its current dead load alone.
Why 1970s–1990s Garages Fail
Three compounding factors explain most ceiling joist load capacity failures in garages of that era:
- Framing lumber was often sized for roof load only, with no allowance for storage live load
- Joist spacing was frequently 24 inches on center rather than 16, reducing load-bearing capacity by roughly 33 percent
- No blocking or bridging between joists left them laterally unstable, accelerating span and deflection problems over decades
Rot, Moisture, and the Go/No-Go Decision
Probe suspect areas with a screwdriver. Healthy wood resists firm pressure. Wood that crumbles, compresses, or feels spongy has lost structural integrity and cannot be sistered — it must be replaced entirely. Photograph every damaged section from multiple angles before proceeding.
Here’s the rule: if you find rot on more than one joist in the same bay, or any joist showing cross-grain cracking, stop work and schedule a structural engineer assessment for your garage before purchasing materials or pulling a permit.
Building Permits, Engineers, and Professional Help
Skipping permits on structural work is not a paperwork inconvenience — it is a liability that can void homeowner’s insurance, trigger mandatory demolition during a future sale inspection, and leave you legally responsible if the structure fails. Know the rules before you cut a single board.
When a Permit Is Required
Most jurisdictions require a building permit any time structural framing is altered, added to, or repaired in a way that affects load-bearing capacity. Simple like-for-like sistering of a single damaged joist often falls under minor repair exemptions. Adding storage platforms, installing beams, or reinforcing multiple joists to increase ceiling joist load capacity for a new use almost always requires a permit. Call your local building department directly — permit thresholds vary significantly by county and municipality.
What a Structural Engineer Actually Does
A licensed structural engineer performs live load and dead load calculations specific to your garage’s dimensions, lumber species, joist spacing and sizing, and regional code requirements. The output is a stamped engineering drawing — the document your building department needs to issue a permit and your contractor needs to execute the work correctly. Expect to pay $300 to $700 for a garage-specific structural engineering consultation, with turnaround typically running 1 to 2 weeks.
Regional Code Variations That Change the Math
3 regional factors routinely increase design load requirements beyond the standard 20 psf live load baseline:
- Snow load zones (northern U.S., mountain regions): roof snow load transfers directly into ceiling framing, adding 20 to 50 psf in high-snowfall areas
- Seismic zones (Pacific Coast, Intermountain West): lateral load requirements affect how joists connect to walls, not just how much weight they carry vertically
- High-wind regions (Gulf Coast, tornado corridor): uplift forces require specific joist-to-plate fastening beyond standard 16d nail schedules
DIY vs. Hiring a Contractor
According to Fine Homebuilding, labor for sistering joists in an accessible garage ceiling runs $50 to $100 per joist when hired out, putting a full 10-joist garage project at $500 to $1,000 in labor alone before materials. DIY is reasonable for homeowners comfortable with framing, accurate measurements, and working overhead in tight spaces. It is not reasonable when trusses are involved, spans exceed 14 feet, or any rot or structural damage is present — those conditions require licensed contractor execution against an engineer’s stamped drawing.
If you’re planning to use the space for storage, you’ll likely need to reinforce the rafters too.
Frequently Asked Questions
How much weight can a standard 2×6 garage ceiling joist hold?
A single 2×6 joist at 16-inch spacing spanning 10 feet carries approximately 267 pounds of live load at the standard 20 psf design rating. Longer spans or wider spacing reduce that number significantly — a 2×6 spanning 12 feet at 24-inch spacing may handle less than 160 pounds before exceeding safe deflection limits.
Does sistering joists actually increase load capacity?
Yes, a correctly installed sister joist — full length, tight contact, construction adhesive plus structural fasteners every 12 to 16 inches — effectively doubles the load-bearing capacity of the original joist. The key word is correctly: partial sisters, missing adhesive, or inadequate fastener spacing produce far smaller gains and can create a false sense of security.
Can I reinforce joists myself, or do I need a contractor?
DIY sistering is achievable for homeowners comfortable with framing work on standard joist systems with spans under 14 feet and no existing rot or structural damage. Any project involving trusses, spans over 14 feet, visible rot, cross-grain cracks, or loads exceeding 40 psf total requires a licensed contractor working from a structural engineer’s stamped drawings.
Ready to Add Weight Without Worry
The single factor that determines whether your garage ceiling project is safe or dangerous is knowing your joist size, span, and current load before adding anything overhead. Start today by measuring your joist dimensions and span, then running the load calculation from Section 2 — if the numbers are tight or unclear, get a structural engineer assessment before buying materials or pulling a permit.