How to Paint Garage Door Trim: Complete Guide
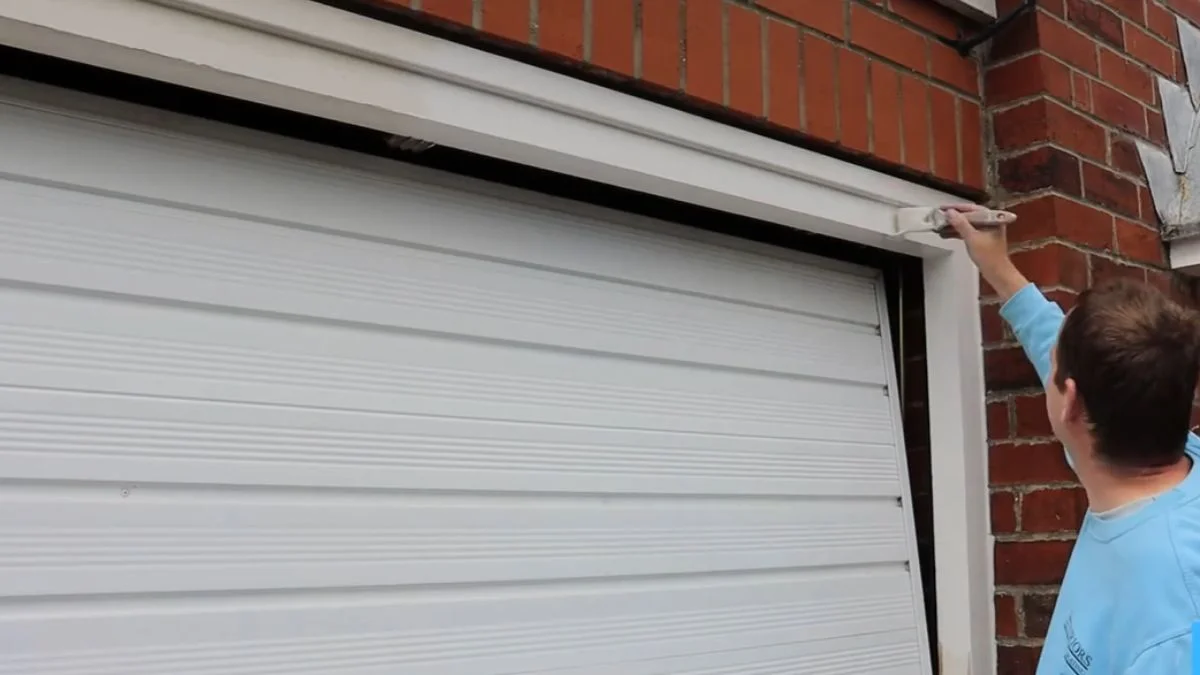
Painting trim around garage door panels is one of the highest-impact exterior upgrades a homeowner can make — yet mismatched trim is the most common mistake after a fresh garage door paint job.
The problem is that most guides cover the door itself and leave you guessing on trim prep, paint compatibility, and color coordination.
This guide walks you through every step — from surface prep to final coat — so your trim looks intentional, professional, and built to last through years of weather exposure.
Surface Preparation & Inspection
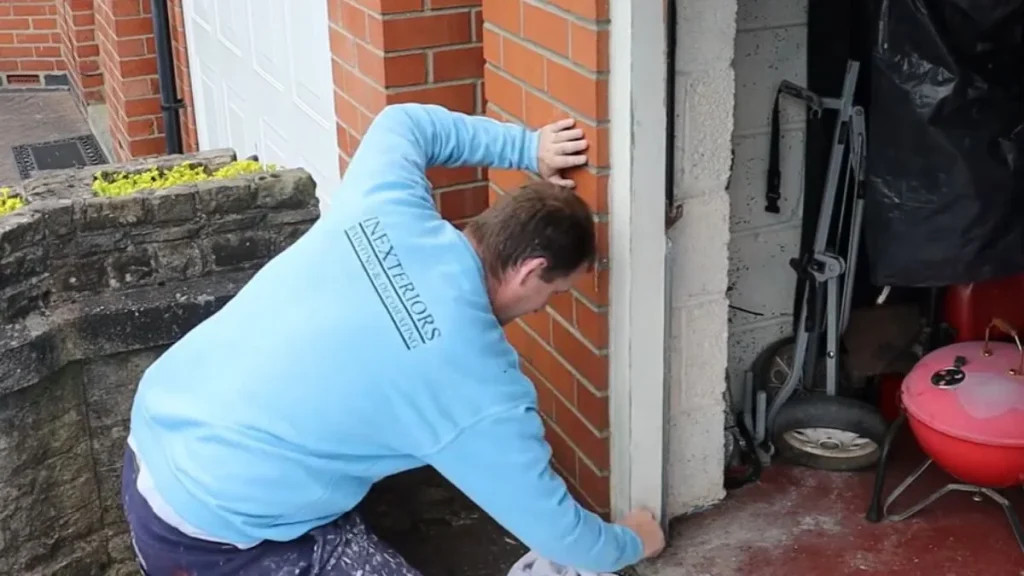
Skipping prep is the single biggest reason trim paint fails within a season. Spend the time here and everything that follows goes smoothly.
Cleaning and Damage Assessment
Start with a bucket of warm water mixed with a few drops of dish soap and a cup of white vinegar — this combination cuts through road grime, mildew, and oxidation without harsh chemicals that can damage weather seals. Scrub the entire trim and garage door frame with a stiff-bristle brush, then rinse thoroughly.
Avoid pressure washing directly on the trim. High-pressure water forces moisture behind the frame, lifts existing paint, and can damage the flexible weather seal lips along the door’s edges. A garden hose with good pressure is enough.
After rinsing, inspect every inch of the trim for soft spots, deep cracks, or rot. Press firmly with a screwdriver — if it sinks in, that section needs repair or replacement before any paint touches it. Surface cracks under 1/8 inch wide can be filled with exterior wood filler and sanded smooth once dry. Allow the entire surface at least 24 hours to dry completely before moving forward.
Caulking and Sealing Gaps
Once the surface is dry, apply a paintable exterior caulk — products like DAP Alex Plus or GE Silicone II work well on wood, composite, and aluminum trim. Run a continuous bead along any gap between the trim and the garage door frame or the siding, then smooth it with a wet finger in one clean pass.
Never apply caulk over the flexible weather seal lips that run along the door’s edges. Those seals need to flex freely — caulking them shut creates air gaps, traps moisture, and causes the door to bind. Wipe away any excess caulk immediately with a damp cloth before it skins over.
Paint Selection and Application Method
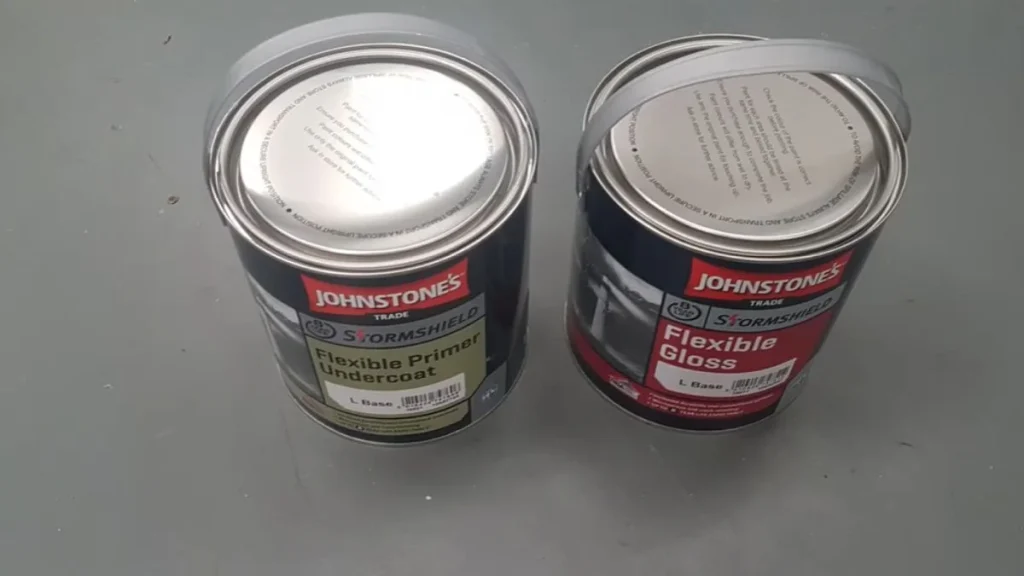
The right paint for garage door trim exterior work is not the same as standard wall paint — trim takes direct sun, rain, and mechanical contact that demand a more durable formula.
Choosing the Right Paint Type
Exterior acrylic latex paint is the standard choice for most trim materials — wood, composite, and primed metal all accept it well. It resists moisture, stays flexible through temperature swings, and cleans up with water. For raw or previously stained wood trim, a solid color exterior stain offers slightly deeper penetration but less surface film protection than paint.
Two reliable options worth knowing: Sherwin-Williams Duration Exterior and Behr Marquee Exterior both carry strong durability ratings for high-exposure trim surfaces, with excellent UV resistance and color retention over multiple seasons. Either works well when you need to repaint weathered garage door frames and match a recently painted door.
Bare wood and any surface previously finished with a solid stain require a dedicated exterior primer first. Skipping primer on bare wood causes uneven sheen and poor adhesion — the topcoat will peel within a year.
Spray vs. Roll Application
Spraying delivers faster, more even coverage and produces cleaner edges on narrow trim profiles. The tradeoff is setup time — you need to mask the garage door, driveway, and surrounding siding carefully to control overspray.
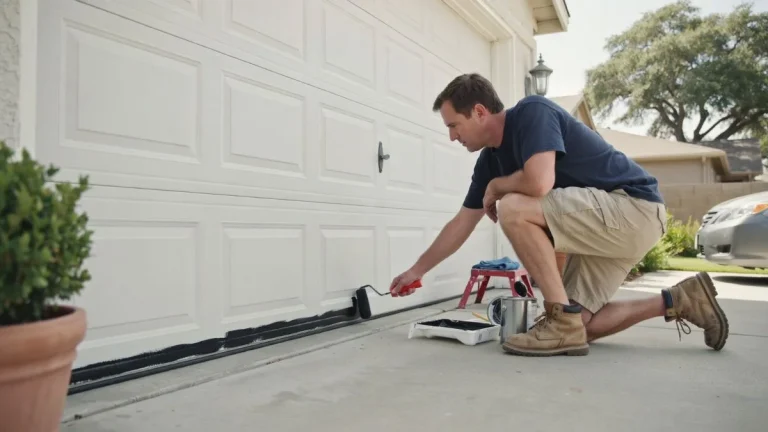
Rolling gives you more direct control with less masking work. A 4-inch foam roller works well on flat trim faces. The finish is slightly thicker, which can obscure fine wood grain but builds a more protective film.
Both methods require a recoat window of 4 hours for acrylic latex under normal conditions — 70°F, low humidity. In cooler or humid weather, extend that to 6 hours minimum before adding a second coat.
Step-by-Step Painting Process
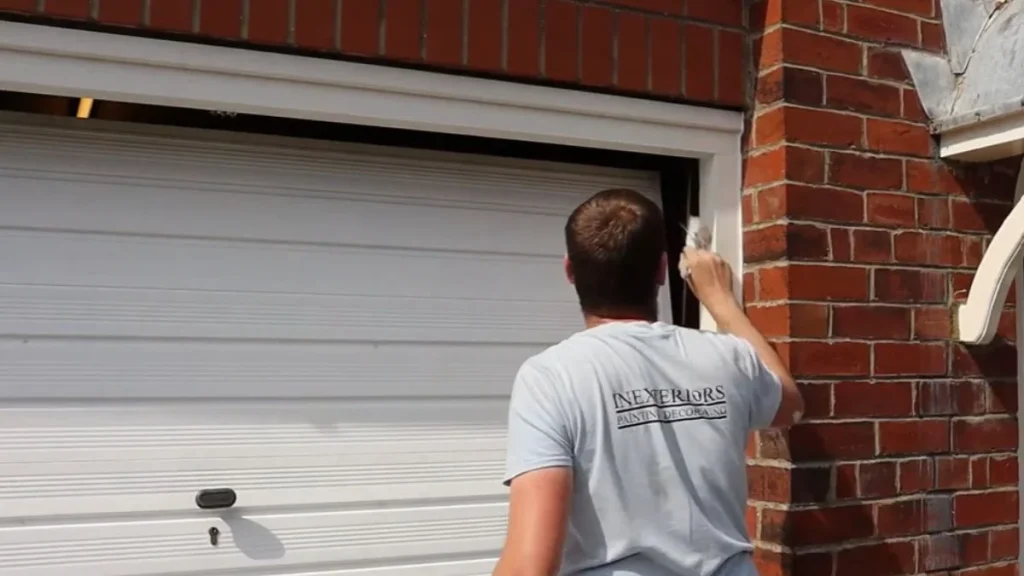
Follow these garage door frame painting steps in order — sequence matters as much as technique when you want clean edges and lasting coverage.
Step 1: Mask everything adjacent.
Apply painter’s tape along the weather stripping, door panels, hardware, and any siding that meets the trim. Press the tape edge firmly with a putty knife to prevent paint bleed. Cover the driveway directly below the trim with a drop cloth — even careful brushwork drips.
Step 2: Cut in edges and corners first.
Load a 2-inch angled sash brush and paint all corners, tight edges, and any area a roller cannot reach cleanly. Work the brush in long, controlled strokes rather than short scrubbing motions. This step sets the line quality for the entire job.
Step 3: Work top to bottom, systematically.
Paint the top horizontal trim piece first, then each vertical side, then the bottom. This order lets any drips land on unpainted surfaces you are about to cover. Never skip sections and circle back — wet edges blend; dry edges leave lap marks.
Step 4: Apply thin, even coats.
One heavy coat looks faster but sags, traps solvent, and peels sooner. Two thin coats of exterior acrylic latex trim paint build a more durable, uniform film. Each coat should look slightly thin when applied — it levels as it dries.
Step 5: Inspect before the recoat window closes.
After the first coat, check for drips, holidays (missed spots), and uneven sheen at a low angle with a flashlight. Fix drips immediately by brushing them out. Wait the full 4-hour recoat window before applying the second coat, then repeat the inspection after the final coat dries completely.
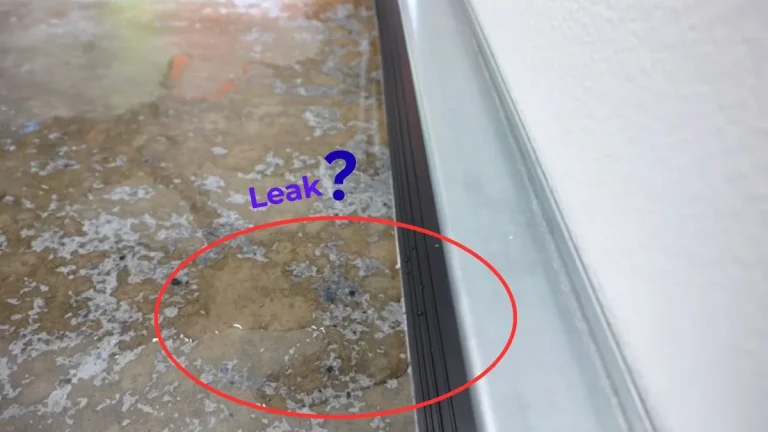
Painting fresh trim is a good time to also re-caulk around the door to prevent future leaks.
Color Coordination and Finishing
Trim coordination is where the project moves from functional to finished — the right color relationship between your door and frame makes the entire garage facade look intentional.
Design Choices
There are 2 reliable approaches to trim color selection: matching and contrasting.
Matching the trim to the door color creates a unified, recessed look — the frame visually disappears and the door reads as one clean panel. This works especially well on darker door colors like navy, charcoal, or forest green, where a matching frame adds depth without visual noise.
Contrasting trim creates architectural definition. The most versatile combination is black trim against a white or light gray door — it reads as sharp and modern on virtually any home exterior. The reverse, white trim on a darker door, softens the contrast and suits traditional or craftsman-style homes better than contemporary ones.
Here’s what most people miss: neither approach works in isolation. The trim color needs to connect with the broader exterior palette — siding color, window trim, shutters, and front door. A black garage frame looks intentional on a home with black window mullions; it looks arbitrary on a home where everything else is warm-toned wood and cream.
Before committing to a full application, buy sample pots and brush a 12-inch square of each candidate color directly onto the trim. Evaluate it at 3 different times of day — morning, midday, and late afternoon — because exterior light shifts dramatically and changes how colors read. Sherwin-Williams and Behr both offer sample-size exterior paint for under $5, making this step easy to justify.
How Long Does Garage Door Trim Painting Take?
A standard single-car garage door trim project takes most DIYers 4 to 6 hours across one full day — split between prep work and paint application with drying time in between.
DIY Time Estimate
Here is how that time breaks down in practice:
- Cleaning and drying: 30 minutes of active work, plus 24 hours dry time before painting
- Caulking and repair: 30 to 45 minutes
- Masking and setup: 20 to 30 minutes
- First coat application: 45 to 60 minutes
- Recoat window wait: 4 to 6 hours
- Second coat application: 30 to 45 minutes
- Final inspection and cleanup: 15 to 20 minutes
For a two-car garage with more linear trim footage, add roughly 50% to each phase.
Budget Expectations
A full DIY material kit — primer, exterior acrylic latex trim paint, caulk, painter’s tape, brushes, and a small roller — runs between $60 and $120 depending on brand. Sherwin-Williams Duration Exterior in a quart runs approximately $30 to $35, which covers a standard single-car trim perimeter with enough left for touch-ups.
Hiring a professional painter for trim-only work typically costs $150 to $300 for a single-car garage, depending on local labor rates and surface condition.
Climate Impact on Scheduling
Temperature and humidity directly affect recoat windows. Exterior acrylic latex applies best between 50°F and 90°F with humidity below 70%. On humid days above 80°F, extend recoat windows to 6 to 8 hours — rushing it traps moisture under the film and causes adhesion failure. Never apply paint if rain is forecast within 24 hours of application.
Ready to Refresh Your Trim
Surface preparation — not paint brand or application method — determines whether your trim finish lasts one season or five. Start this weekend by washing the trim, pressing every inch for soft spots, and picking up a sample pot of your chosen color to test in natural light.
Those 3 steps alone put you ahead of most DIY trim jobs before a brush ever touches the surface.