How to Convert a Garage Door to Sliding Glass
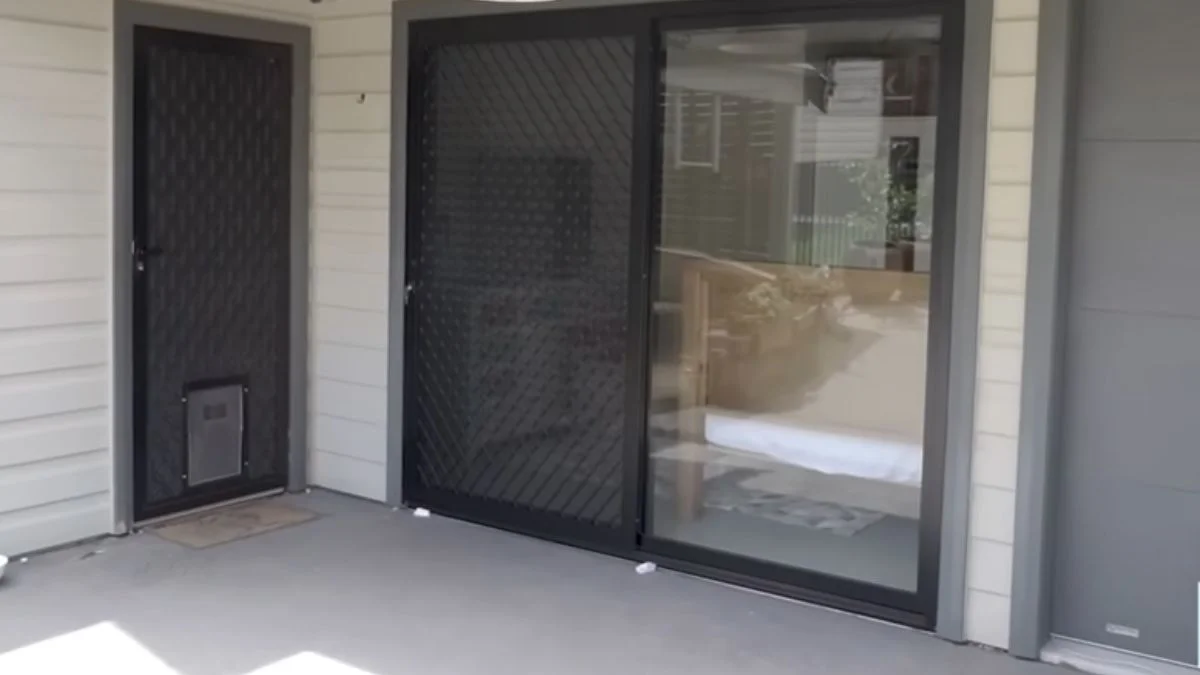
Converting a garage door to sliding glass is one of the highest-impact structural upgrades a homeowner can make, often transforming an underused bay into a bright, functional living space for $3,000 to $12,000 depending on door size and glass type.
Most homeowners hit the same wall: they can picture the finished space but have no clear roadmap covering structural requirements, permit obligations under the International Building Code, or the actual sequence of demolition and installation steps.
This guide walks you through every stage of the conversion — from assessing your header load and pulling permits to choosing the right sliding glass door system and finishing the rough opening — so you leave with a realistic plan you can act on immediately.
Is This Conversion Actually Possible?
Most standard garage openings — typically 8 to 16 feet wide and 7 to 8 feet tall — are physically compatible with a sliding glass door installation. Whether your specific structure supports the swap depends on three factors: the existing header, local code requirements, and your climate.
Does Your Header Support the New Load?
The header is the horizontal beam spanning the top of the garage opening. It carries the weight of everything above it — roof framing, sheathing, and sometimes a floor if you have living space overhead. A garage door replacement with glass changes the load dynamics because you’re removing a lightweight door and replacing it with a heavier glass panel system, often in aluminum framing.
For openings up to 9 feet wide, a doubled 2×10 or 2×12 header is typically sufficient. Openings 10 feet and wider usually require an engineered LVL (laminated veneer lumber) beam. Have a licensed structural engineer confirm your header size before any demolition — this is not a step to skip.
What Do Building Codes Require?
The International Building Code sets minimum standards, but local jurisdictions layer their own rules on top. Most municipalities require a permit for any structural opening modification. Inspectors will check header sizing, anchor bolt placement, and egress compliance if the converted space becomes a habitable room.
When Is Conversion Not Feasible?
Three scenarios make this project impractical:
- Load-bearing side walls that can’t be modified without full structural reinforcement
- Openings narrower than 6 feet, which limit sliding glass door options to non-standard custom units
- Extreme freeze-thaw climates where thermal expansion cycles stress aluminum framing systems beyond standard tolerances
Cost Breakdown: Materials, Labor, and Permits
Material Costs
The door unit itself is your biggest line item. Standard patio door garage retrofit options — vinyl or aluminum framing systems in 6- to 8-foot widths — run $800 to $2,500. A custom sliding glass door garage opening, where panels are manufactured to match a 12- or 16-foot bay, costs $3,000 to $8,000 or more depending on glass type and frame material.
Fiberglass frames sit at the premium end but outperform vinyl in temperature stability. Aluminum framing systems are mid-range and the most common choice for wide garage openings due to their strength-to-weight ratio.
Budget an additional $300 to $700 for framing lumber, anchoring hardware, flashing tape, and backer rod for weatherproofing. Insulated glass units (IGUs) add $200 to $600 over standard double-pane options but pay back in energy savings.
Labor and Professional Services
Contractor rates for sliding glass door installation vary by region. Expect $800 to $2,000 for labor on a standard single-bay conversion in most U.S. markets. Structural opening modification on wider bays adds $500 to $1,500 if a new LVL beam is required.
A structural engineer assessment runs $300 to $700 for a site visit and stamped letter — required by most inspectors for any header change. Permits typically cost $150 to $500 depending on jurisdiction.
Budget-Friendly vs. Premium Approaches
| Approach | Estimated Total Cost | Best For |
|---|---|---|
| DIY with standard patio door | $1,500 – $3,500 | Single-bay, simple openings |
| Contractor with stock door | $3,500 – $6,000 | Standard sizing, permit required |
| Custom manufactured solution | $8,000 – $14,000 | Wide bays, high-end finishes |
DIY labor savings on a garage conversion project can reach $1,500 to $2,500, but realistic scope limits apply — structural beam replacement and electrical rerouting should stay with licensed trades.
Step-by-Step Conversion Process
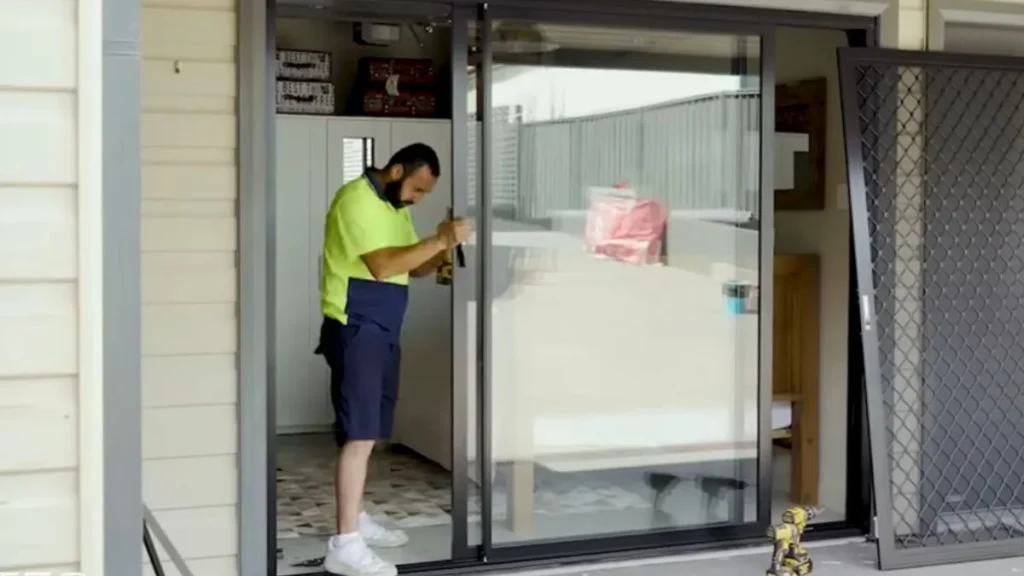
Planning and Preparation
Measure your rough opening width and height at three points each — walls rack over time and dimensions vary. Document the framing with photos before touching anything. Submit your permit application with a simple site plan showing the opening location, proposed door unit dimensions, and header specification. Most jurisdictions approve straightforward patio door garage retrofit projects within 2 to 4 weeks.
Hire a structural engineer when your opening exceeds 10 feet, when you suspect the wall is load-bearing, or when your inspector requires a stamped drawing.
Demolition and Framing
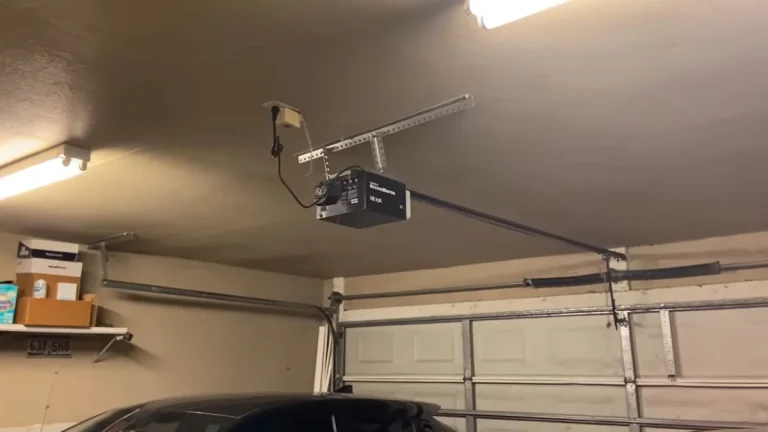
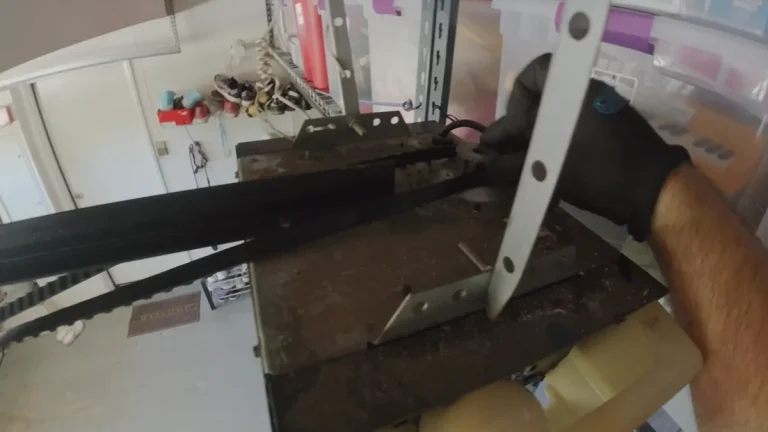
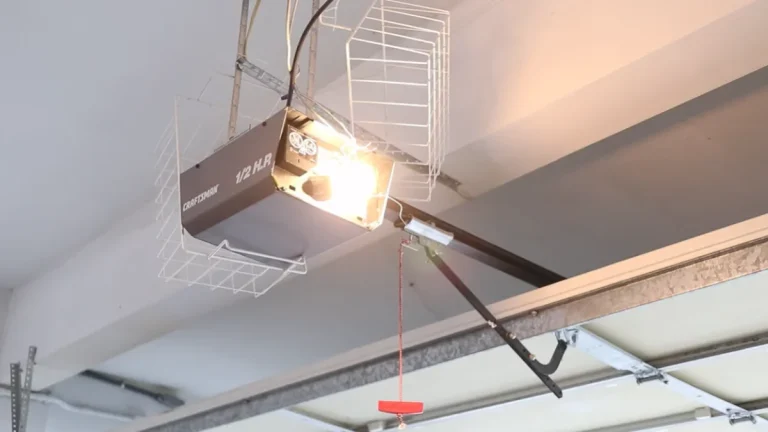
- Disconnect and remove the garage door opener, springs, cables, and tracks completely.
- Remove the existing door panels.
- Strip the rough opening back to bare framing — remove any nailer boards or angle iron.
- Install the new header (LVL beam or doubled lumber per engineer spec) with temporary support walls in place.
- Frame the rough opening to the door manufacturer’s specified dimensions, typically 1/2 inch wider and taller than the door unit.
Never skip the temporary support wall during header replacement. The roof load transfers immediately once you cut existing framing.
Door Installation and Weatherproofing
Set the sill pan first — a sloped aluminum or composite pan that drains water outward. Level it with a 4-foot level before placing the door unit. Most aluminum framing systems for custom sliding glass door garage openings require shimming at the jambs every 12 inches.
For thermal performance, specify a U-factor of 0.30 or lower. Triple-pane glass achieves U-0.20 to U-0.25 but adds 15 to 20 percent to glass sliding door installation cost. Apply flexible flashing tape at all four sides of the rough opening before the door unit goes in.
Final Finishing
Install interior and exterior trim to cover the gap between the door frame and wall finish. Test the sliding panels for smooth operation — panels should glide with light hand pressure and lock securely at the strike point. Check weatherstripping contact at the full perimeter and adjust rollers per the manufacturer’s spec sheet.
If you’re already changing the door, it might be part of a bigger plan — like converting the whole garage into a master suite.
Next Steps: Planning Your Conversion Timeline
The structural header is the single factor that determines whether your conversion is a straightforward weekend project or a job requiring an engineer and a licensed contractor — get that confirmed before you spend a dollar on materials.
This week, measure your rough opening at three points, photograph your existing header, and contact your local building department to request the permit checklist for a structural opening modification. Those three actions will tell you exactly what your project requires and what it will realistically cost.