Garage Door Beeping & Light Flashing: Complete Diagnostic Guide
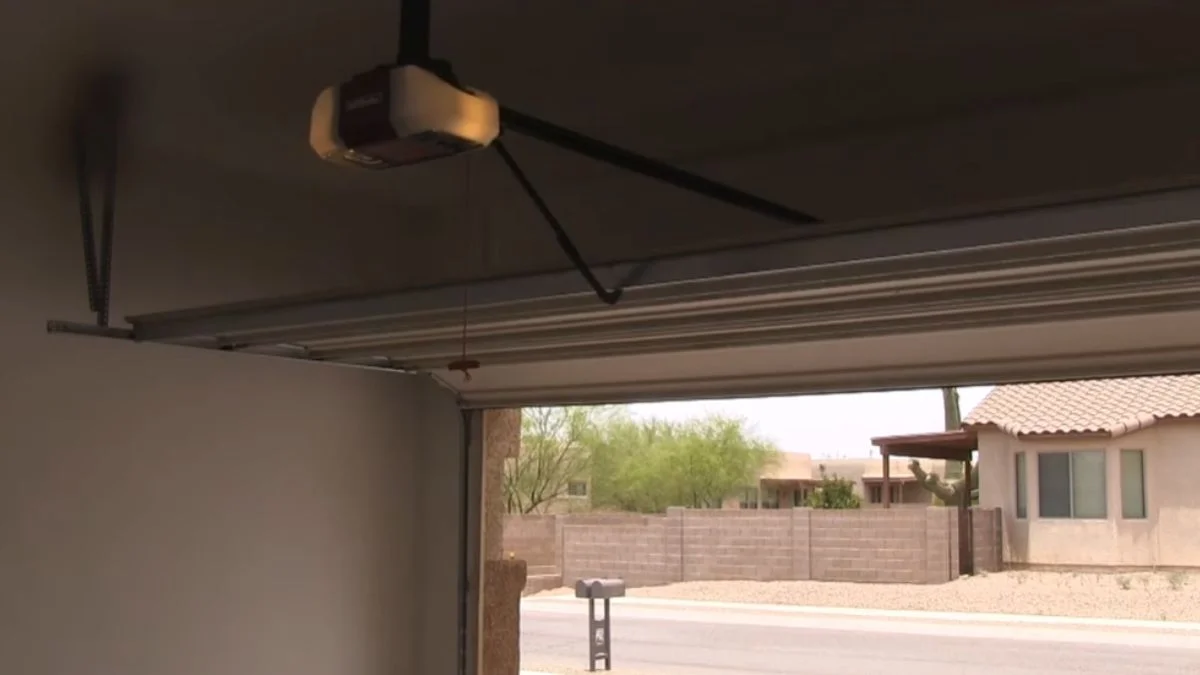
A garage door opener beeping and flashing its lights is not random — it is sending a specific error code, and manufacturers like Chamberlain and LiftMaster build these alert patterns directly into their openers to communicate distinct faults.
The problem is that most homeowners can’t decode what those patterns mean, leaving them stuck between ignoring a potentially serious safety issue and calling a technician for something they could fix in ten minutes.
This guide decodes the most common beep-and-flash combinations by pattern, tells you exactly which causes match each signal, and gives you clear criteria for deciding whether this is a DIY fix or a job for a certified technician.
Quick Diagnosis: Beeping Patterns & Light Signals
Match your symptom to the correct pattern below before doing anything else. Each signal combination maps to a specific fault — guessing wastes time and can make some problems worse.
Beeping Every 30 Seconds + Flashing Light
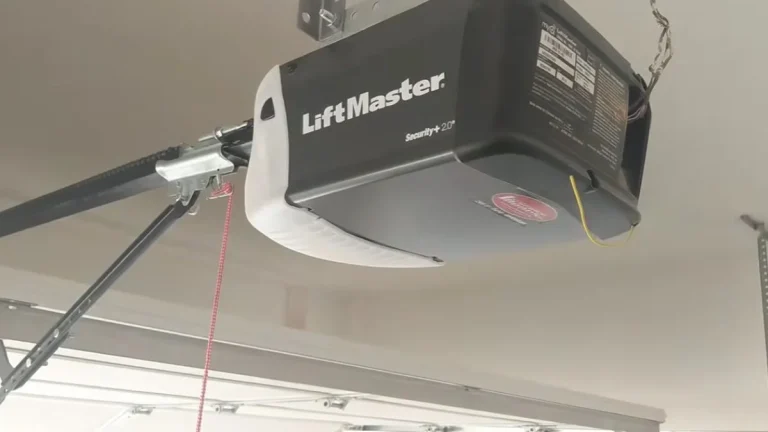
This pattern almost always points to a low battery in the opener’s backup power system. On Chamberlain and LiftMaster models, the indicator light flashes amber or red when the battery backup system is depleted — a green light confirms the battery is healthy. The garage door beeping every 30 seconds is the opener’s designed alert, not a malfunction in the drive mechanism itself. Replacing the battery typically resolves this immediately.
Single Beep + Continuous Flashing
A single beep paired with continuous flashing signals a safety sensor obstruction or misalignment. Both sensors — mounted near the floor on each side of the door track — must maintain a clear line of sight. Anything blocking that path, including a misaligned bracket, a cobweb, or a stray box, triggers a garage door safety sensor malfunction and prevents the door from closing. Check that both sensor lights are solid (not blinking) and that nothing crosses the beam.
Five Rapid Beeps
Five rapid beeps indicate the emergency release handle has been engaged. This red-corded handle disconnects the door from the drive carriage, and the opener will not operate normally until it is reset. Pull the handle back toward the opener to re-engage the trolley.
Intermittent Beeping + Steady Service Light
A steady service light combined with intermittent beeping is a scheduled maintenance indicator, not an emergency. Garage door openers log every open-and-close cycle, and the service counter triggers this alert when the unit reaches the manufacturer’s recommended service interval — typically every 1,500 to 2,000 cycles on LiftMaster models. No immediate repair is needed, but scheduling a technician inspection soon is the right move.
Low Battery: Diagnosis & Replacement
A garage door opener battery low condition is the single most common cause of beeping and light flashing, and it is almost always a straightforward DIY fix. Here is exactly how to confirm it and resolve it.
Checking Battery Status
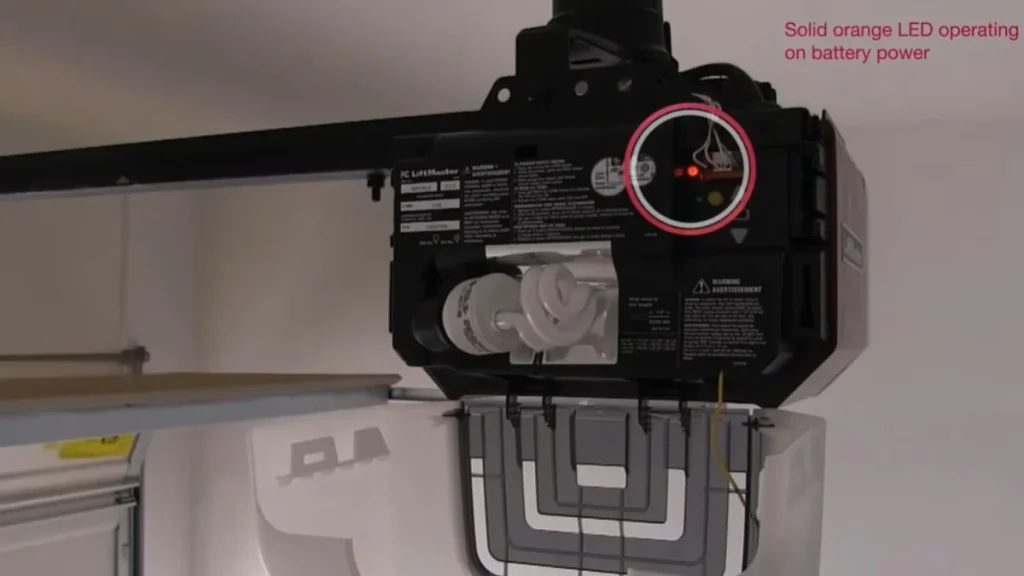
The LED indicator on Chamberlain and LiftMaster openers tells you the battery’s condition at a glance. A solid or flashing amber light means the battery is low but still functional. A red light means the battery is critically depleted. Green confirms a healthy charge. If you have a multimeter, test the battery’s voltage directly — a 12V backup battery reading below 11V needs replacement. Most battery backup systems last 1 to 3 years depending on power outage frequency and temperature extremes.
Step-by-Step Battery Replacement
Follow these steps in order:
- Unplug the opener from the ceiling outlet before touching any internal components.
- Open the battery compartment — on most LiftMaster and Chamberlain models, it sits behind a panel on the rear or side of the motor housing.
- Disconnect the old battery by unplugging the connector harness. No tools required.
- Install the manufacturer-specified replacement. LiftMaster models typically use a 12V 4Ah sealed lead-acid battery — check your manual for the exact spec before purchasing a generic substitute.
- Reconnect the harness, close the panel, and plug the opener back in.
Testing Function Post-Replacement
Once power is restored, the LED indicator should return to solid green within a few minutes as the new battery begins charging. Run the door through 2 full open-and-close cycles and confirm the garage door beeping every 30 seconds has stopped. For an optional but worthwhile test, briefly cut power at the breaker — the door should operate normally on battery backup alone, confirming the new battery is connected correctly.
Safety Sensor Obstruction & Misalignment
A garage door safety sensor malfunction is the second most common cause of beeping and continuous light flashing — and unlike a battery swap, it requires careful attention because these sensors are a federally mandated safety feature. Since 1993, the U.S. Consumer Product Safety Commission has required photo-eye sensors on all residential garage door openers. Getting them working correctly is not optional.

Identifying Blockage or Dirt
Both sensors sit 4 to 6 inches above the floor on opposite sides of the door frame. The sending sensor (usually amber) emits an invisible beam; the receiving sensor (usually green) confirms the beam is unbroken. A blinking or completely dark indicator light on either sensor confirms a garage door sensor obstruction. Common culprits include cobwebs across the lens, dust buildup, condensation from temperature changes, and direct sunlight hitting the receiver at certain times of day.
Cleaning and Realignment Procedure
Wipe each sensor lens with a clean, dry microfiber cloth — never use chemical cleaners, which can scratch or cloud the lens. After cleaning, check whether both indicator lights are now solid. If one still blinks, the sensor bracket is likely knocked out of alignment. Loosen the adjustment wing nut on the affected bracket, reposition the sensor until its light goes solid, then retighten. Run the door to confirm normal operation.
When Alignment Fails
If cleaning and manual realignment do not resolve the issue, test the sensor wiring for pinches or breaks along the door frame. Replacement sensors for Chamberlain and LiftMaster openers cost $15 to $40 for the pair and install in under 30 minutes. Most LiftMaster openers carry a 1-year parts warranty on sensors — check your documentation before paying out of pocket. If wiring damage runs back to the control board, that is the point where a certified technician adds value over a DIY attempt.
Service Maintenance Reminder Light
The garage door scheduled maintenance indicator is one of the most misunderstood signals an opener produces. Most homeowners assume any beeping and flashing means something is broken. This alert means the opposite — it means the opener is working exactly as designed, tracking its own usage and prompting you to service it before a problem develops.
Understanding the Service Counter
Every open-and-close operation counts as one cycle. The opener’s internal service counter logs these cycles and triggers the garage door service reminder light when it hits a preset threshold — typically every 1,500 to 3,000 cycles depending on the model. For an average household operating the door 4 times per day, that threshold arrives roughly every 1 to 2 years. This is a preventive maintenance feature, not an error code indicating active failure.
Resetting the Service Light
Reset procedures vary by brand:
- Chamberlain: Press and hold the “Learn” button on the motor unit for 6 seconds until the indicator light turns off.
- LiftMaster: Access the control panel menu, navigate to the service counter setting, and select reset.
- B&D (Chamberlain-owned): Consult model-specific documentation — reset methods differ across the BD100, BD200, and BD300 series.
Note that resetting the light restarts the counter but does not perform the maintenance itself. Resetting without servicing simply delays the next reminder.
What Maintenance Actually Means
Genuine preventive maintenance involves 4 specific tasks:
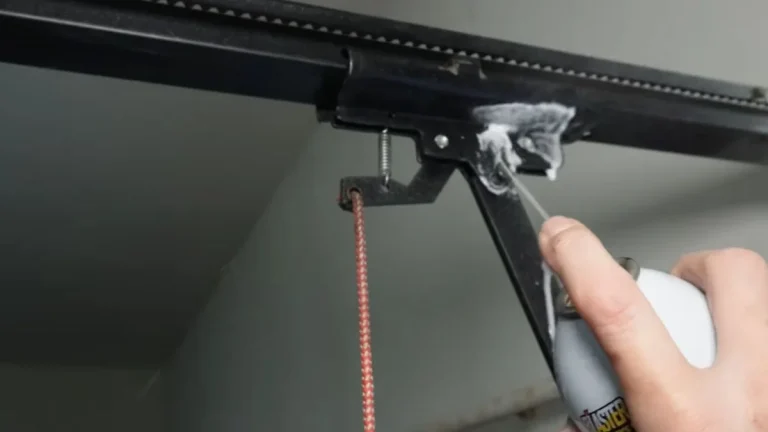
- Lubricate torsion springs, hinges, and rollers with a lithium-based or silicone spray — never WD-40, which attracts dirt.
- Tighten all bolts and brackets along the track system.
- Test the auto-reverse safety function by placing a 2×4 flat on the ground in the door’s path.
- Inspect the weatherstripping and cables for visible wear.
According to the International Door Association, routine maintenance extends opener lifespan by 30 to 50 percent and prevents the majority of emergency service calls.
DIY vs. Professional Help: Decision Framework
Not every garage door beeping and light flashing situation carries the same risk level. Some fixes take ten minutes and cost under $40. Others involve components that can cause serious injury if handled incorrectly. Knowing which category your problem falls into is the most important decision in this entire process.
DIY-Safe Tasks
These three tasks are safe for most homeowners to handle without professional help:
- Battery replacement: Unplugging the opener and swapping a 12V backup battery carries no meaningful risk.
- Sensor cleaning and realignment: Wiping lenses and adjusting bracket angles requires no electrical knowledge.
- Service light reset: Pressing a reset button or navigating a control menu is straightforward on Chamberlain, LiftMaster, and B&D units.
Red Flags That Require a Professional
Call a certified technician immediately if you observe any of the following:
- Grinding, snapping, or loud popping sounds alongside the beeping
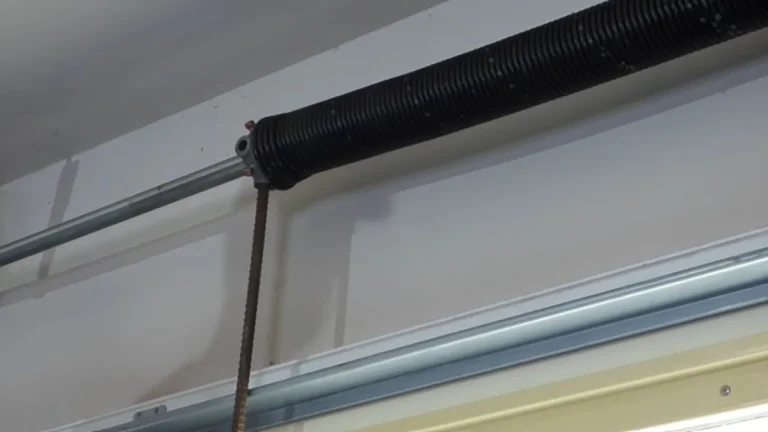
- A visibly broken or unwound torsion spring above the door — torsion springs store extreme mechanical energy and are responsible for the majority of serious garage door injuries
- Frayed or snapped lift cables
- The opener motor runs continuously but the door does not move
- Any beep-and-flash pattern not covered in your opener’s manual, which may indicate a control board fault
Typical Repair Cost Ranges
| Repair Type | Typical DIY Cost | Typical Pro Cost |
|---|---|---|
| Battery replacement | $20–$40 | $75–$120 |
| Sensor replacement | $15–$40 | $85–$150 |
| Torsion spring replacement | Not recommended | $150–$350 |
| Control board replacement | $45–$90 (parts) | $150–$300 |
Warranty Considerations
Most Chamberlain and LiftMaster openers carry a 1- to 3-year limited warranty on parts and motor components. Performing unauthorized repairs on the motor unit, control board, or wiring harness can void that coverage entirely. Before opening the motor housing for anything beyond battery access, check your warranty terms — a $40 DIY attempt could cost you a $300 covered replacement.
Next Steps: Stop Problems Before They Start
Every beep and flash pattern your garage door opener produces maps to a specific, identifiable cause — none of them require guesswork. Start right now by matching your exact pattern to the diagnostic table in Section 2, then follow the corresponding fix in the relevant section above.
If your pattern involves grinding sounds, a broken spring, or anything not covered in your opener’s manual, stop and call an International Door Association-certified technician before operating the door again.