How to Run 220V to a Detached Garage: Complete Permit & Wiring Guide
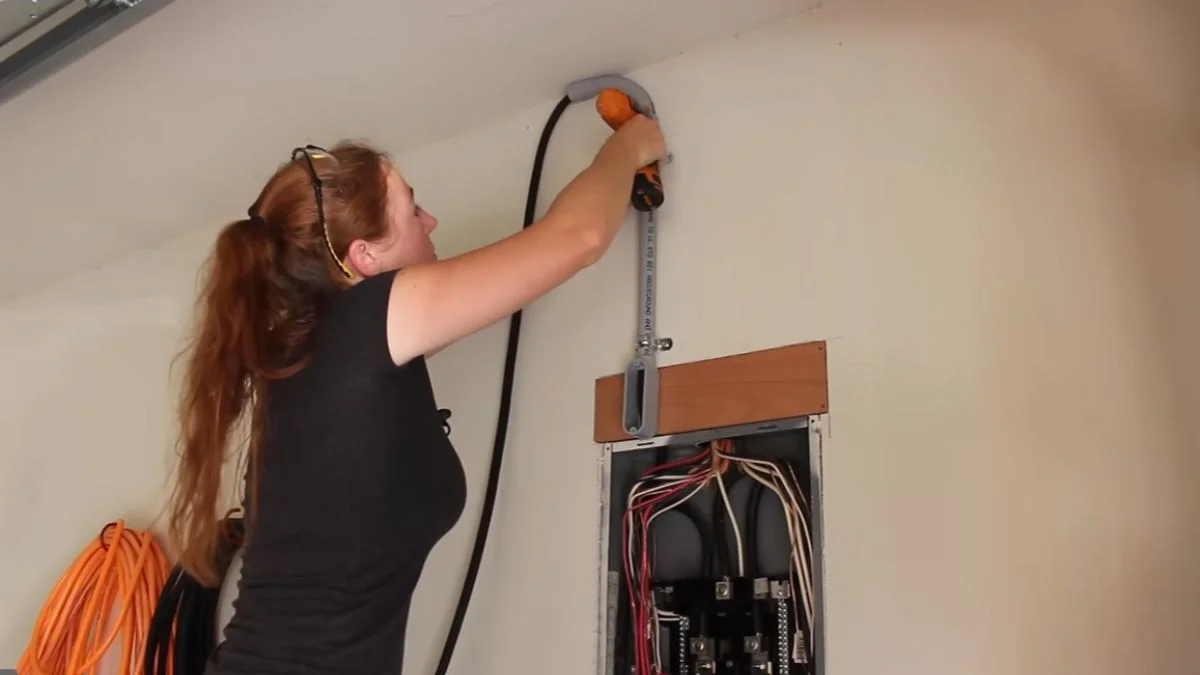
Running 220V to a detached garage is one of the highest-value electrical upgrades a homeowner can make — and knowing how to run 220 to a detached garage correctly, with permits, means the work is safe, legal, and won’t create problems when you sell.
Most DIYers stall out because the project touches three separate systems at once: your main panel, underground wiring, and a new subpanel — each with its own code requirements, material choices, and inspection checkpoints that aren’t obvious until you’re already mid-project.
This guide walks you through every step, from pulling the right permit through making the final wire connections, so you finish with a code-compliant 220V circuit that passes inspection the first time.
Permits and Code Compliance First
Skipping the electrical permit for a garage installation is one of the most expensive mistakes a DIY homeowner can make — and it’s entirely avoidable.
Why Permits Are Non-Negotiable
Unpermitted electrical work creates three serious problems.
First, it voids your homeowner’s insurance coverage for any fire or electrical damage traced to that circuit. Insurance adjusters check permit records. If your unpermitted 240V power line to a detached garage causes a fire, your claim gets denied.
Second, the inspection process exists to catch dangerous configurations before they become hazards. An inspector verifies wire gauge, breaker size, grounding connections, conduit routing, and disconnect placement — all the details that cause fires and electrocution when done wrong.
Third, missing permits show up in property records during a home sale. Buyers’ inspectors flag unpermitted subpanels immediately. You’ll either pay to bring the work up to code retroactively or discount your sale price.
Local Codes and the Inspection Process
Electrical codes vary significantly by jurisdiction. Your local authority having jurisdiction (AHJ) — the city or county building department — sets specific rules for:
- Trench depth and frost line requirements (typically 24 inches for direct-burial cable, 6 inches for conduit in many areas)
- Conduit installation requirements for outdoor garage power runs
- Ground rod placement and disconnect requirements at the garage
- Amperage requirements and garage breaker size specifications
The typical permit timeline runs in two stages. You apply, get approved, dig the trench, and then call for a rough-in inspection before burying anything. After the subpanel and service panel connections are complete, a final inspection closes the permit.
Contact your local building department before buying a single foot of wire.
Sizing Your Service: Amperage and Wire Gauge Decision
Get the sizing wrong and you’re either wasting money on overkill capacity or creating a voltage drop and fire risk with undersized wire. Neither is acceptable.
The Four-Wire Configuration Explained
Running four wires to a detached garage is the NEC (National Electrical Code) requirement for any new subpanel installation. Those four wires are:
- Two hot legs — each carries 120V; combined across both legs, you get 240V
- One neutral wire — carries unbalanced current when 120V loads are running
- One ground wire — safety backup only; carries no current under normal operation
The ground wire connects to a separate ground rod at the garage and bonds to the subpanel enclosure. It must never be bonded to the neutral at a subpanel — only at the main service panel.
Choosing Between 50A, 100A, and 200A Service
The 100-amp panel for a detached garage is the standard choice for most DIYers, and for good reason. It handles woodworking equipment, a welder, lighting, and leaves room to add a Level 2 EV charger later without any panel upgrade.
- 50A: adequate only for basic lighting and small tools; no room for a welder or EV charger
- 100A: the practical sweet spot for hobbyist shops, woodworking, and future-proofing
- 200A: justified only when running multiple simultaneous 240V circuits at full load
Calculating Wire Gauge for Your Run
Amperage requirements and run distance both determine wire gauge. Undersizing creates dangerous voltage drop and heat buildup in the conduit.
| Service Size | Run Distance | Minimum Wire Gauge |
|---|---|---|
| 50A | Up to 100 ft | #6 AWG copper |
| 100A | Up to 100 ft | #4 AWG copper / #2 AWG aluminum |
| 100A | 100–150 ft | #2 AWG copper / #1/0 aluminum |
| 200A | Up to 100 ft | #2/0 AWG copper / #4/0 aluminum |
Aluminum wire is code-legal and significantly cheaper for large runs — but requires anti-oxidant compound at every connection and aluminum-rated lugs in your panels.
Disconnect, Breaker, and Ground Rod Setup
Three components protect both the wiring and the people using the garage: the breaker at the house panel, the disconnect at the garage, and the ground rod driven into the earth. Each one has specific code requirements that inspectors check by name.
Sizing the Breaker at the House Panel
The breaker in your main service panel must match the wire gauge feeding the garage — not exceed it. A 100A breaker requires wire rated for 100A. Oversizing the breaker is a fire hazard because the wire can overheat and ignite before the breaker ever trips. Undersizing creates nuisance trips that interrupt your work mid-cut on a table saw.
Most installations pull a dedicated 2-pole breaker from the existing main panel. If your panel has no open slots, you’ll need a tandem breaker, a panel upgrade, or a subpanel added at the house — all of which require their own permits.
The Garage Disconnect Requirement
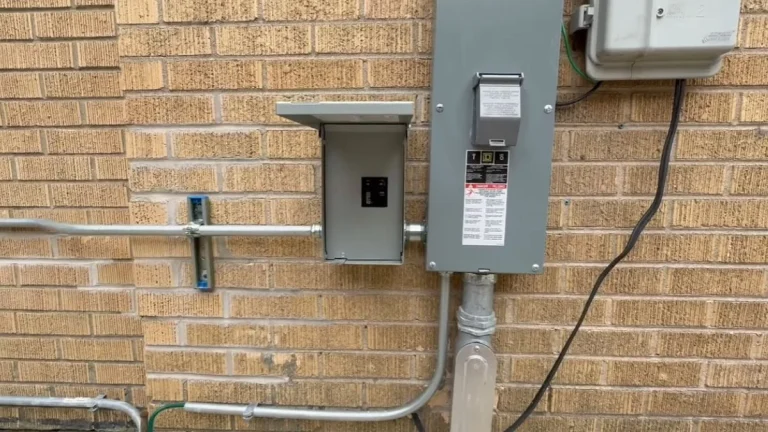
NEC code requires a means to disconnect all power at the garage location itself. This is the ground rod disconnect requirement in practice — a safety shutoff that lets you kill power without walking back to the house panel.
The disconnect can be:
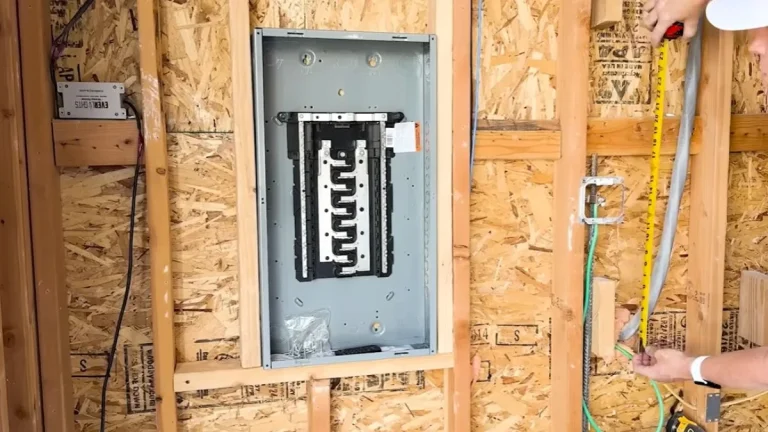
- A main breaker built into the garage subpanel (most common solution)
- A separate fusible disconnect switch mounted near the garage entry
- A single-circuit breaker enclosure for simpler 50A setups
A subpanel with a main breaker handles both functions simultaneously, which is why most 100-amp garage panel installations use one.
Driving the Ground Rod
Every detached garage needs its own ground rod — an 8-foot copper-clad steel rod driven vertically into the earth at the garage location. This is a hard NEC requirement, not optional.
The ground wire runs from the rod to the ground bus in the garage subpanel. In cold climates, the rod must penetrate below the frost line, which ranges from 12 inches in the South to 60 inches in Minnesota. Use a ground rod clamp rated for direct burial, and never splice the ground wire between the rod and the panel.
Running Conduit and Pulling Wire
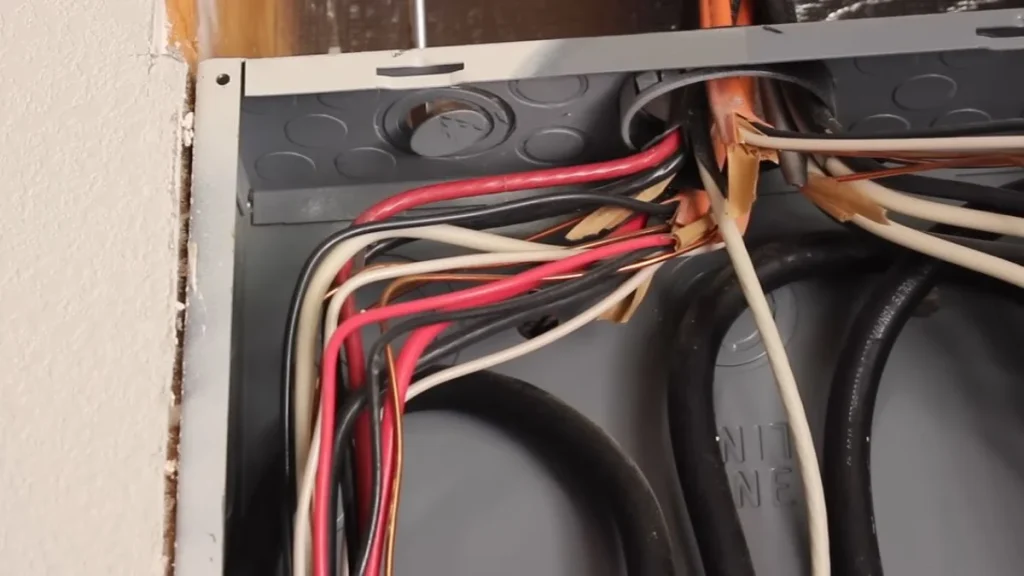
The conduit installation for outdoor garage power is where the physical work begins — and where most DIY mistakes happen. Choosing the wrong conduit type or skipping wire lubricant turns a straightforward pull into a damaged cable and a failed inspection.
Selecting the Right Conduit Type
Two conduit types dominate residential garage installations:
- PVC rigid conduit: less expensive, naturally corrosion-resistant, and code-approved for direct burial. It’s slower to assemble because each joint requires primer and cement, but it’s the most common choice for underground runs.
- EMT (electrical metallic tubing): faster to assemble with compression fittings, stronger against physical damage, but requires weatherproof fittings above ground and is not rated for direct burial without additional protection.
Check with your local AHJ — some jurisdictions require rigid metal conduit for any above-ground exterior runs regardless of preference.
Underground vs. Above-Ground Routing
Buried conduit must reach a minimum depth of 24 inches under most NEC guidelines, though local frost line requirements can push that to 48–60 inches in northern climates. Call 811 before any digging — it’s the national “Call Before You Dig” service that marks utility lines at no cost.
Above-ground conduit runs require support straps every 3 feet and physical damage protection anywhere below 8 feet from grade. Budget the labor honestly: trenching 60 feet by hand takes 4–6 hours in average soil.
Pulling Wire Through Conduit
Running four wires through a detached garage conduit requires wire-pulling lubricant — never dish soap or petroleum-based products, which degrade wire insulation. Use a product like Ideal Industries Yellow 77 or equivalent.
Key rules for the pull:
- Never splice wire inside conduit; all connections must happen at accessible junction boxes
- Keep pull tension below 50 lbs for larger gauge wire to avoid stretching conductors
- Pull all four wires simultaneously to prevent one wire from blocking the others mid-run
Feed a fish tape or pull string first, attach all wires at once, and pull steadily without jerking.
Running 220V power usually means you’ll also need a dedicated sub panel — here’s how that’s installed.
Frequently Asked Questions
Can I install 220V wiring myself without hiring an electrician?
In most jurisdictions, homeowners can legally pull their own electrical permits and perform the wiring work themselves. The permit and inspection process is still required — skipping it is what creates legal and insurance problems, not doing the work yourself.
Do I need a permit to run 220V to my detached garage?
Yes, without exception. Running 240V power to a detached garage involves a new circuit from your main service panel, a subpanel installation, and underground wiring — all of which require a permit and at least two inspections in virtually every U.S. jurisdiction.
What’s the total cost to run 220V to a detached garage?
A DIY installation typically costs $800–$2,500 depending on run length, amperage, and conduit type. Hiring a licensed electrician for the same job runs $2,000–$5,000 or more for a 100-amp service over 100 feet.
How deep should I bury conduit when running power to a garage?
NEC requires a minimum of 24 inches of cover for rigid PVC conduit in most residential applications. Local frost line requirements can increase that depth to 48–60 inches in colder northern climates.
Is a separate ground rod required for detached garage power?
Yes. NEC code mandates a dedicated 8-foot ground rod at every detached structure receiving its own subpanel. The ground rod is driven at the garage location and connects directly to the subpanel ground bus.
Next Steps: Permits Before You Buy Materials
Every costly mistake in a garage wiring project traces back to one decision made too early — buying materials before confirming local code requirements. Call your local building department today, describe your planned amperage and run distance, and ask specifically about frost line depth, conduit requirements, and permit fees before you touch a single wire or dig a single inch of trench.