How to Run 240V to a Detached Garage: Complete Guide
A Level 2 EV charger draws 40–50 amps, a MIG welder pulls 30–50 amps, and a 240V air compressor demands 15–20 amps — running 240V to a detached garage is no longer a luxury project, it’s a practical necessity for millions of homeowners.
The real problem isn’t the wiring itself — it’s not knowing where to start: which permits are required, whether you need a subpanel, what wire gauge is safe, and whether this is a legitimate DIY project or one that demands a licensed electrician.
This guide covers every technical decision — wire sizing, burial depth, subpanel requirements, permit realities, and cost estimates — so you can either complete the work correctly or walk into a contractor conversation fully informed.
Do You Actually Need a Permit?
Yes — in virtually every U.S. jurisdiction, running a 240V circuit to a detached garage requires an electrical permit. Skipping it is one of the most expensive mistakes a homeowner can make.
What Inspectors Actually Check
A permit triggers an inspection, and inspectors are thorough. When you pull a permit for detached garage electrical service, expect the inspector to verify:
- Breaker sizing — the dual-pole breaker in your main panel matches the load calculation for the garage
- Conductor gauge — wire is correctly sized (4/0 aluminum or 2/0 copper for 100-amp service, for example)
- Grounding and bonding — the subpanel is properly grounded at the detached structure per NEC Article 250
- Conduit burial depth — 24 inches for rigid metal conduit, 24 inches for direct-burial cable in most installations (more on this in Section 4)
- Service entrance equipment — all materials are UL-listed and rated for the application
The Real Cost of Skipping the Permit
The permit itself typically costs $50–$200 depending on municipality. That’s a small number compared to what happens without one.
Homeowners insurance can deny claims for electrical fires traced to unpermitted work. Home sales can fall apart when inspectors flag unpermitted electrical service during due diligence. Some municipalities require full removal and reinstallation of non-compliant work — at your expense.
Licensed electricians are near-unanimous on this point: the permit protects you, not the city. Get it.
Note that codes vary significantly by region. Always contact your local authority having jurisdiction (AHJ) before starting any 240V garage wiring work.
Subpanel vs. Direct 240V Circuit: Which Do You Need?
This is the first real decision point. Get it wrong and you’ll either overspend on infrastructure you don’t need or wire yourself into a corner the moment your needs expand.
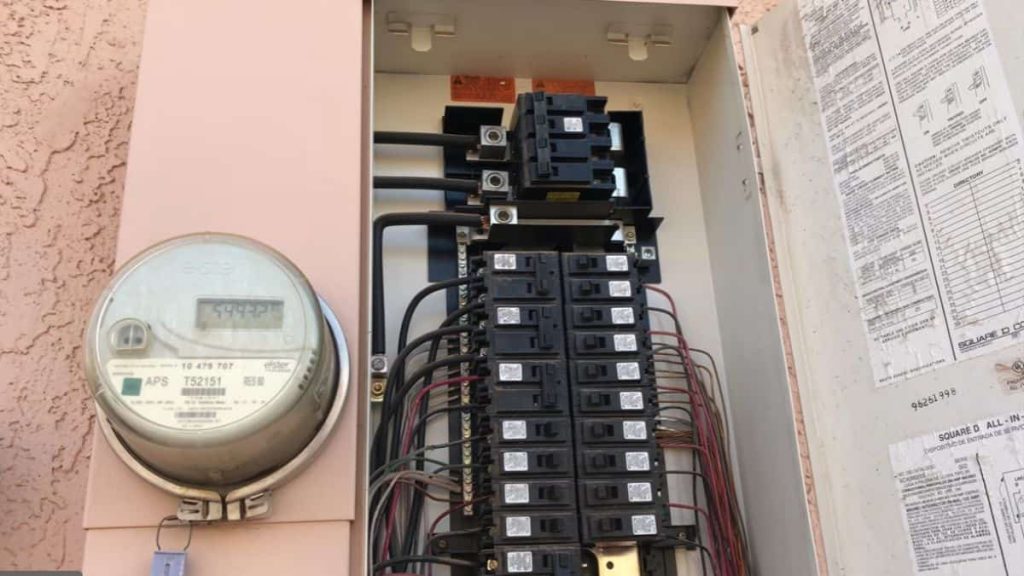
When a Subpanel Makes Sense
A subpanel is the right choice in 3 situations: the run from your main panel exceeds 100 feet, you want more than one circuit in the garage, or you’re planning future loads like an EV charger plus workshop tools plus lighting.
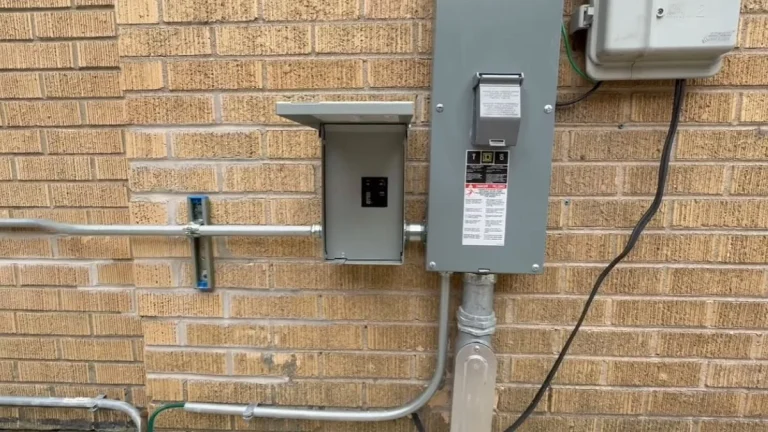
NEC Section 225.32 requires a disconnect at the detached structure — a subpanel with a main breaker satisfies this requirement cleanly. A 60-amp or 100-amp subpanel gives you room to add circuits later without touching the main panel again. Installed by a licensed electrician, expect to pay $1,200–$2,500 for the full subpanel installation including labor, conduit, and conductor costs.
When a Direct 240V Run Works
A single dedicated 240V circuit makes sense if your garage is within 60 feet of the main panel and you have one specific load — a Level 2 EV charger or a single welder outlet, for example. This approach requires an open dual-pole breaker slot in your main panel and the correct conductor gauge for the amperage rating you need.
Direct runs are cheaper upfront, but they lock you into one outlet at one amperage. Any future expansion means running new wire.
Side-by-Side Cost Comparison
| Approach | DIY Materials | Hired Electrician (Labor + Materials) |
|---|---|---|
| Direct 240V circuit | $150–$400 | $500–$1,200 |
| Subpanel installation | $400–$800 | $1,200–$2,500 |
The subpanel costs more now and saves money later. For most garages with real workloads, it’s the better investment.
Wire Gauge, Breaker Size & Amperage: The Critical Pairing
Undersizing wire is the leading cause of electrical fires in garage installations. Getting this pairing right isn’t optional — it’s the technical foundation of the entire project.
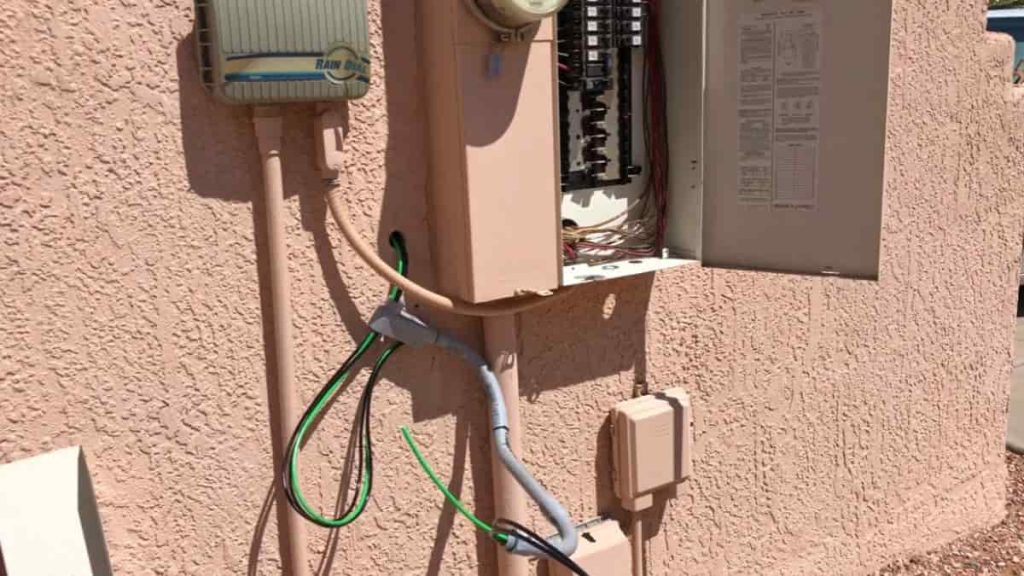
Start With a Load Calculation
Before selecting any wire or breaker, add up your actual loads:
| Load | Typical Amperage Draw |
|---|---|
| Level 2 EV charger | 30–50A |
| MIG/TIG welder | 40–60A |
| Air compressor (240V) | 15–30A |
| Mini-split HVAC | 15–30A |
Your total simultaneous load determines the minimum amperage rating for your circuit or subpanel. A garage running an EV charger and occasional welder needs at minimum a 60-amp subpanel — more realistically, 100 amps.
Wire Gauge by Distance and Amperage
Distance matters because longer runs increase resistance, which causes voltage drop. NEC 210.19 recommends keeping voltage drop to 3% or less on branch circuits. In practice:
- 30A circuit, 50 ft run — 10 AWG copper minimum
- 50A circuit, 100 ft run — 6 AWG copper or 4 AWG aluminum minimum
- 100A service, 100 ft run — 2/0 AWG copper or 4/0 AWG aluminum
Aluminum wire is code-compliant for feeder runs to a subpanel and costs significantly less than copper at larger gauges. Use copper for branch circuits inside the garage.
Breaker and Conduit Requirements
The dual-pole breaker at the main panel must match the conductor gauge — a 100-amp breaker requires 100-amp-rated wire. Always use UL-listed breakers; standard ratings for garage service are 30A, 40A, 50A, 60A, and 100A.
For underground runs, PVC Schedule 40 conduit is the standard choice. Minimum burial depth is 18 inches under most local electrical codes, though 24 inches is required in some jurisdictions and under driveways. Confirm with your AHJ before trenching.
Installation Path: From Panel to Garage Outlet
The physical installation follows a clear sequence: assess the main panel, plan and run the conduit, then terminate at the garage. Skipping steps or reversing the order creates rework.
Step 1: Assess Your Main Panel
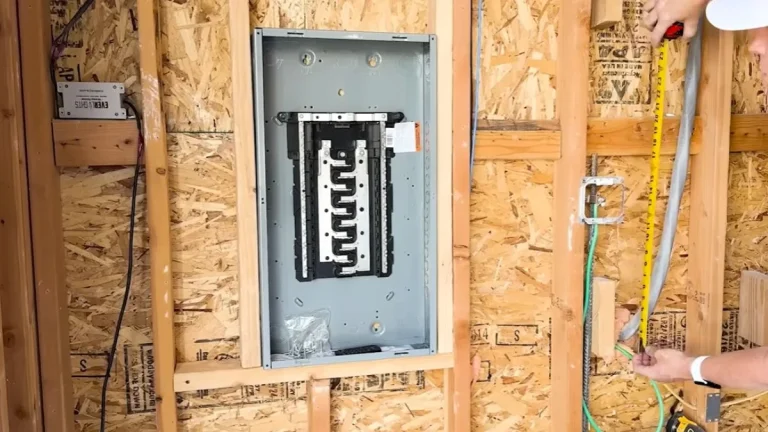
Open the main panel and confirm two things before buying a single foot of wire. First, locate two adjacent open slots — a 240V circuit requires a dual-pole breaker, which occupies two breaker positions side by side. Second, verify the panel has enough remaining capacity for the load you’re adding. A 200-amp main panel feeding a heavily loaded house may not have 60 or 100 amps to spare for detached garage electrical service without a load calculation first.
Step 2: Plan and Run the Conduit
Two routing options exist: overhead or underground.
- Overhead — cheaper and faster to install, but requires minimum 10-foot clearance over driveways and 12 feet over public ways per NEC 225.18; exposed to weather and physical damage
- Underground — more work upfront, but cleaner, more durable, and required by some local codes; use PVC Schedule 40 conduit at the correct burial depth
For above-ground runs inside structures, EMT (electrical metallic tubing) is the standard choice. Plan straight runs with gradual bends — conduit fill rules limit how many conductors you can pull, and sharp kinks make future wire replacement nearly impossible.
Step 3: Install the Outlet or Subpanel
At the garage end, your termination depends on the load:
- NEMA 14-50 outlet — standard for Level 2 EV chargers, 50A
- NEMA 6-50 outlet — common for welders and compressors, 50A
- Subpanel — required for multiple circuits; needs its own grounding electrode (ground rod), a dual-pole main breaker, and critically, neutral and ground buses must be kept separate — unlike the main panel, a subpanel treats neutral and ground as independent conductors.
DIY vs. Hiring: Decision Checklist
Running 240V to a detached garage is within reach for an experienced DIYer — but it’s not a beginner project. The stakes are high enough that an honest self-assessment matters more than confidence.
When DIY Is Reasonable
DIY is a legitimate option if you can honestly check every box below:
- You have prior experience with residential electrical work — not just replacing outlets, but working inside panels
- You have access to the current NEC and your local electrical code amendments
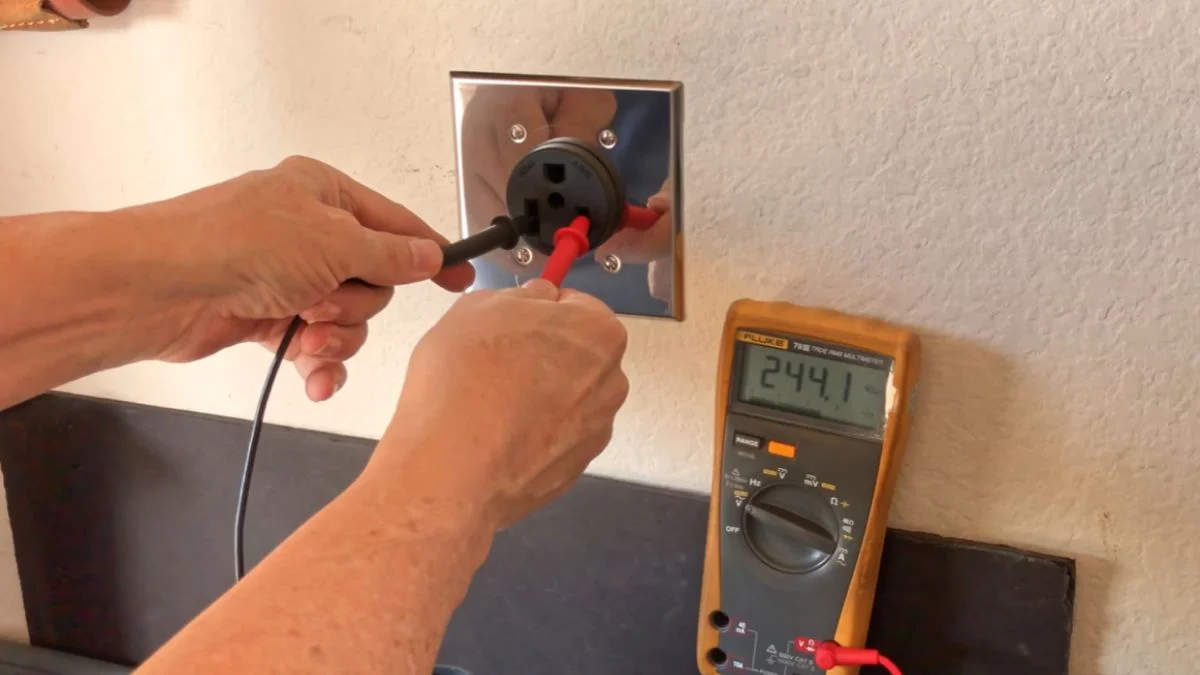
- You own or can rent the right tools: wire stripper, conduit bender, fish tape, multimeter, and a torque screwdriver for terminal connections
- You can pass a permit inspection — because you still need one, regardless of who does the work
- You have schedule flexibility; inspectors don’t always move fast, and failed inspections mean re-inspection delays
If you meet all five criteria, DIY subpanel installation and 240V garage wiring is a manageable weekend-plus project.
When to Hire a Licensed Electrician
Hire a professional if any of the following apply:
- You’ve never worked inside a main panel or sized conductors for a feeder run
- Your main panel is older (Federal Pacific, Zinsco, or fuse-based panels add risk and complexity)
- The project involves a long underground run, trench work across a driveway, or overhead service entrance equipment
- You want a warranty on labor and materials
- Your municipality requires licensed electrician sign-off for permit approval — some do
Here’s the practical reality: a licensed electrician handles the permit, schedules the inspection, and carries liability insurance. A DIYer who wires the garage incorrectly and fails inspection faces re-inspection fees, potential fines, and — worst case — insurance denial after an electrical incident. The math often favors hiring a pro.
240V and 220V projects use nearly identical wiring — see this related guide for the full setup.
What This Installation Actually Costs
Cost varies more than most homeowners expect — distance, amperage, soil type, and local labor rates all move the number. These ranges reflect real-world projects, not best-case estimates.
DIY Materials Cost by Amperage Tier
| Amperage | Wire (100 ft run) | Conduit + Fittings | Breaker | Subpanel | Total Materials |
|---|---|---|---|---|---|
| 30A direct circuit | $80–$150 | $60–$120 | $20–$40 | — | $160–$310 |
| 50A direct circuit | $120–$220 | $60–$120 | $30–$60 | — | $210–$400 |
| 60A subpanel | $180–$300 | $80–$150 | $40–$70 | $80–$150 | $380–$670 |
| 100A subpanel | $250–$450 | $100–$200 | $60–$100 | $100–$200 | $510–$950 |
Wire pricing fluctuates with copper markets. Get current pricing from suppliers like Home Depot, Menards, or a local electrical supply house — the latter often runs 15–20% cheaper on bulk wire and conduit.
Hired Electrician: What You’re Actually Paying For
Licensed electricians typically charge $75–$150 per hour depending on region, with most detached garage electrical service projects running 8–16 labor hours. That’s before materials.
Full installed cost ranges break down like this:
- Single 240V outlet (NEMA 14-50 or 6-50), short run — $500–$1,200 total
- 60-amp subpanel installation, 100 ft run — $1,200–$2,000 total
- 100-amp subpanel installation, 100+ ft run — $1,800–$3,500 total
Permit fees add $50–$200 in most municipalities. Some electricians include permit coordination in their quote — confirm this before signing anything.
Where Costs Spike Unexpectedly
Trenching through a concrete driveway adds $300–$800. Running conduit overhead across a long span requires additional support hardware. An older main panel that needs a breaker slot freed up — or worse, a panel upgrade — can add $1,000–$3,000 to the total project cost before the garage sees a single volt.
Ready to Run Your Line?
The single biggest mistake homeowners make is buying materials before confirming their local code requirements — wire gauge, burial depth, and permit rules vary enough between jurisdictions to change your entire material list. Before ordering anything, contact your local authority having jurisdiction (AHJ) or a licensed electrician in your area to confirm the specific 240V garage wiring requirements that apply to your address. That one conversation saves most homeowners hundreds of dollars in rework and keeps the project on the right side of both code and insurance.