Genie Garage Door Not Working After Power Outage: 5-Step Reset
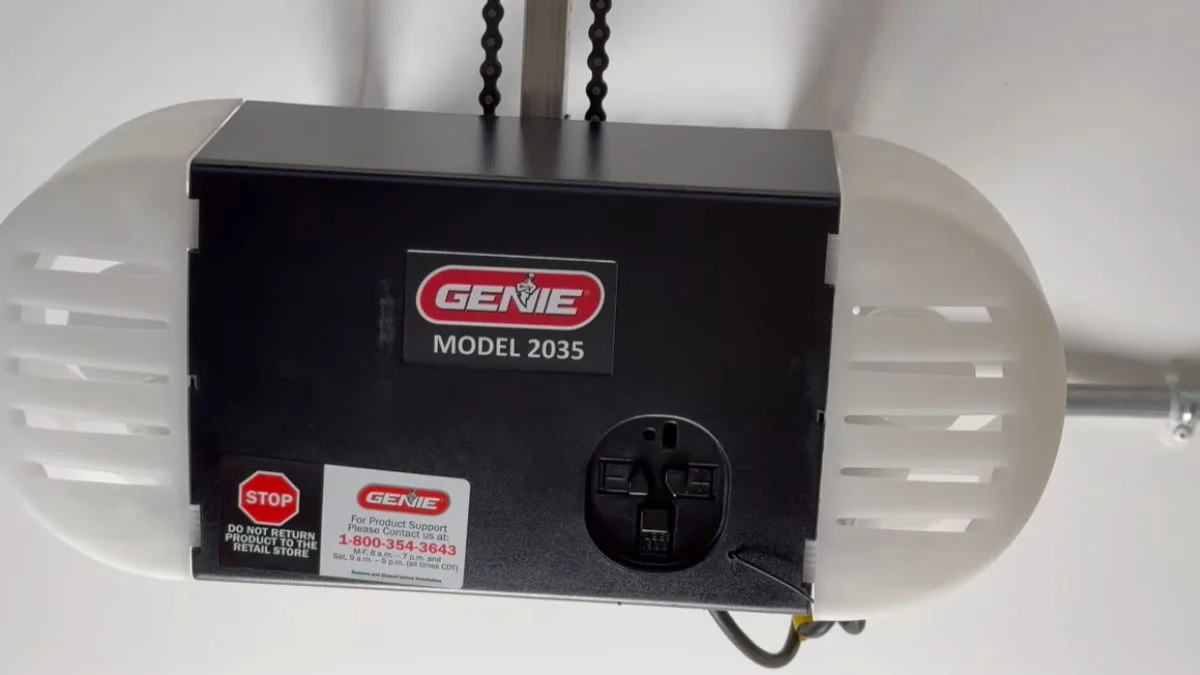
A power outage doesn’t just cut the lights — it can scramble your Genie garage door opener’s circuit board, leaving it completely unresponsive even after electricity returns.
The frustrating part is that the opener itself isn’t broken. The control board simply lost its memory and needs a reset before it will respond to remotes or wall buttons again.
Follow the five steps in this guide and you’ll restore your Genie opener to full operation in under ten minutes — no technician required.
Why Power Outages Stop Your Genie Opener
A Genie garage door opener runs on a circuit board that controls every function — motor timing, remote signals, safety sensor communication, and light sequences. When power cuts out suddenly, that board loses its stored state. When electricity returns, the board doesn’t always restart cleanly.
The Circuit Board Loses Its Operational State
The opener’s circuit board holds active memory while powered. A sudden outage — especially one followed by a power surge when electricity restores — can corrupt that memory or trip an internal protection circuit. The board then sits in a locked or unresponsive state, even though the opener motor itself is physically fine.
This is why your Genie opener won’t respond to the remote transmitter or the wall control panel after an outage. It’s not a mechanical failure. It’s a control failure.
Safety Sensors and Remote Pairing Reset
Genie’s safety reversing sensors — the two small units mounted near the bottom of your door tracks — require a stable power signal to stay aligned and communicating. An abrupt outage can interrupt that handshake, causing the sensors to read as misaligned even when they’re physically fine. The opener interprets this as a safety fault and refuses to operate.
Remote transmitter pairing can also drop in some models, particularly older Genie units, leaving the opener unresponsive to remote commands.
What This Means for Your Fix
The good news: none of these failures require replacing the circuit board or calling a technician. Power cycling the opener — cutting power completely, waiting for capacitors to discharge, then restoring power — clears the corrupted state in most cases. The five-step reset process below walks through exactly that, plus sensor checks and manual release steps if the door won’t move at all.
The 5-Step Power Reset Procedure
This sequence works across most Genie models, including the SilentMax 1000, ChainMax 500, and 7055D. Complete every step in order — skipping ahead is the most common reason the reset fails.
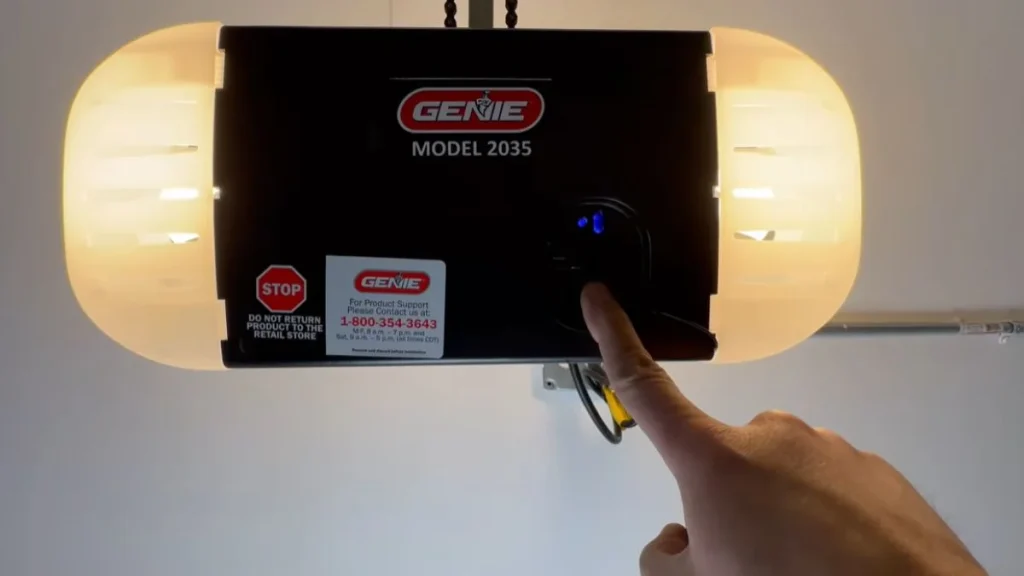
Step 1: Disconnect Power Supply Safely
Locate the power cord running from your opener motor unit to the ceiling outlet. Unplug it directly from the wall — not from an extension cord, which can mask power delivery problems. Wait a full 30 seconds before doing anything else. This pause allows the capacitors inside the motor unit to discharge completely, which is what actually clears the circuit board’s corrupted state.
Step 2: Check the Power Source Before Reconnecting
Plug a lamp or phone charger into the same outlet. If it doesn’t power on, the outlet itself is the problem. Check your home’s breaker panel for any tripped breakers — a power surge during the outage commonly trips the circuit feeding the garage. Also inspect the opener’s power cord for visible burns, cuts, or melted insulation, which signal surge damage.
Step 3: Reconnect and Let the Board Initialize
Plug the opener back into the outlet. Wait 2 to 3 minutes without pressing any buttons. The circuit board runs its own initialization sequence during this window. Listen for a single click or beep from the motor unit — that’s confirmation the board has restarted successfully.
Step 4: Test Door Operation
Press the wall control panel button first. If the door moves, test the remote transmitter next. A non-responsive remote usually means pairing dropped during the outage — reprogram it using the LEARN button on your specific Genie model’s motor head. The door should travel the full open and close cycle without hesitation or stopping mid-track.
Step 5: Verify the Safety Sensors
Locate the two photo-eye sensors mounted roughly 6 inches off the ground on each door track. They must face each other directly. On most Genie openers, a solid green light means the signal is clear, and a red or blinking light means the sensor is blocked or misaligned. Adjust the sensor brackets until both lights are solid, then test auto-reverse by placing a 2×4 flat on the ground in the door’s path — the door should reverse immediately on contact.
Genie-Specific Light Indicators and Model Resets
Genie openers communicate problems through light patterns on the motor unit. Reading those lights correctly saves you from guessing — each pattern points to a specific fault with a specific fix.
Understanding Status Lights
Most Genie models use a consistent light language across their product line:
- Solid green on the sensor unit means the safety reversing sensors are aligned and communicating normally
- Solid red or blinking red means the sensor beam is broken, blocked, or the sensor is misaligned — the opener will refuse to close the door in this state
- Blinking amber on the motor unit itself typically indicates the circuit board is still initializing after a power cycling event — wait 60 seconds before pressing any buttons
- Rapid multi-flash sequences on the motor unit’s LED indicate specific fault codes; consult your model’s manual for the exact count-to-fault translation
Here’s the problem most homeowners run into: they see a blinking light and assume something is broken, when the opener is actually mid-reset and just needs time.
Model-Specific Reset Buttons
Not all Genie models reset identically. Before attempting any circuit board reset beyond power cycling, locate your model number on the label affixed to the motor casing.
On the SilentMax 1000, the reset button sits behind the light cover panel on the underside of the motor unit — remove two screws to access it. On the 7055D, the physical reset button is mounted directly on the circuit board and accessible without removing the full cover. Press and hold either button for 10 seconds until the indicator light blinks twice, confirming the board has cleared its memory.
According to the Genie Company’s official troubleshooting documentation, performing a full factory reset will also erase all programmed remote transmitters and keypad codes, which you’ll need to re-enter afterward.
When DIY Reset Isn’t Enough
The 5-step reset resolves most post-outage failures, but power surge damage is a different problem entirely. A surge doesn’t just scramble the circuit board’s memory — it can burn out components permanently, and no amount of power cycling will fix that.
How to Tell the Difference
Compare your symptoms against these two categories before spending more time on resets:
Signs the reset should work:
- Opener is completely unresponsive but shows no burn smell
- Wall control panel and remote transmitter both get no reaction
- Sensors show blinking lights but brackets look physically intact
- Opener worked normally before the outage with no prior issues
Signs of surge damage requiring professional service:
- Burning smell coming from the motor unit
- Visible scorch marks on the power cord or outlet
- Opener motor hums but won’t engage the trolley to move the door
- Circuit breaker trips again immediately after you reset it
- No indicator lights at all, even after confirmed power is reaching the outlet
What Happens Next If It’s Surge Damage
A burned circuit board requires full replacement — this isn’t a DIY repair on most Genie models because the board is soldered and model-specific. A qualified garage door technician can diagnose and replace the board in a single visit, typically within one to two hours.
Here’s what most homeowners miss: standard homeowner’s insurance policies often cover power surge damage to appliances and installed systems like garage door openers. File a claim before paying out of pocket. Document the damage with photos of the motor unit, outlet, and any visible burn marks before any repair work begins.
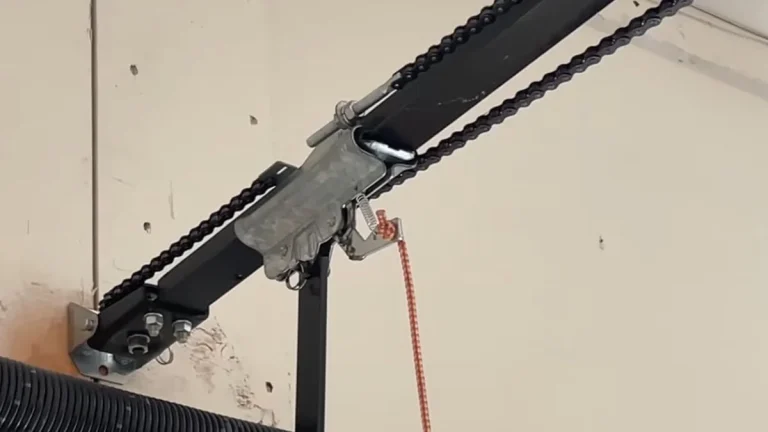
In the meantime, use the manual release cord — the red handle hanging from the trolley rail — to operate your door by hand until repairs are complete.
Get Your Garage Door Working Again
Most Genie openers that fail after a power outage need a reset, not a replacement — the circuit board just needs a clean restart to recover. Unplug your opener now, wait 30 seconds, check your outlet and breaker, then plug it back in and give the board 2 to 3 minutes to initialize before touching any buttons.
If the door still won’t respond after completing all five steps, check for burn smell or scorch marks and call a licensed garage door technician.