Garage Door Arm Bracket Ripped Off: DIY Fix or Call a Pro?
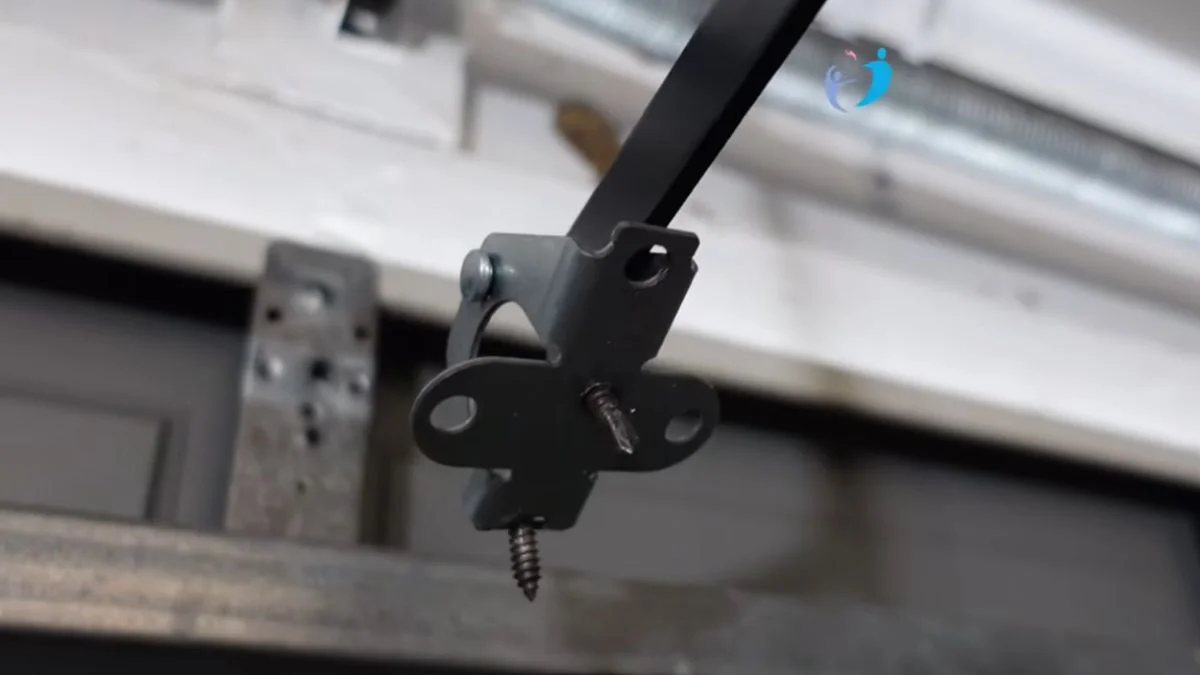
A garage door arm bracket ripped off mid-cycle is one of the most disorienting failures a homeowner can face — the door stops dead, the opener strains, and suddenly a $200 repair feels like it could become a $1,000 problem.
The real frustration is not knowing whether the damage is a straightforward fix you can handle in an hour or a structural failure that puts your door — and your safety — at serious risk.
This guide gives you a clear, step-by-step framework to diagnose the damage, make a confident repair decision, and know exactly when to pick up the phone instead of the wrench.
What Causes a Garage Door Arm Bracket to Fail?
Why Brackets Rip Under Normal Use
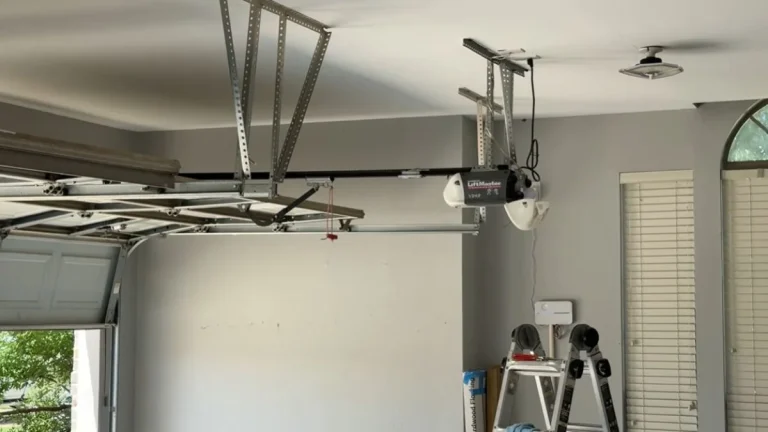
The arm bracket connecting your trolley arm to the door panel takes a mechanical beating every single cycle. Four specific failure modes cause the vast majority of bracket separations.
Spring wear and load redistribution. When torsion or extension springs wear down, they stop counterbalancing the door’s full weight — typically 130 to 200 pounds for a two-car garage door. That uncompensated load transfers directly to the mounting bracket and carriage assembly, stressing metal that was never designed to carry it alone.
Bolt connection fatigue. Opener vibration loosens bracket bolts gradually over months. Most homeowners never check them. Once a bolt backs out even a quarter inch, the remaining fasteners absorb disproportionate torque damage, and the bracket tears free under the next full-cycle load.
Older opener models. Genie and LiftMaster units manufactured before 2010 used lighter-gauge bracket hardware than current standards require. Those components are now 15-plus years into a lifespan rated for 10,000 cycles.
Impact and forced entry. A vehicle collision or a manual override pulled too hard creates an instant stress spike the bracket cannot absorb.
Red Flags You May Have Multiple Failures
A bracket ripped off rarely happens in isolation. Check for these compounding problems before deciding between garage door bracket repair vs replacement:
- Springs with visible gaps, rust, or uneven coil spacing
- Track sections that are bent, separated, or visibly out of plumb
- Carriage assembly bolts that spin freely or show stripped threads
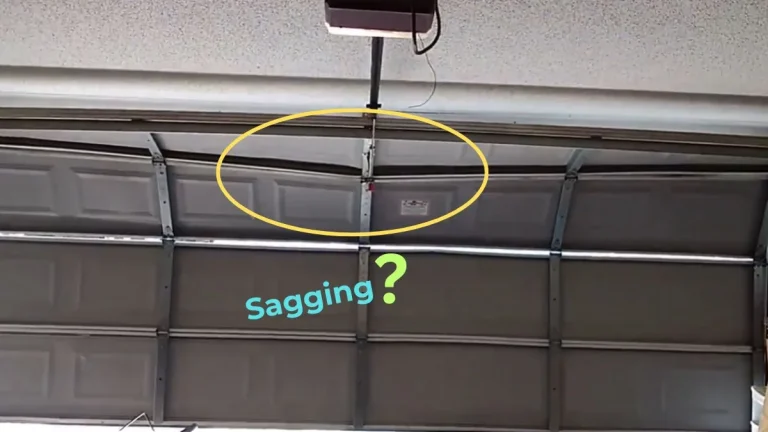
- Door panel stress cracks or warping near the top bracket attachment point
If two or more of these are present, a simple bracket reattachment will not hold.
DIY vs. Professional Repair Decision Matrix
When DIY Is Genuinely Safe
One specific scenario makes garage door opener arm bracket replacement a realistic DIY job: the bracket metal itself is intact, but one or two bolt holes have stripped or pulled through the door panel. No cracks, no warping, no secondary damage.
To proceed safely, you need:
- A socket wrench set and a torque wrench (bracket bolts typically require 15-20 ft-lbs)
- A replacement reinforcement bracket or backing plate, available from LiftMaster or Genie for $15-35
- The ability to fully disconnect opener power before touching any hardware
- A helper to stabilize the door while you reattach the trolley arm
If all four conditions are met, reattaching the garage door arm is a 45-to-90-minute job with genuine beginner-level difficulty.
When a Technician Is Required
Stop and call a pro if any of these are true:
- The mounting bracket metal is visibly cracked, bent, or deformed
- The door feels heavy or uneven when lifted manually — a sign of spring failure
- This is the second bracket separation in under 3 years, which signals a systemic opener torque damage or track alignment problem
- The carriage assembly itself is damaged, not just the bracket
A broken garage door bracket safety risk compounds fast when springs are involved. Torsion springs store enough energy to cause serious injury if released uncontrolled.
Cost Reality Check
| Repair Type | Typical Cost Range |
|---|---|
| DIY bracket + hardware | $20–$60 |
| Professional bracket replacement | $85–$175 |
| Full carriage assembly replacement | $150–$300 |
| Spring replacement (if needed) | $150–$350 additional |
OEM brackets from LiftMaster and Chamberlain outlast generic aftermarket parts significantly — field technicians consistently report aftermarket brackets failing within 2-3 years versus 7-10 for OEM hardware.
Step-by-Step Bracket Replacement (DIY Path)

Prep and Safety
Never touch bracket hardware with the opener powered. Unplug the unit directly from the ceiling outlet — do not rely on the wall button lockout alone, as some older Chamberlain and Genie models can still receive remote signals while “locked.”
Once unplugged, raise the door manually to the fully open position. Clamp a locking C-clamp onto the vertical track just below the bottom roller on both sides. This prevents the door from dropping if spring tension is inconsistent. Do not skip this step — a falling door creates the exact broken garage door bracket safety risk you are trying to eliminate.
Gather these tools before starting:
- Socket wrench set (3/8-inch drive recommended)
- Torque wrench rated to at least 25 ft-lbs
- Replacement mounting bracket (OEM match for your opener model)
- Carpenter’s level
- A second person to stabilize the door panel
Removal and Installation
Start by photographing the existing bracket position before removing anything. This reference prevents misalignment during garage door reinforcement bracket installation.
Remove the damaged bracket bolts in reverse sequence — outermost bolts first, center bolt last. This releases tension gradually and prevents door panel stress from concentrating at a single point.
Position the replacement bracket flush against the door panel, aligned with the trolley arm attachment point. Use your level to confirm the bracket sits perfectly plumb before tightening. Torque all bolts to the manufacturer specification — LiftMaster specifies 15 ft-lbs for standard residential brackets.
Reconnect the trolley arm to the new bracket, restore opener power, and run 3 full open-and-close cycles. Listen for grinding, watch for track wobble, and confirm the door seats flush at the bottom seal on every close.
How to Prevent the Bracket From Failing Again
Add a Reinforcement Bracket at the Mounting Point
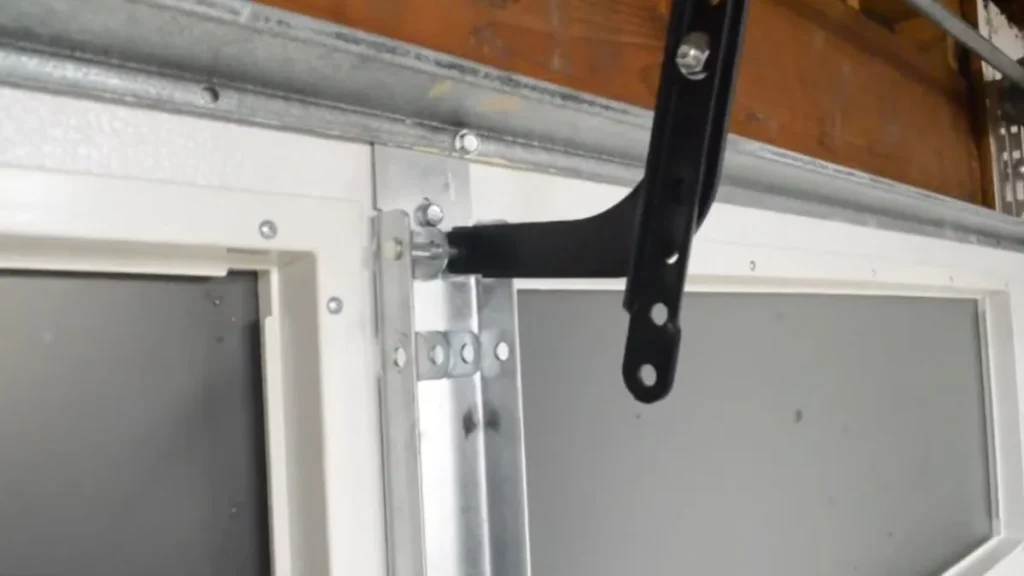
The single most effective upgrade after any bracket repair is installing a garage door reinforcement bracket — a secondary steel plate that distributes load across a wider section of the door panel. Without one, all opener torque damage concentrates at 4 to 6 bolt holes in a narrow strip of metal.
LiftMaster’s universal reinforcement strut (model 195LM) and Clopay’s horizontal reinforcement bracket both bolt directly behind the existing mounting bracket, spreading stress across the full door width. Either option costs $25-$55 and takes about 30 minutes to install alongside your bracket replacement. For doors wider than 16 feet, a full-width horizontal strut is worth the additional investment.
Inspect Springs Every 12 to 18 Months
Spring wear is the hidden driver behind most repeat bracket failures. A spring losing tension forces the carriage assembly and trolley arm to compensate — and the mounting bracket absorbs that load until it fails again.
Check torsion springs for 3 warning signs:
- Visible gaps between coils (any gap indicates partial failure)
- Surface rust that has progressed past light discoloration
- A door that drifts downward when released at the halfway-open position
Check Bolt Tension Twice a Year
Vibration from normal opener cycles backs out bracket bolts steadily over time. Bolt connection failure is almost always gradual, not sudden — which means it is entirely preventable.
Every six months, use a torque wrench to verify all mounting bracket bolts are seated to spec. According to Chamberlain’s official maintenance guidelines, bracket fasteners should be inspected and re-torqued annually at minimum. Add this check to a seasonal home maintenance schedule — spring and fall work well — so it never gets skipped.
Frequently Asked Questions
Can I fix a ripped bracket with glue or epoxy?
No adhesive — including structural epoxy — can withstand the cyclic load a garage door bracket experiences. A standard two-car door generates 130 to 200 pounds of force per cycle. Only a bolted steel replacement bracket meets the mechanical requirement safely.
Is it safe to use my garage door if the bracket is cracked?
A cracked mounting bracket is an immediate stop-use situation. The crack will propagate under opener torque, and full bracket separation mid-cycle can cause the door to drop or the trolley arm to whip free — both are serious injury risks. Disconnect the opener and operate the door manually only until the bracket is replaced.
What size bolts do garage door arm brackets use?
Most residential garage door arm brackets use 5/16-inch diameter carriage bolts with a coarse thread pitch, typically 18 threads per inch. LiftMaster and Chamberlain both specify this sizing in their installation documentation, though some commercial-grade openers step up to 3/8-inch hardware. Always match the replacement bolt grade and diameter to your opener’s original spec sheet.